
Drywall Repair in Spring, TX: Holes, Nail Pops, Cracks and Texture Blending | Spring Drywall Co.
Spring Drywall Co., an insured sheetrock contractor, has handled drywall repair for homeowners and property managers throughout Spring, Texas for 15 years, covering holes, nail pops, cracked seams, failed patches and access cuts. Each of those marks points to a problem behind the board rather than being the problem itself, so the repair starts with finding what caused it.
We identify the cause before cutting into the wall. If the board feels damp, we check it with a moisture meter instead of guessing, because a sheetrock wall repair over wet gypsum board will fail again. A drywall patch is cut to fit the opening and supported from behind. The replacement board is installed with paper tape and setting-type joint compound, and hung to ASTM C840, the standard that covers gypsum board installation. On walls, that means 1/2 inch board matched to the thickness already in place. We then blend the surrounding texture across the repair so the finished wall looks consistent from one side to the other.
We handle drywall repair throughout Spring, Klein, Tomball and Humble, covering north Harris and Montgomery counties. You get a finished repair that blends into the surrounding wall, with the price put in writing before work starts. Tell us about the wall at (936) 286-6045, or send the quote form.
What Drywall Repair Covers on a Spring Wall
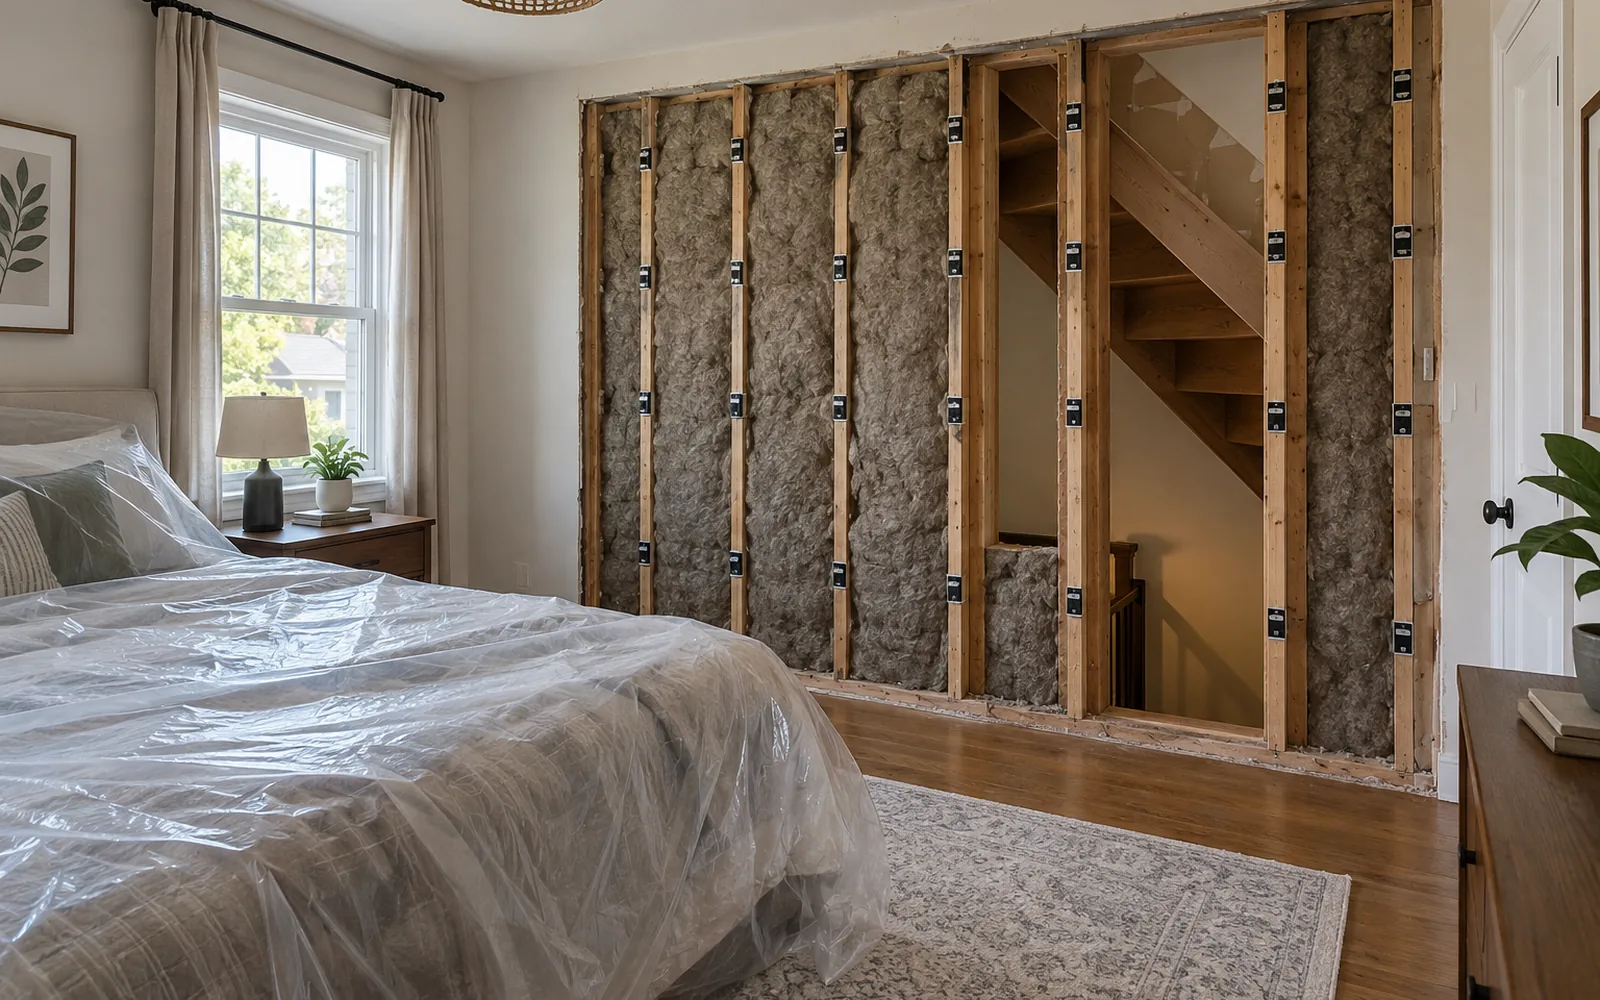
In a drywall repair we restore the flat, paintable surface of an interior wall after something has damaged it. Five types of damage make up almost every repair call we get. Drywall is also called Sheetrock, gypsum board, or wallboard - all the same panel. Your wall has three main parts: the panel itself, usually 1/2 inch board, the wall framing it is screwed to, and the texture sprayed or troweled over the face. Ceilings, wet board, plaster and corner bead are separate services, and a later section explains the difference.
Nail Pops and Fasteners That Have Worked Loose
A nail pop is a round bump or small ring of cracked compound that shows over the head of a screw or nail. The board stays in place while the wall framing behind it shrinks and moves, pushing the fastener head out through the finish. In newer houses, drying lumber is a common cause, which is why a wall that looked flat at closing can show a row of nail pops a year later.
Driving the same screw back into the same hole leaves it with nothing new to grip. A durable nail pop repair uses a new screw an inch or two away, sets the old head below the surface, dimples the new screw just under the face without tearing the paper, then coats and sands both spots. A popped fastener almost never fails by itself, so we also check the full line of framing it sits on.
Doorknob Holes, Punctures and Anchors Pulled Out of the Board
Impact and wall hardware cause most of the holes we patch. A doorknob striking the wall leaves a clean round break two to three inches across, while furniture corners, ladders and moving damage leave punctures with torn edges. The other common type is the ragged crater left behind when a wall anchor for a shelf or television bracket pulls out.
The problem is that the load was carried by an anchor in the drywall instead of solid framing. A drywall patch put back the same way will tear out again, so we back the opening and give the screws solid wood to bite into. For a doorknob hole, adding a door stop or hinge pin stop is the simplest part of drywall hole repair.
Cracks Along Taped Seams and Above Door Headers
Two types of cracks show up often enough that you can tell them apart yourself. One runs straight along a taped seam, where two sheets of drywall meet. The other runs at an angle from the top corner of a door or window. That second type forms there because the opening interrupts the wall framing and concentrates movement at the corners, while the ground under a slab in Spring swells and shrinks with the seasons. We identify which type you have during the estimate visit. We repair cracks in drywall; cracks in plaster and lath are handled through our plaster repair service.

Access Cuts Left by Plumbers and Electricians
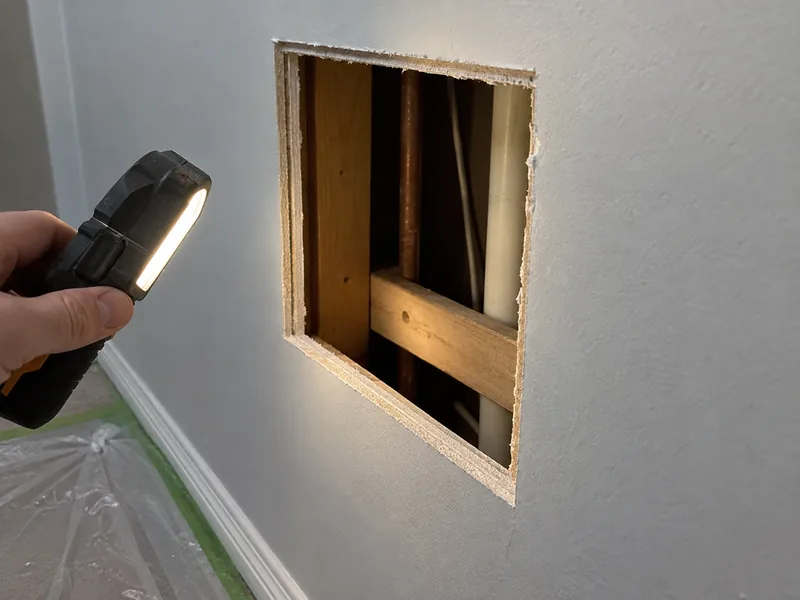
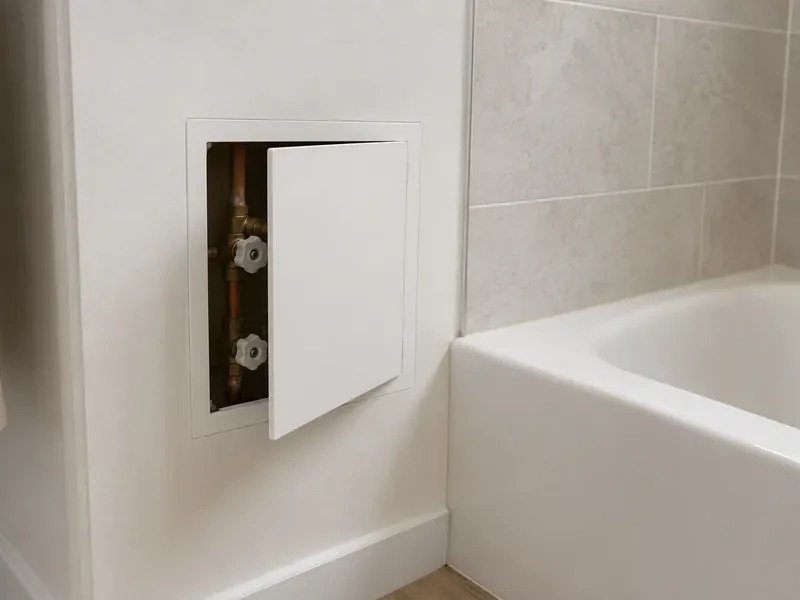
An access cut is the square or ragged opening left in your wall after someone needed to reach a pipe, shutoff valve, junction box or cable run. The trade that opens the wall rarely closes it, so the finish work is left for you once their job is complete. These are among the most straightforward repairs on this list because the cause is already known and the work behind the wall is finished.
We square up the opening, add backing, fit new board and bring the surface back level with the surrounding wall. If the opening covers something that will need access again, we install a flush, trimmed access panel instead. Sheetrock wall repair beside a shower or tub brings up a separate question about which type of board belongs in that location.
Failed Earlier Patches and the Repairs That Came Back
Some of what you are seeing is not the original damage but a previous repair that failed. A failed drywall patch cracks, bulges, sinks below the surrounding wall, or shows as a bright flat rectangle when light hits the wall from the side. These failures fall into two groups. In the first, the patch was built wrong, with no backing behind it, mesh tape laid straight over the old crack, or one heavy coat of joint compound where several thin coats were needed. In the second, the repair itself was sound but the cause of the damage is still active behind it, and those two situations need completely different repairs.
Reading the Damage Before a Drywall Repair Starts
Every drywall repair starts by finding the cause, because the crack, stain or bulge you can see is only the mark it left behind. A drywall damage assessment tells us whether anything behind the gypsum board is still moving, still wet or still loose, since closing the wall over an active problem means the damage will return along the same line within a season or two. We inspect the wall during the estimate visit before quoting a price, so the repair plan matches the cause instead of just covering the surface.
What the Shape and Place of a Crack Tell You
The path of a crack tells us what moved. A straight crack along a seam points to the taped joint beneath the surface, where paper tape and joint compound cover the gap between two boards, and means that joint has failed or the fastening behind it has shifted. Ordinary drywall crack repair rebuilds that joint. A crack running diagonally off a door or window head points to movement around the opening itself, which in Spring is usually tied to clay beneath slab-on-grade houses swelling in wet weather and shrinking in dry.
What matters most is not the width of the crack but whether it returns. If a crack reopens along the same line after a backed, re-taped repair, the wall is still moving, and foundation settlement cracks like that need a structural engineer's opinion before more compound is applied. If your doors stick in one season and swing freely in another, that points to the same kind of movement.
When the Board Is Damp, the Patch Waits
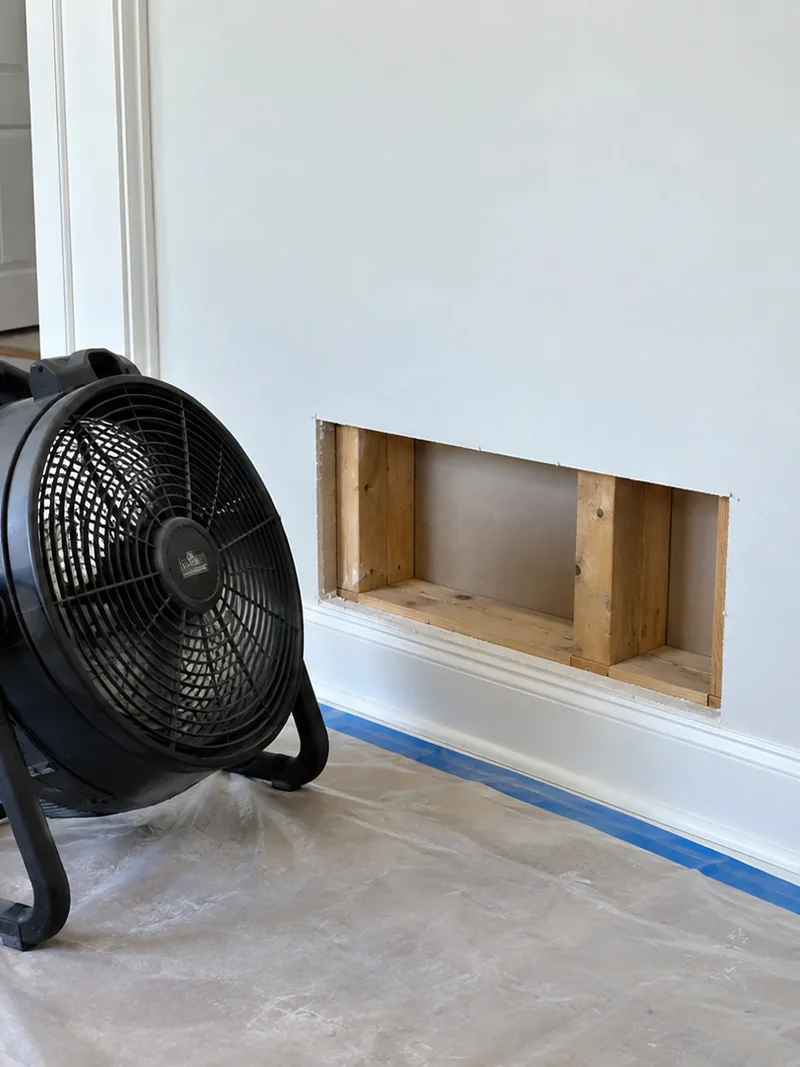
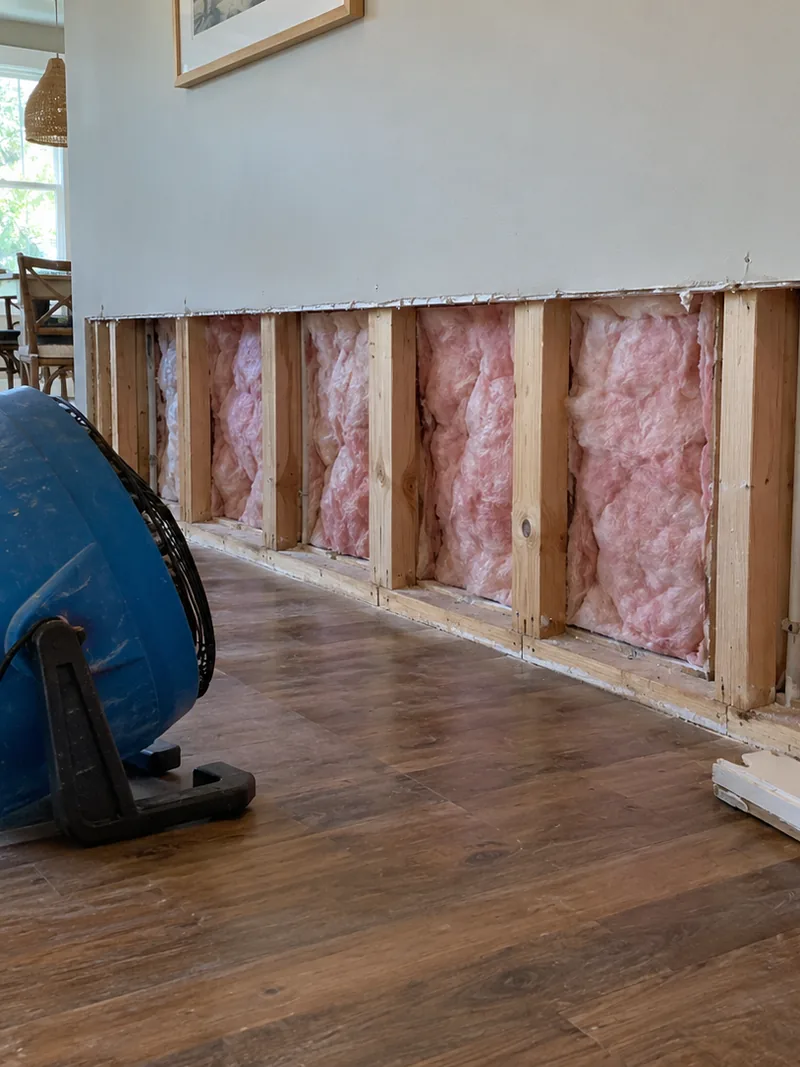
A stain, soft spot or bulge shows that water has been in the wall, and gypsum pulls moisture beyond the visible edge of the damage, so we do not close anything up until the board is dry. We compare the exposed framing and surrounding materials against dry reference readings before closing the wall.
A damp stud bay, the cavity between two studs, will cause another problem if it is sealed behind fresh board before it dries. Replacing water damaged drywall is our work, while finding the source and drying the cavity behind it is handled through our water damage repair service. When mold reaches past a small, contained area, Texas licenses that assessment and remediation work, so a licensed mold professional handles it first. In rooms exposed to damp conditions, we install mold-resistant board for the replacement.
Damage That Needs a Different Service, Not a Wall Patch
Some of what we find during a walk-through belongs to a different service, and identifying that during the estimate visit saves you from booking another appointment. Ceiling work goes to our ceiling drywall repair and replacement service, whole-room retexturing to our finishing and texturing service, plaster to our plaster repair service, and bent or split corner bead to our corner bead service.
A garage wall or ceiling separating the garage from the rest of your house is a code-required separation, built with a specified board thickness and type rather than a fire rating. Any patch there goes back with that same thickness and type, and our fire-rated drywall service prices the work. Older ceiling texture is tested for asbestos before it is disturbed, with the testing and any work that follows handled through our popcorn ceiling service.
How the Size of the Opening Picks the Patch
The size of the opening determines how a drywall repair is built. We sort holes into three groups: small enough to bridge, large enough to need solid backing, or large enough that the damaged board has to come out to the framing. Whichever group your hole falls into, we square up the opening first so the new edges sit against a straight surface instead of torn paper. A drywall patch with unsupported edges moves when the wall is bumped or leaned on, and that movement causes cracks along the patch line.
Small Holes and the Patch That Backs Itself
For smaller holes, up to roughly six inches across, the surrounding board is strong enough to support the repair without adding anything inside the wall cavity. A self-backing patch carries its own support across the opening, either as an adhesive mesh patch that sticks to sound board around the hole or as a square of gypsum board cut with a paper border left around the edge and bedded into joint compound.
Both methods work because the surrounding board supports the patch. Once the opening gets larger, the patch edges start to show through the finish, which is why an old drywall hole repair can still be visible under the paint. We cover the patch with setting-type compound in two or three thin coats.
Openings That Need Backing Behind the Board
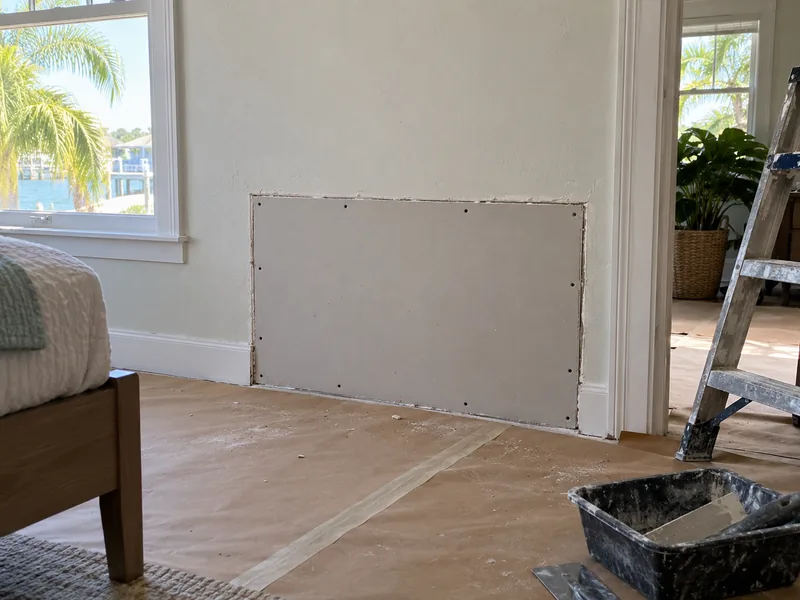
Once the opening is larger than about six inches, the surrounding board cannot span the gap on its own, so the new piece needs solid backing. We fit backing strips inside the wall cavity behind the opening and screw them through the sound board on both sides, giving every edge of the replacement piece a firm surface to sit against.
We cut the replacement piece to fit the opening rather than enlarging the opening to fit the piece, then set it flush with the face of the wall. If it sits too high, it leaves a ridge that cannot be sanded flat without cutting into the paper; if it sits too low, a shadow remains along the edge. Most doorknob holes and pulled anchors fall into this range, and a sheetrock wall repair at this size is still a patch rather than a new sheet.

When the Cut Runs Stud to Stud
At the larger end of the range, drywall replacement is the cheaper option: we cut the damaged board back to the center of the studs on both sides, typically sixteen inches apart in a Spring wall, and hang a fresh piece. That puts the seams on solid framing so the joints stay stable. The deciding factor is the area that has to be finished, not the amount of board being replaced.
The board is the cheaper part of a drywall repair cost; the finishing takes more of the labor. Once a patch would require compound worked over more wall than a replacement piece, replacing the section costs less. Several holes in the same stud bay usually become one replacement piece for the same reason. If your damage is scattered and each opening is small, separate patches still cost you less.
What a Drywall Repair Costs in Spring
A drywall repair cost is based on the work the wall needs, not just the width of the damage. The price depends on three things: the size of the opening, how easily we can reach it, and how much surrounding wall needs to be coated, sanded and textured so the finish looks like one surface. That last part is the finishing area, which is why two holes the same size can have different prices.
A four-inch hole in a flat, open hallway wall is a small repair. Put the same hole behind a stair rail on a wall with sprayed texture, and there is more work involved. We price each drywall repair as a separate line item instead of estimating by the hour, so you know what you are paying for before the work starts.
What a Drywall Repair Estimate's Line Items Price
Each line on a drywall repair pricing estimate explains a specific part of the work your wall needs:
- How wide the opening is and whether a backing strip needs to go behind it so the new board has solid support.
- How far the compound has to be feathered past the damage before the wall is flat again.
- Whether the existing wall is smooth or textured, and whether that texture was sprayed on or applied by hand.
- How we reach the wall, whether it is behind a stair, under a cabinet run, or past a tenant's furniture that needs to be moved and covered.
- Whether something is still causing the damage and has to be dealt with first.
- How many separate repairs are completed during the same visit, since setup only has to be done once.
- Priming and painting the repaired wall, which is included on the same estimate instead of being left for you to arrange separately.
Access and texture affect the price just as much as the size of the repair.
Where Your Repair Lands in the Price Range
Most single-room drywall repairs in Spring run $150 to $1,500, depending on the size of the damage and whether texture has to be matched. Within that range, a drywall patch cost for a crack tied to slab movement is generally $150 to $450, while a small or medium hole runs about $200 to $600. Matching a sprayed texture is priced separately and adds roughly $150 to $350.
These are local market ranges, not prices we quote without seeing the wall first. Instead of guessing over the phone, we inspect the wall at no charge and give you a written estimate with the scope priced line by line. Call us at (936) 286-6045 to book the visit.
From Your Call to a Finished Wall
A drywall repair follows five steps from your first call through the final walkthrough, and we only need you for the first and last. At the estimate visit, you show us the wall and explain what happened. At the final walkthrough, you inspect the finished repair and confirm that you are satisfied with the work.
The three steps in between are ours, and you are welcome to stay in the house while we work without needing to be involved. At Spring Drywall Co., the person who prices your drywall repair is also on the crew that returns to complete it, so you do not have to explain the same details twice.
-
1
Tell Us What Happened to the Wall
Call us or send the quote form, whichever is easier. We need the room the damage is in, what it looks like to you, and roughly how big it is. If you can send a photo, send one: most damage is recognizable from a single picture, and that saves a conversation about what you are looking at.
-
2
We Come Out, Look and Price It in Writing
We read what caused the damage on this visit rather than on the day of the work, and the scope reaches you in writing.
-
3
Covering the Room Before Tools Come Out
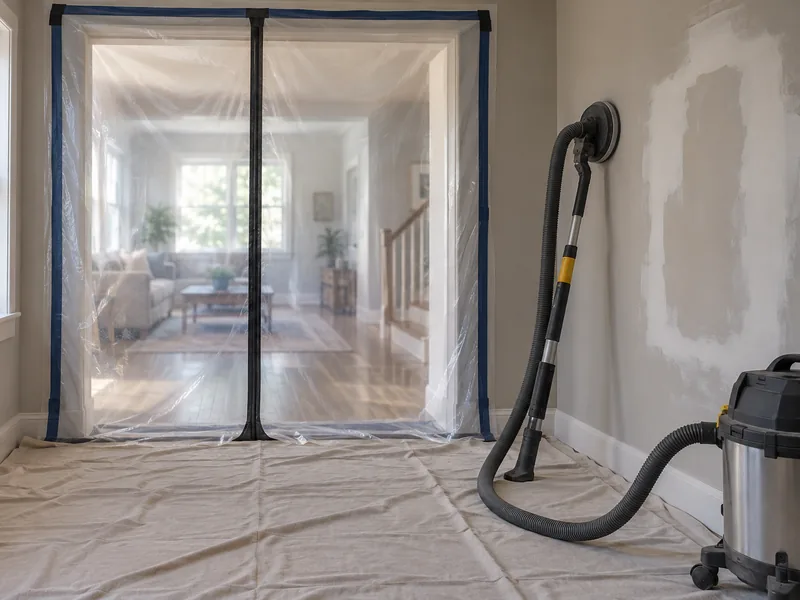
We isolate the work area, cover the floor and furniture, and control sanding dust before cutting begins.
-
4
Cutting Out, Backing and Taping
We square out the damaged area, fit backing where the opening needs it, set new board in, then tape and finish it. Coats that need drying time mean a second visit.
-
5
Texture, Paint and the Walkthrough
Once the wall is flat, the texture is blended and the wall is primed and painted. Then we walk the room with you and hold a light so it rakes across the wall at a low angle, which is the same test you would apply from the doorway afterward anyway.
To start the drywall repair process, call (936) 286-6045 or send the quote form.
Tape, Compound and Getting the Wall Flat Again
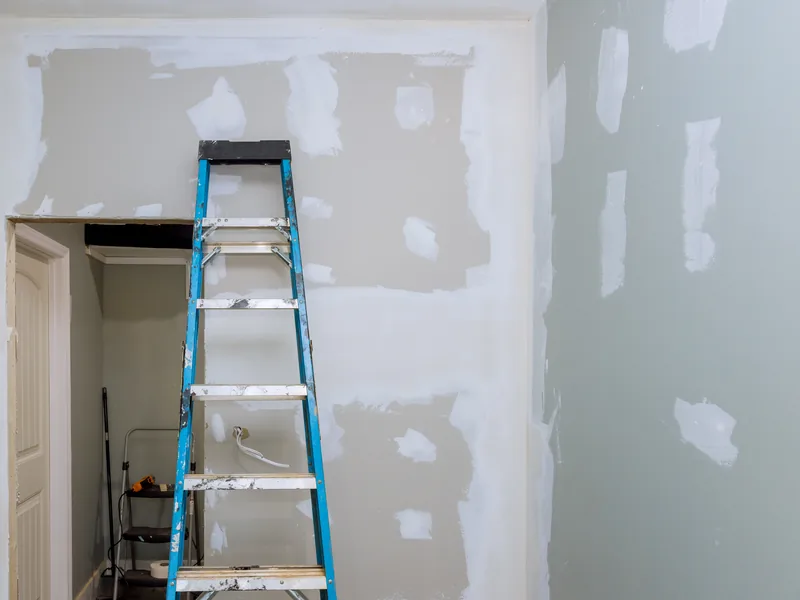
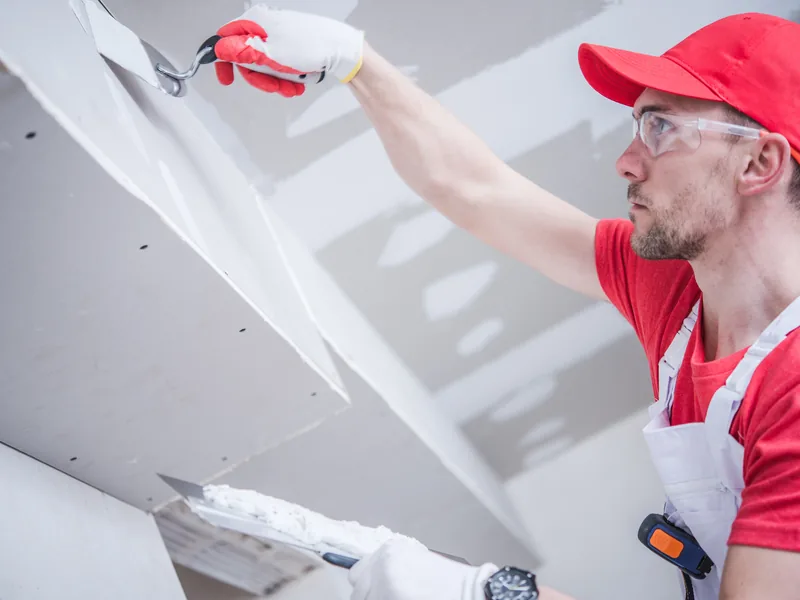
Once a patch is fixed in place, two parts of the job remain, and both are handled during drywall finishing. First, the joint between the patch and the existing wall has to be made stable so it does not flex and reopen within a season or two. Second, the edge of the repair has to be blended into the surrounding wall so there is no visible line showing where the work was done.
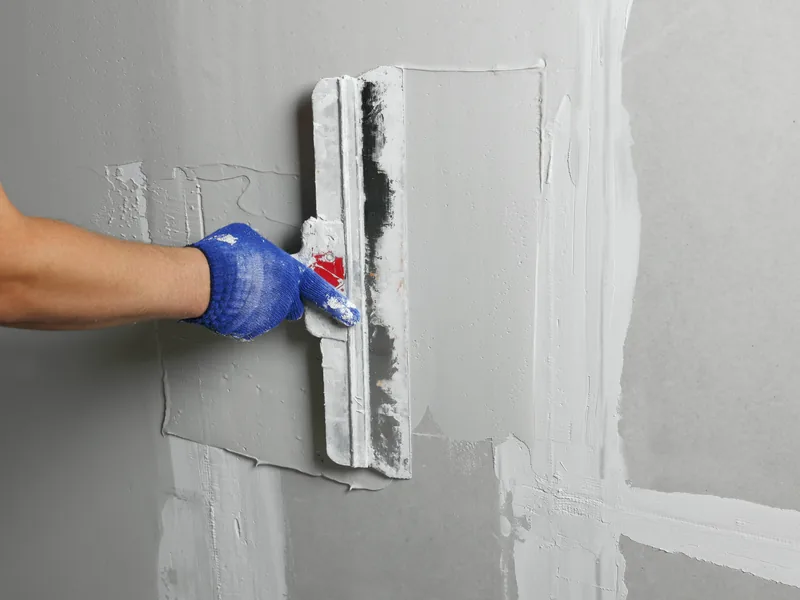
A patch can be cut and fitted properly and still show, and when that happens the finishing is almost always the reason. The joint and surrounding area are built out with thin, wide coats instead of one thick, narrow coat. Joint compound loses water as it dries and shrinks slightly, so a heavy coat settles into a hollow you can see. Three coats is standard on a backed patch.
Bedding the Tape So the Joint Stops Moving
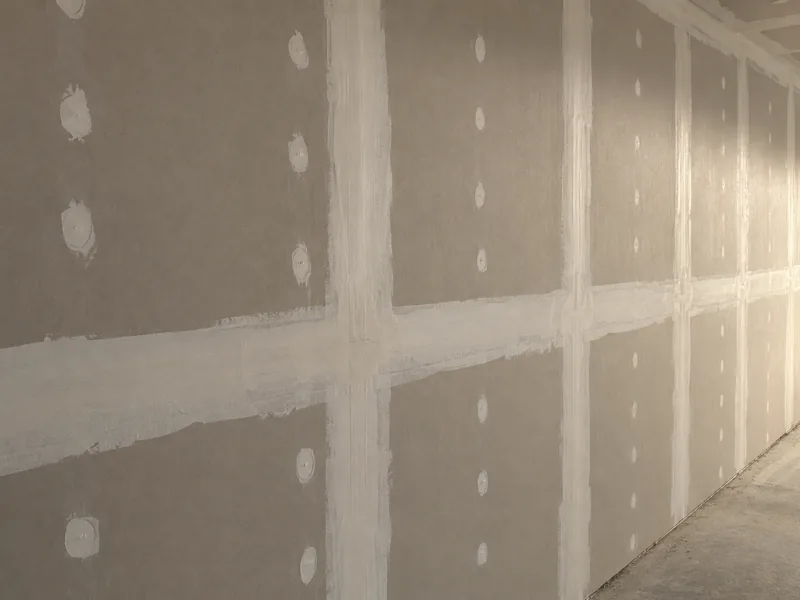
Drywall taping starts with a layer of wet compound spread along the joint, and the tape is pressed into it rather than laid on top. That bond holds the two boards together as one surface. Paper tape gives the stronger joint. Fiberglass mesh tape is easier to apply and is used with setting-type compound, which hardens through a chemical reaction instead of drying, so it sets in wet weather just as it does in dry conditions.
Setting-type compound is sold by working time, meaning how long it stays spreadable, rather than by drying time. Premixed joint compound has to release its water into the air in your room, and Gulf humidity slows that process enough to turn some repairs into a second visit. Between coats, moving air and a running air conditioner dry the wall faster than heat.
Sanding Back to a Surface That Takes Light Evenly
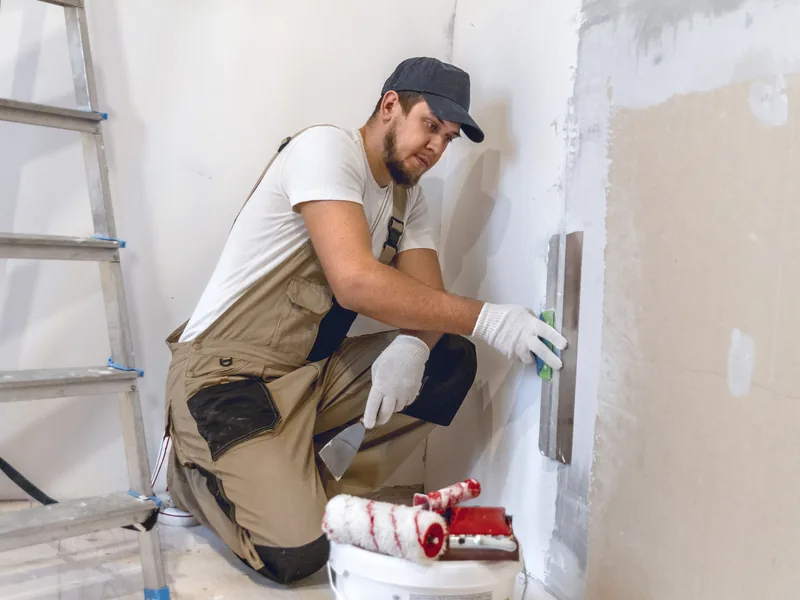
Drywall sanding removes the ridge at the outer edge of each coat so no line catches the light. Feathering keeps that sanding to a minimum because each coat is spread farther across the wall than the one below it and thinned out at the edge. That is why the finished area is much wider than the original damage, and a six-inch hole commonly ends up being finished across roughly two feet of wall.
We use a hand sander on a pole across the flat areas and a sanding sponge along the edges, with a vacuum attached to collect dust as it is made. Sanding hard enough to break through the paper face raises a fuzz that will show through paint. To check for a seamless drywall repair, we hold a light flat against the wall because side lighting reveals ridges that are easy to miss when looking straight at the surface.
Blending the Texture So the Repair Disappears
We blend the texture last so the finished patch matches the surface pattern of the surrounding wall, and this is the part of the work you are really paying for. A repair is finished properly when you cannot pick it out from the doorway. It fails when the texture pattern does not match the wall around it or when the repaired area absorbs paint differently and leaves a dull or glossy spot in the light.
Most Houston-area walls have a sprayed finish such as orange peel or knockdown, and our finishing and texturing service covers those finishes when they are applied across whole rooms. For a repair, we match the texture already on your wall instead of using a standard pattern, because a texture that does not match advertises the repair for as long as the wall stands.
Matching the Spray Pattern and Its Scale
Naming the finish is the easy part of texture matching. The harder part is matching the scale of the pattern, meaning the size and density of the individual spatters. Two things control that: how thin the texture compound is mixed and how far the hopper gun, the hand-held spray pot that applies the compound, is held from the wall.
Orange peel texture on one wall can be twice the size of orange peel on another, so we spray a sample board first and adjust the mix and spray distance until the pattern matches your wall. Age changes the target too, because each coat of paint softens the edges of an older texture and a fresh match can look too sharp beside it. Hand-troweled finishes are matched by the tool and the way it is worked rather than by a spray setting.
Carrying the Blend Past the Patch
Stopping the texture at the edge of the patch leaves a visible rectangle because the eye picks up the straight line where one pattern ends and another begins. We carry the blend well past the patch and finish it at a corner, door casing or another natural break, where the pattern can change without a straight comparison beside it.
Paint is handled the same way. Bare joint compound absorbs paint differently from an older painted wall, so we prime the repaired area first to even out the surface, then carry the finish paint from corner to corner instead of touching up only the patch. We prime and paint our own repairs rather than leaving you with a paint-ready wall, and our priming and painting service covers the coats and sheen in more detail.
What a Repair Visit Does to the Room You Live In
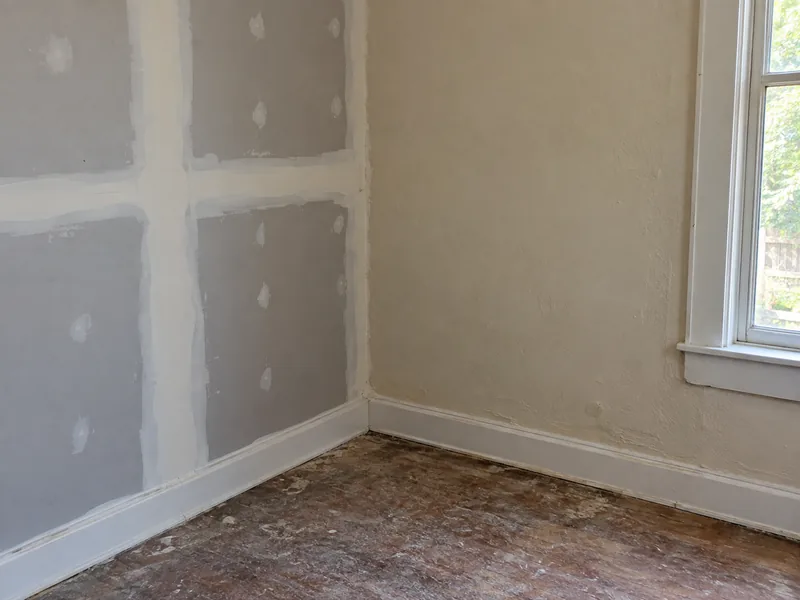
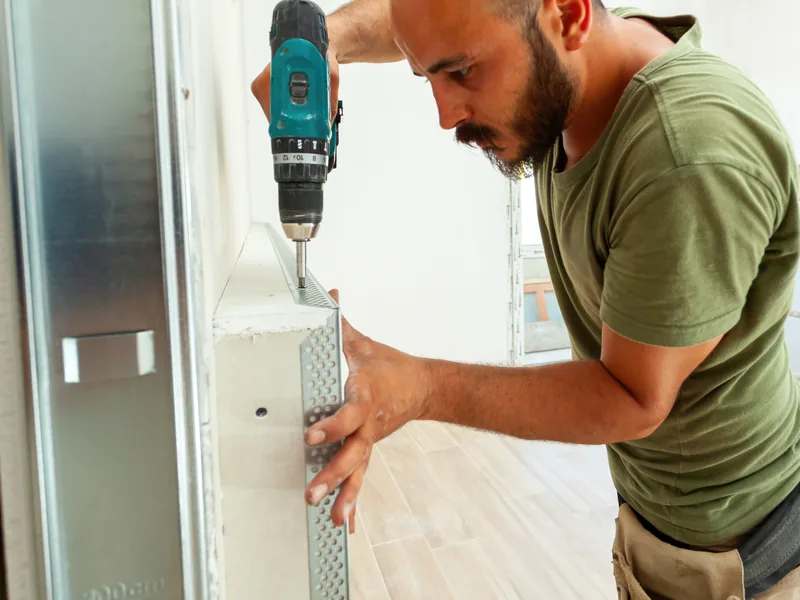
Most drywall repair takes place in a room you are still using, so the work has to be planned around a bed, sofa or desk that cannot be moved out. Sanding a patch smooth creates very fine dust that stays airborne, so it spreads beyond the immediate work area even without anyone tracking it through the house.
Because drywall dust spreads through the air, dust containment goes up before the first cut instead of after the mess has started. There is no such thing as a dust free drywall repair, but preparing the room properly makes a clear difference in how much dust gets beyond the work area.
Dust Containment: Barriers, Sealed Doorways and the Air Path
Plastic barriers, sealed doorways, and vacuum-assisted sanding are part of the base scope on every occupied-space job, not an add-on. Sealing the doorway with plastic sheeting and painter's tape blocks the route you can see. The route you cannot see is the heating and cooling system: a return vent pulls room air back to the air handler, carrying fine dust with it and sending that dust back out through the supply vents around your house.
We cover the return vents in the work area and keep the heating and cooling system switched off while sanding so dust is not pulled through the ductwork. Floors and furniture are covered instead of simply moved aside, because drywall dust settles on every exposed surface.
Vacuum-Assisted Sanding and What It Cannot Catch
Vacuum-assisted drywall sanding uses a sanding head inside a shroud connected to a vacuum, which pulls away most of the dust as it comes off the flat surface. Edges, inside corners and small detail areas still have to be sanded by hand, and that dust goes into the room air.
Where the schedule allows, we wet sand instead by wiping the compound back with a damp sponge. That creates almost no dust but takes considerably longer because each pass removes less material. Wet sanding does not work over fresh setting compound because it cures too hard for a sponge to cut. Anyone promising a completely dust-free drywall repair has not done the work.
Drywall You Can Patch Yourself, and Where It Starts to Show
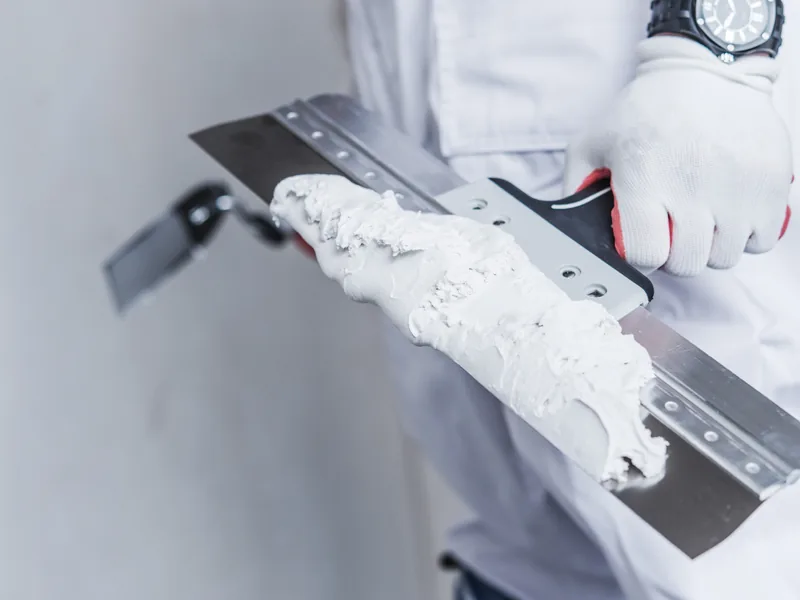
Some drywall damage is small enough for a careful homeowner to repair in an afternoon, and we would rather tell you which jobs those are than act as though every mark on a wall needs a van in the driveway. The dividing line is not how difficult the repair is, but how the finished wall looks under the light the room normally gets.
The Repairs Genuinely Worth Doing Yourself
Fastener holes, picture-hook holes and the small openings left by removed plastic anchors are all reasonable homeowner repairs, along with a nail pop on a wall without sprayed texture. Three conditions keep you on safe ground: the opening is no more than about an inch across, the wall has flat paint rather than a sheen, and afternoon light does not run across its face. Flat paint scatters light and hides a slight ridge that a glossier finish would make more obvious.
Where a Home Repair Usually Gives Itself Away
Side light is what exposes a home repair, and the problem may not show until months later. A patch that looked flat under the ceiling light can show as a ridge or dull rectangle once the afternoon sun reaches it at a low angle. That is why the three conditions above matter more than the repair technique itself.
Why Choose Us
Why Choose Spring Drywall Co. for Drywall Repair
The person who walks through your job and prices it is the same person who leads the crew that returns to do the work, so the details discussed at your kitchen table carry through to the repair itself. Spring Drywall Co. has worked this way on Spring walls for fifteen years.
- We are an insured drywall contractor, and our crews work to ASTM C840 for how gypsum panels are hung and fastened and to GA-214 for finish levels. They cover how the board is installed and how smooth the finished surface is before paint.
- We carry general liability insurance and can send our certificate of insurance before work begins.
- Our on-site estimates are free, the written estimate is line-itemed before you commit, and financing is available on larger projects.
Book your estimate at (936) 286-6045.
Where Spring Drywall Co. Repairs Drywall
Spring sits in north Harris County along the Montgomery County line, where many houses are built on slab foundations over clay soil. That clay swells when it is wet and shrinks as it dries, so the slab under your floor moves slightly with the seasons and the walls above move with it. The cooling season lasts seven to eight months, and the outdoor air stays humid through most of that time, so damp drywall takes longer to dry than it would in a drier climate.
Between the soil and the climate, the walls we open look much the same whether the house is in Spring or twenty minutes north. The same crack and moisture patterns show up throughout the communities below, so drywall repair in Spring, TX and drywall repair a few miles north involve the same work and are handled by the same crew.
Drywall Repair Across Spring and the Surrounding Communities
Spring Drywall Co. provides drywall repair across Spring and the surrounding communities of north Harris and Montgomery counties, and west into Waller County:
- Tomball
- Klein
- Shenandoah
- Oak Ridge North
- Porter
- Humble
- Aldine
- Westfield
- Bammel
- Champion Forest
- Willowbrook
- Jersey Village
- Cypress
- Hockley
- Waller
- Magnolia
- Pinehurst
FAQ
Drywall Repair Questions Spring Homeowners Ask
How much should a drywall patch job cost?
Most single-room repairs run $150 to $1,500, with most holes falling in the $200 to $600 range. The written line-item estimate is the price that binds anybody.
How long does a drywall patch job take?
Cutting, backing and taping usually takes a couple of hours. Drying time between coats is what extends the schedule and turns some one-visit repairs into two visits.
Is it cheaper to repair or replace drywall?
Patching costs less while the damage is small and scattered. Once the finished area becomes large, replacing the section costs less because most of the expense is in the finishing rather than the board.
Can a handyman fix drywall?
A handyman can fill a hole, but keeping the repair invisible depends on the backing behind it, the texture over it and the light across the wall. That is the part a drywall crew is there to handle.
Do plumbers usually fix drywall?
Usually not. Most plumbers and electricians open the wall and leave it open, so closing and finishing it is separate work with a separate invoice that you should budget for.
Can I repair drywall myself?
Yes, for small holes in flat-painted walls without texture. Repairs on walls with side lighting or sprayed texture are much more likely to remain visible afterward.
How does drywall get damaged?
Impact, load, movement and water cause nearly all drywall damage, and the pattern of the damage shows which one is responsible. That cause determines how the repair is made.
Do you only repair drywall, or do you also handle ceilings and textures?
We handle all of it. Ceilings, wet board, whole-room retexturing, plaster and corner bead are each handled as separate services and priced on their own line of the estimate.
Is sheetrock the same as drywall?
Yes. Sheetrock is a brand name, United States Gypsum's trade name for gypsum board, and drywall is the generic term for the same panel. In Texas most people say sheetrock, and we answer to either. The repair is identical whichever word you use, and neither the method nor the price changes with it.
Get Your Wall Looked At and Priced in Writing
Spring Drywall Co. sends one crew to identify what damaged your wall, make the repair, blend the texture and paint the wall throughout Spring and north Harris County. If anything on your list belongs to another of our services, it goes on the same written estimate as a separate line item. The on-site estimate is free, and the price is put in writing before any work starts. Call (936) 286-6045 or use our quote form for a clear, written price on your project.