Drywall Finishing & Texturing in Spring, TX: Taping, Finish Levels and Texture Matching | Spring Drywall Co.
Spring Drywall Co., an experienced drywall contractor, has provided drywall finishing & texturing for homeowners, builders and property managers in Spring, Texas for 15 years. Our drywall finishing & taping work includes taping, coating and sanding new board, skim coating walls smooth, texture matching on repairs, and retexturing full surfaces. We spray orange peel and knockdown, while skip trowel and other hand-applied patterns are worked by hand with a trowel. Hanging board, priming and painting, popcorn removal, plaster work and water-damaged board are separate services we also provide.
Your finish level is written on the estimate before work starts, rather than chosen after we arrive. The published finish-level standard runs from bare board through a full skim coat, and the section below explains which level belongs in each room. Drywall texturing goes on through a hopper gun where the pattern is sprayed and with a trowel where it is not, and we check the finished surface under raking light.
We work throughout Spring, Tomball, Klein and Humble, covering both Harris and Montgomery counties. Your finish level and texture are written into the price before the crew arrives, so you know exactly what the work includes. Call (936) 286-6045 or use our quote form for a clear, written price on your project.
What Drywall Finishing & Texturing Covers in Spring Homes and Businesses
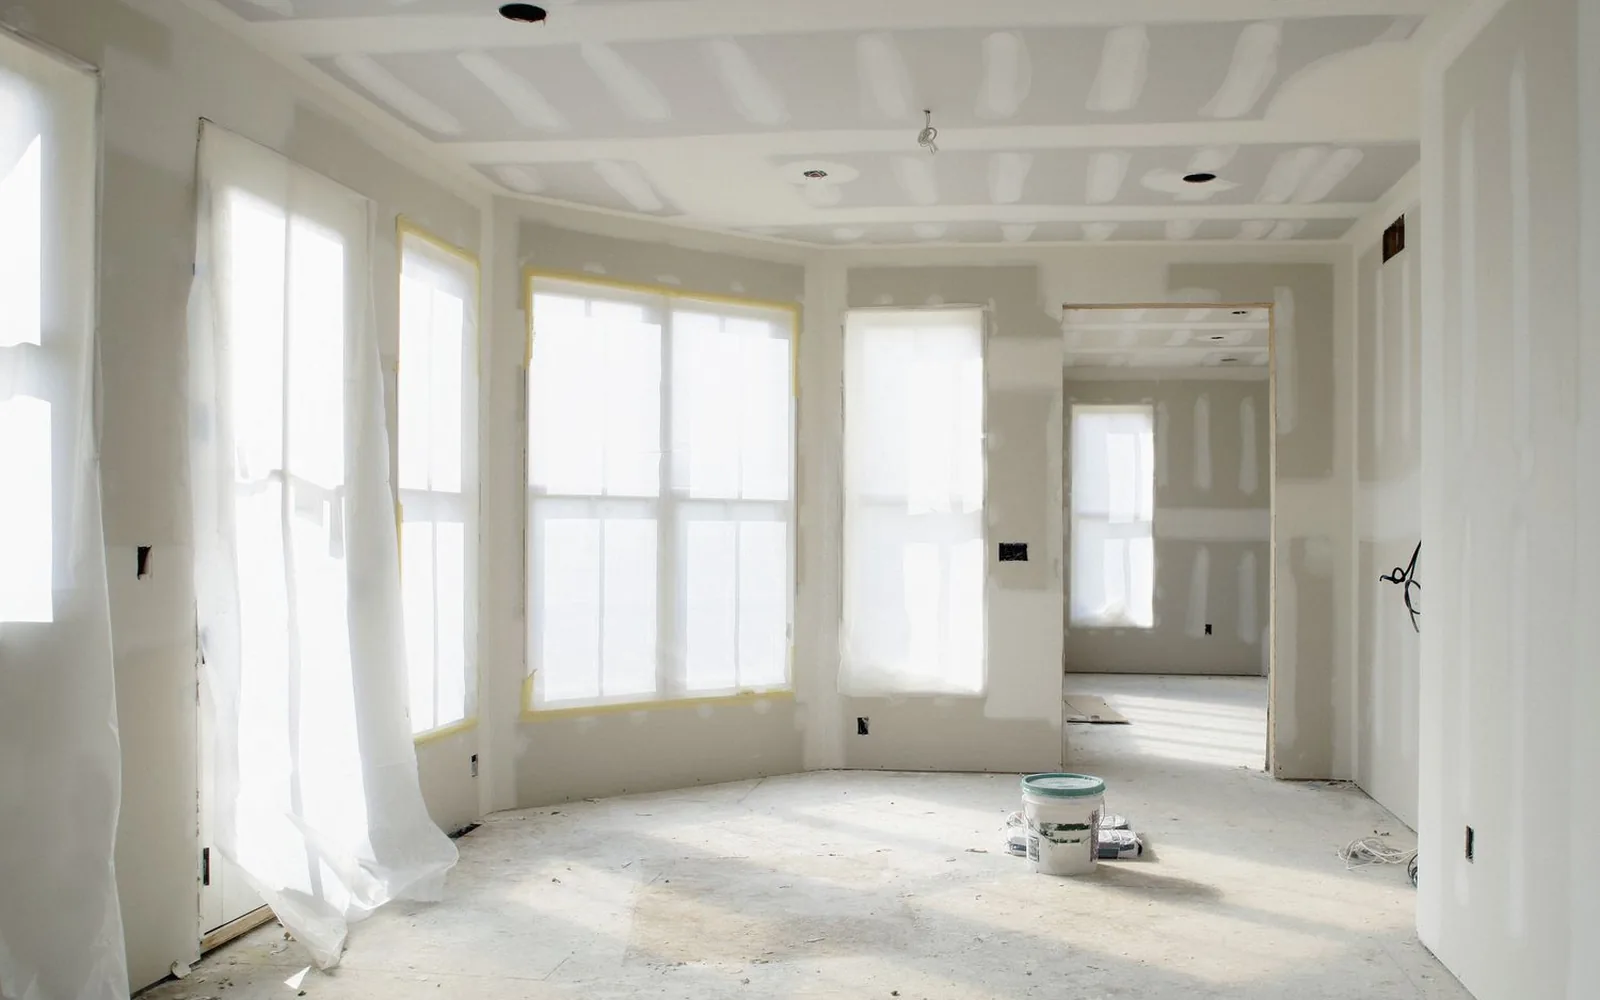
Drywall finishing & texturing is the stage that takes hung board to a wall or ceiling ready for an even coating. Most jobs fall into one of four types: taping and coating new board, blending a repair into the surrounding wall, retexturing an entire surface, or taking a wall smooth. Whichever your project needs, the work ends at the same point, with a finished, textured surface ready for primer. Priming and painting follow as a separate service of ours.
Taping and Coating New Board
Once the board is hung, every seam, inside angle and fastener head has to be covered with joint compound before a coating goes on. What you are buying is several coats in sequence, and the number of coats follows the finish level your estimate names. On a remodel, the new board has to meet the existing wall cleanly, because that transition is where poor finishing shows. Hanging the board itself is covered under our drywall installation service.
Blending a Repair Into the Wall Around It
A repair can be perfectly flat and still catch your eye if the surrounding texture does not match. We read the existing pattern on your wall and match it before the repair is sprayed, which is what texture matching means in practice. Fresh compound and older painted texture take a sprayed pattern differently, so some repairs need the texture carried to a corner or another break in the surface instead of stopping mid-wall. We price how far that texture needs to run during the visit. Cutting out the damaged area and adding backing is covered under our drywall repair service.
Retexturing a Whole Wall or Ceiling
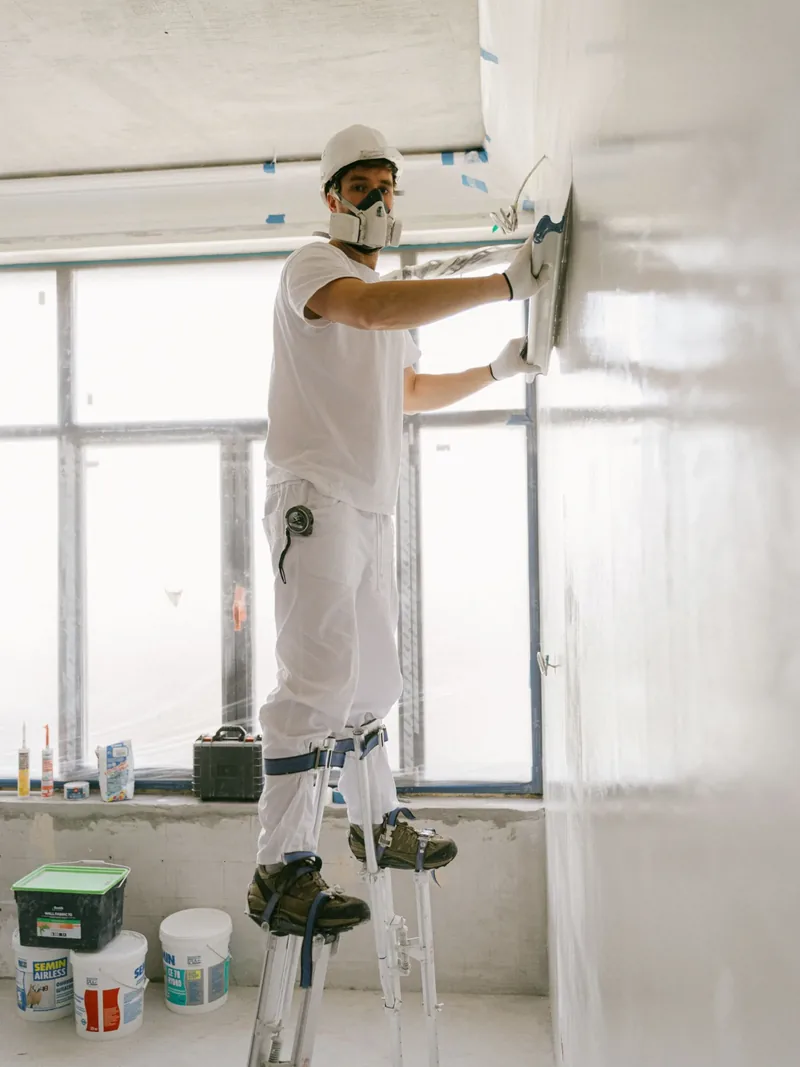
Retexturing replaces the finish across a full wall or ceiling from corner to corner. A surface is a good candidate when paint has filled in the existing pattern, when an older hand-applied texture is uneven, or when too many past repairs make a localized match impractical.
Where the existing finish needs to be removed first, we follow one clear rule about what we disturb: popcorn texture or other suspect material is tested by a qualified asbestos professional when its age or condition warrants testing before disturbance, and we scrape only material the results clear as safe. Removing a popcorn ceiling is a separate service we also provide.
Skim Coating for a Smooth Wall
A skim coat is a thin layer of joint compound spread with a trowel across the entire surface, not just over seams. In a house that already has sprayed texture, going smooth is rarely the cheaper option because that texture has been hiding the seams and fastener heads underneath it. The surface has to be leveled before the wall can be finished smooth. Smooth walls are specified as a finish level and priced that way. A skim coat also levels walls left rough after wallpaper is stripped, and wallpaper stripping is another service we provide.
The GA-214 Finish Levels, from Bare Board to a Level 5 Skim
The levels of drywall finish come from the Gypsum Association’s published GA-214 classification, not from a scale this company created. There are six levels, from 0 through 5, and each one defines the surface it is meant to go under and the number of coats of joint compound required. The right level for your wall depends on the finish going over it and the light crossing the surface, not on how careful the crew is.
Levels 0, 1 and 2: Where the Wall Will Not Be Seen
The first three finish levels are intended for surfaces that will not be seen, so they are more likely to appear on an estimate than be something you choose. Level 0 is bare board with no finishing work. Level 1 has tape embedded in joint compound and nothing more, and it is used above ceilings and in attics. Level 2 adds one coat over fastener heads and accessories, including the trims that protect outside corners, and it is also used on board that will sit behind tile. Tool marks are acceptable at all three levels by definition, which is why none of them belongs on a finished wall you will see.
Level 3: The Level Built for Heavy Texture
A Level 3 drywall finish is intended for walls that will receive a medium or heavy texture before paint, or a heavy commercial wallcovering. It uses one separate coat over the joints and inside angles, two coats over fastener heads and accessories, and leaves the surface smooth and free of tool marks. The standard also defines where Level 3 does not belong: smooth wall designs, light textures, non-continuous textures and lightweight wallcoverings all fall outside its scope of use. A non-continuous texture leaves part of the panel face exposed between the raised material, as knockdown and skip trowel do, while orange peel covers the full surface. Whether Level 3 is enough therefore depends on what will go over it.
Level 4: The Standard for a Painted Wall
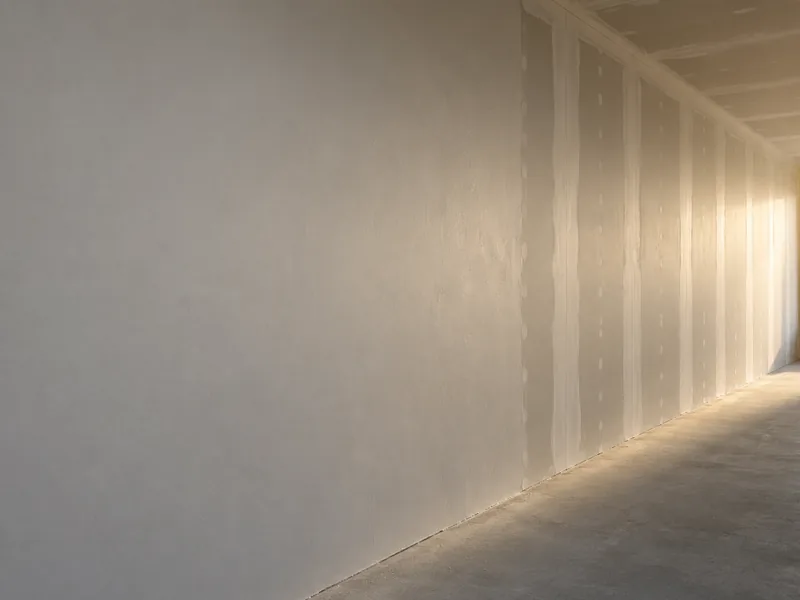
A Level 4 drywall finish is the standard baseline for rooms you live in. It is used for smooth walls under flat paint, light and non-continuous textures, and wallcoverings. The finish uses two separate coats over flat joints, one coat over inside angles, and three coats over fastener heads, with the surface sanded smooth.
Flat paint is measured rather than judged: 0 to 5 gloss units at a 60-degree angle, with anything above that classed as non-flat paint. Non-flat paints and dark or deep-tone colors point to a Level 5 finish instead. Unbacked vinyl wallcovering is not recommended over a Level 4 surface. Under critical lighting, flat paint over a light continuous texture may reduce how much of the seams you see.
Level 5: A Skim Coat Over the Whole Surface
A Level 5 drywall finish includes everything required for Level 4, plus a skim coat of joint compound across the entire surface, and it is the highest level on the published scale. Because that scale matches each finish to the conditions it will be used under, the highest quality drywall finish for a room is the level that suits its paint and lighting. Level 5 is specified for three main conditions: non-flat or glossy paint, dark or deep-tone colors, and critical lighting.
Critical lighting is strong light that strikes a wall from the side, either from a window or a fixture mounted close to the surface, and the standard treats severe lighting the same way. Remodels commonly create it: new wafer lights, a wall-washer or a wider window can expose a wall that was finished years ago to a level suited to the room’s old lighting.
A full skim is identified as the most effective way to keep joints and fastener heads from showing through the finished surface. It does not require a different primer, because the priming recommendation is the same for Levels 3, 4 and 5. The standard also warns that minor damage becomes harder to hide after decoration at these levels, and the glossier the finish, the more a later patch will show. Keep the finish level and texture pattern on your paperwork so any future repair starts from a known target.
Drywall Finishing & Taping
Sheetrock finishing is the same work under another name. It starts with bedding drywall tape in joint compound, then builds through coats feathered several inches beyond each joint, finished corners and sanding, with the number of coats set by the finish level named on your estimate. Whatever goes over the wall afterward shows a poor finish; it does not cover one, which is why the quality of the finished surface is settled at this stage.
Embedding the Tape in the First Coat
The first coat fills the shallow recess where two panels meet and embeds the tape into the joint, so the tape becomes part of the finished seam instead of sitting on top of it. Tape applied over a dry joint has nothing holding it in place, which is how a seam opens years after the room was painted. The long edges of drywall panels are tapered at the factory to leave room for the compound and tape.
Paper tape gives the joint more strength, so we use it on your flat seams and inside angles. Mesh tape is self-adhesive and goes on faster, but it needs a setting-type compound over it. A butt joint, where two cut ends meet, has no factory recess for the tape and compound, so it is the seam that shows first. Backing the joint from behind creates the hollow the factory edge would have provided and keeps the butt joint from becoming the weak spot.
The Coats That Follow, and Why Each One Is Wider
Multi-coat finishing is not about adding more material to the joint. Each coat extends farther onto the board than the one before it, so the compound tapers down to nothing, leaving no ridge you can see. Feathering is the trade term for that taper. A joint disappears because the finish fades out gradually, not because the joint is filled deeper.
The joint compound is chosen based on how quickly the room will allow each coat to dry. The number of coats then follows your specified finish level.
Inside Corners and the Angles Tape Has to Turn
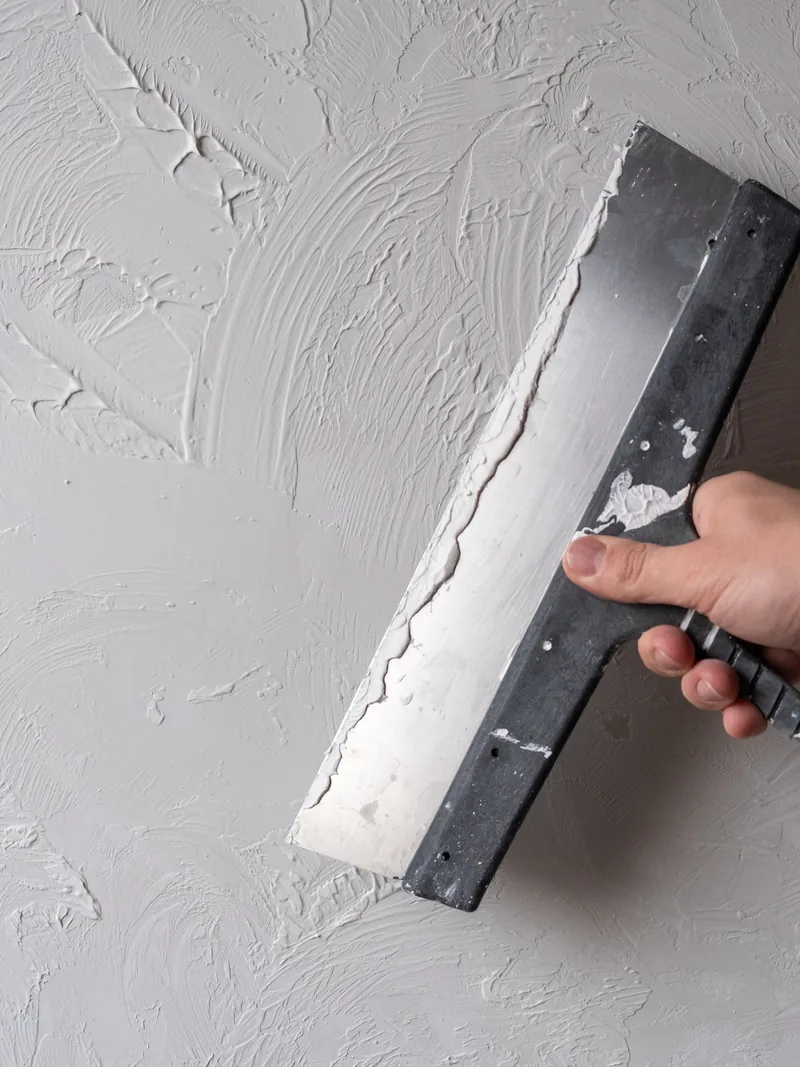
An inside angle is where two surfaces meet, so the tape has to fold into the corner rather than lie flat across it. Pre-folded paper tape has a factory crease down the center for that reason. Too much compound in the corner makes it look out of square from across the room, so both sides are kept thin and even.
GA-214 calls for one coat over interior angles where a flat joint takes two, but that is not a shortcut. The angle itself provides the shape that a flat joint has to be built up to create. Your ceiling-to-wall angles move more than wall-to-wall angles. In this climate, attic framing rises slightly in winter and settles back in summer, which opens a hairline along the ceiling line and closes it again months later. Where a house moves that way, the fix is a corner detail that allows movement, or trim over the joint; compound tying together two planes that keep moving will not hold. Outside corners and their bead are covered under our corner bead service.
Sanding, and the Dust It Makes
Sanding brings the surface to the condition required by your specified finish level by removing tool marks and ridges, and we check it under raking light before primer goes on. It is also the part of the job your household notices most, because sanding joint compound creates a fine dust you do not want in the rest of the house.
Plastic barriers, sealed doorways, and vacuum-assisted sanding are part of the base scope on every occupied-space job, not an add-on. Vacuum-assisted sanding collects dust at the sanding head instead of releasing it into the room. Where even that creates too much dust, wet sanding uses a damp sponge and puts nothing into the air, though it takes longer. Drywall sanding finishes with the finest paper that still cuts cleanly, with the goal of leaving the panel’s paper face unscuffed on the final pass.
Textures on Spring Walls and Ceilings, and How a Match Is Made
The existing sprayed or troweled pattern on your wall is the target a repair has to match. Most surfaces in Spring houses fall into one of four texture families, which narrows the choice before work starts. We identify the pattern first and reproduce it second, never both at once, and that same inspection tells us whether a patch will blend in or whether the full surface needs to be retextured.
Orange Peel, and Why It Is on So Many Walls Here
Orange peel texture is a fine, dimpled finish named for the skin of an orange, and it is the texture you are most likely to find on a Houston-area wall. It is a continuous texture, meaning the pattern covers the entire panel face with no flat drywall showing between the dimples. Those dimples range from very fine to coarse and pronounced, and that is the range a repair has to match because a fine spray beside a heavy one leaves two visibly different finishes.
Orange peel is sprayed through a hopper gun, a hand-held canister that pushes thinned joint compound through a nozzle with compressed air. The texture is controlled by the tip size, the air pressure and how thin the compound is mixed.
Knockdown and Skip Trowel
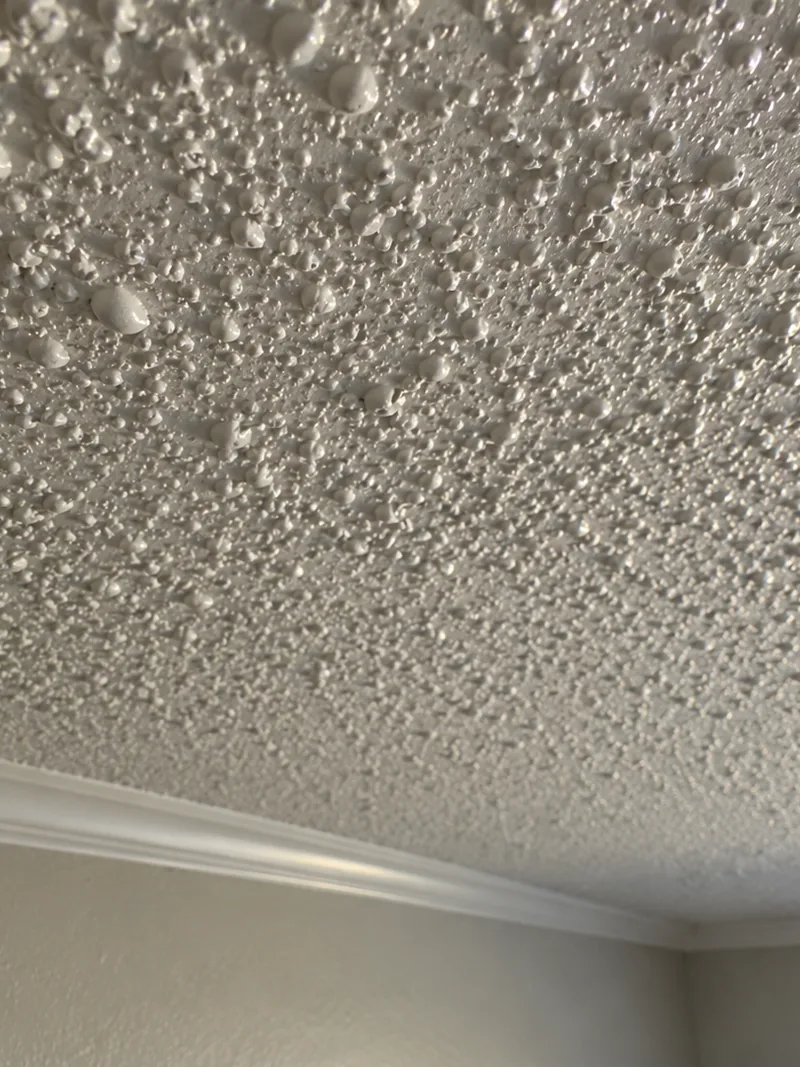
Knockdown and skip trowel both leave part of the flat panel face bare between their shapes, so the finish underneath still shows and has to be good enough to remain visible. Knockdown starts as a sprayed texture that is allowed to firm up before a wide blade flattens the peaks and leaves the broader shapes behind. The wait before that pass is short, and its length is what sets the pattern, so a match depends on repeating the timing rather than the spray. Skip trowel is applied by hand with a curved blade that rides over the low spots, leaving bare wall between the strokes.
Hand-Applied and Custom Patterns
Some patterns were made by a person holding a trowel rather than by a machine, and hand applied texture is the harder class to reproduce for that reason. What you notice is direction and rhythm: strokes that run one way, at a spacing and a depth no sprayer produces. The habits of whoever applied it are part of the pattern, and in older and custom-built Spring houses those habits are what a match is really copying. So the work begins with how the tool was moved across the wall, not with which tool it was. Where that hand cannot be reproduced closely enough, the honest answer is to redo the full surface.
Reading a Texture Before Matching It
Texture matching starts with identifying exactly what is already on your wall, and four things define it: scale, spacing, direction and depth. Naming the texture alone is not enough, because two orange peel walls can share the same name and still look very different. We mix a trial sample and hold it against the existing wall before anything in the room is sprayed. The surface is then checked under raking light, with the light held low across the wall so ridges and visible joints stand out clearly. Ordinary room lighting hides what raking light reveals, so the check is made deliberately. The same inspection tells us whether the work can stop mid-wall or should run to a corner.
Where Drywall Finishing & Texturing Goes Wrong
Three problems cause most complaints about drywall finishing & texturing: seams that show once the room is lit, texture repairs that still look like patches, and surfaces that were never sound enough to finish over. Each problem has a trade name and a cause you can check for yourself, and knowing those terms turns a general complaint about a bad drywall job into a useful question to ask before you sign an estimate.
The standard’s own acceptance test is simple: stand about five feet back, square to the wall, with the room lit the way it will be when you use it. From there, nothing should stand out. Before you see the finished wall, we check it under the stricter condition of raking light, because anything that passes that check will also hold up under your normal room lighting.
Joint Photographing, and the Light That Finds It
Joint photographing is the faint outline of taped seams showing through the paint as soft bands where the joints run. It is also called telegraphing. The effect happens because a finished joint is joint compound while the rest of the surface is paper-faced board, and the two reflect light differently enough for low light crossing the wall to reveal the seam. Higher sheen makes that difference more visible, which is why walls receiving non-flat paint are specified at a higher finish level on the estimate, up to a skim coat. Patchy or uneven sheen across an otherwise flat wall is a coating issue and falls under our priming and painting service.
A Texture That Does Not Quite Match
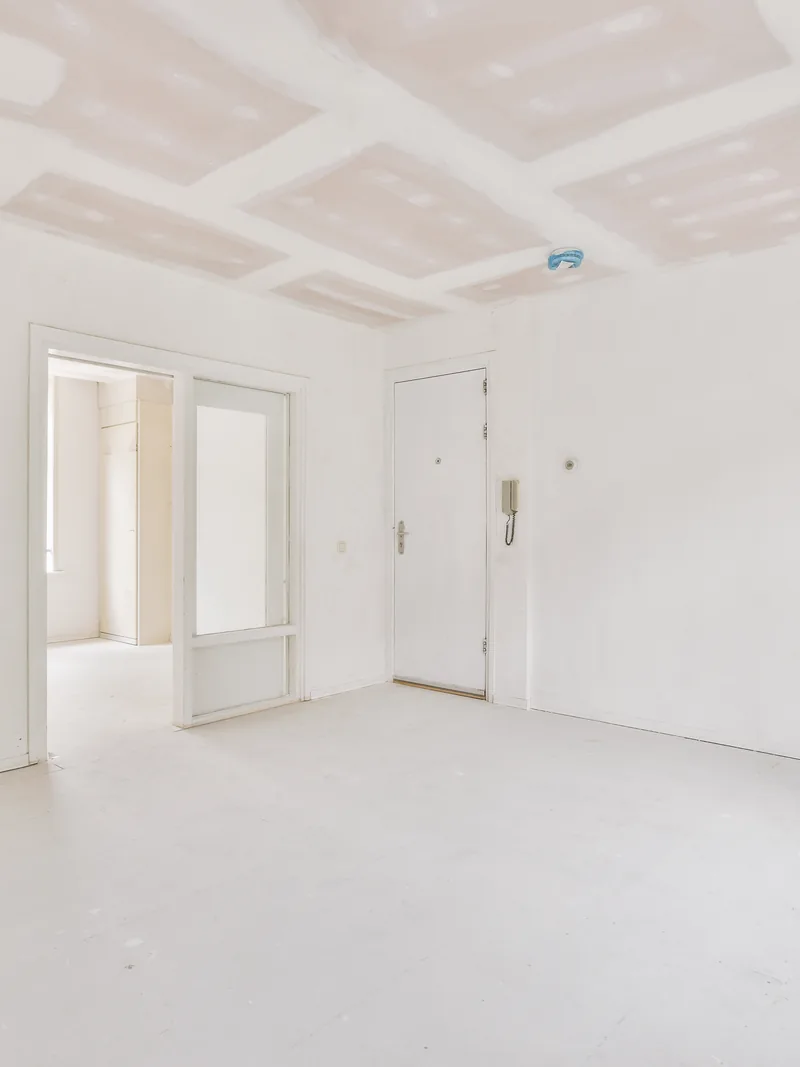
A patch can be flat, solid and correctly textured and still stand out because an older painted surface takes sprayed material differently from fresh joint compound.
We will not promise you an invisible repair in the middle of a wall, because most existing textures do not allow that. Instead, we carry the new texture to a corner, doorway or another natural break in the surface, or retexture the full wall or ceiling when that is what the finish requires. We tell you which approach the job needs when we quote it, not after the work is finished.
Finishing Over a Surface That Is Not Ready
A better finish will not correct movement or moisture underneath it. Joint compound spread over a seam that still moves with the seasons will crack again along the same line, so recurring cracks and repeated nail pops, where a fastener head pushes back through the surface, need the cause addressed first under our drywall repair and ceiling services. Damp or stained board goes through our water-damage service before any finishing starts, and a ceiling whose framing cannot support the added water weight of wet sprayed texture needs to be dealt with as an installation issue. We do not finish over any of these conditions and tell you what has to be corrected first.
Why Choose Us
Why Choose Spring Drywall Co. for Finishing and Texture Work
Estimates name the GA-214 finish level as its own line item, so a Level 5 skim is a priced choice rather than a vague allowance. Spring Drywall Co. has provided drywall finishing in this area for 15 years, and this is what you get with it:
- We are an insured drywall contractor, and our crews work to ASTM C840 for how gypsum panels are hung and fastened and to GA-214 for finish levels.
- The same estimator who walks your job also runs the crew that completes the work.
- Dust containment for an occupied house is included in the price.
- Our on-site estimates are free, the written estimate is line-itemed before you commit, and financing is available on larger projects.
Call (936) 286-6045 or use our quote form to schedule a walk-through.
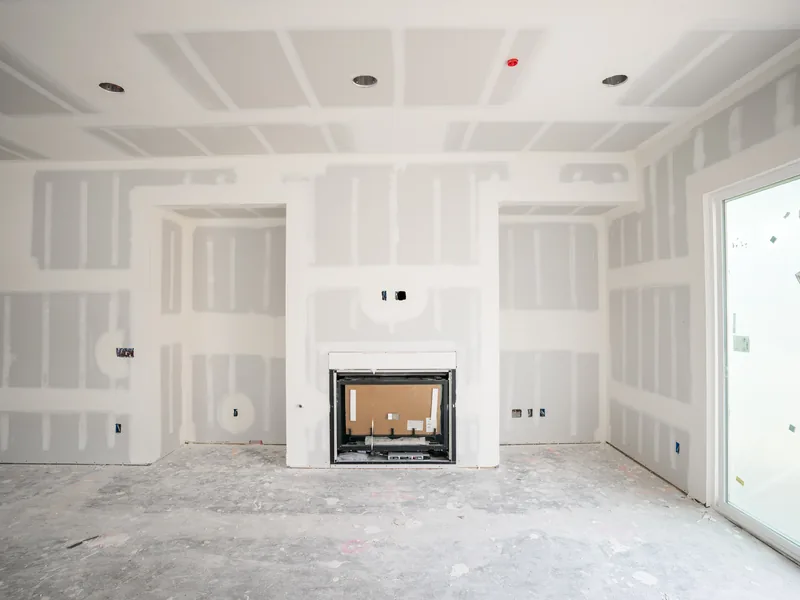
What Finishing and Texture Work Costs in Spring
Three things set the price of finishing and texture work: the amount of surface to cover, the specified finish level, and how much blending is needed to tie the new work into the existing surface. We publish ranges below so you can compare any quote, including ours, with a market figure. Those ranges are not the final price. The finish level appears as its own line on the estimate, which lets you compare two quotes side by side and see whether they cover the same work.
What Moves the Price on a Finishing or Texture Job
Most of the change in drywall finishing cost comes from the amount of surface involved and how difficult that surface is to reach and protect. We price your job against the following factors:
- the finish level named on the estimate and the number of coats it requires, each one needing time to dry before the next
- whether the texture is sprayed or applied by hand
- how far the texture match has to extend, from a single patch to a full wall or every surface in the room
- whether the work is on a ceiling or a wall, since overhead work takes longer to apply and finish
- how much preparation the existing surface needs before new material goes on
- whether you remain in the room while we work, which determines the containment and sanding method
The Figures We Publish, and What They Cover
New drywall installation runs about $2.00 to $3.00 per square foot for hang, tape and a Level 4 finish. That rate applies when the finishing is part of the drywall installation rather than purchased as a separate service. Texture matching on a repair is priced separately, with sprayed texture running about $150 to $350 depending on how much of the surrounding surface has to be blended.
A Level 5 finish costs more than a Level 4, and we give it its own line on the estimate, with no percentage added at the bottom. Both ranges are market figures, not the price for your project. Call (936) 286-6045 or send us your details through the quote form for a price on your own rooms.

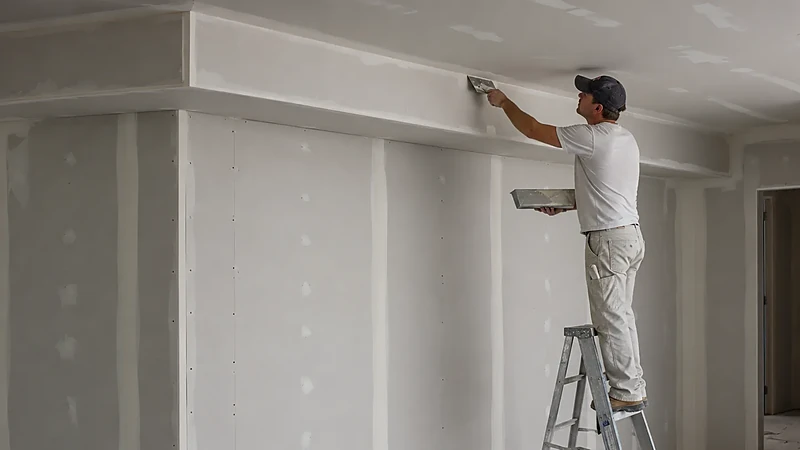
From a Free Visit to a Wall That Is Ready for Primer
Getting a room finished by Spring Drywall Co. follows four steps, and two of them need your approval. The first ends with a written estimate in your hand. Later, before any texture goes on the walls, you review a sample and approve or reject it. Between those two points, the finish coats are applied, and the job ends with a surface ready for a painter to prime.
-
1
A Free Visit and a Written Scope
We come out and look at your walls and ceilings in the light the room actually has, and we work out at that visit which texture is already on them, so nobody is guessing once the crew is booked. You leave that visit holding a scope with the finish level and the texture named on it. The visit and the estimate cost you nothing.
-
2
Containment Before Anything Is Opened
Before the first bucket is opened we seal the work zone off from the rest of your house, cover the floor and anything staying in the room, and plan the way in and out so that dust is not walked through the rooms you are still living in. On an occupied home or a business that stays open, that setup is part of the base scope and not an extra you are asked to approve.
-
3
Coats, Then Sanding, Then a Sample, Then the Texture
The coats go on to the level your scope names, with drying time between each one, and once the last coat is dry the surface is sanded and checked. Only then does texture come into it. We work up the pattern on a sample board and bring it to you, because the room itself is a poor place to discover that a pattern is wrong, and you look at that sample under the light the room actually has, daylight and lamps both. A sample judged under a work light on a stand tells you nothing about a wall with a west window on it. Once you have approved it, the texture goes on the room.
-
4
Walkthrough, Then Hand-Off to Primer
We walk the finished walls and ceilings with you under that same raking light, and anything you can find that way is corrected while we are still there. We clean the room down before we go. What we hand back is a wall a primer can go straight onto. We quote priming and painting separately.
Book the first visit by calling (936) 286-6045, or start through the quote form.
How Long Taping and Texture Take to Dry in Gulf Coast Humidity
Most of a finishing job is spent waiting for coats to dry. Each coat of joint compound has to release its water before the next coat goes on, and drying time depends on the room temperature and the amount of moisture already in the air. In a humid subtropical climate, both are harder to keep steady than in much of the country, so the compound we use and whether your cooling is running become part of the schedule from the start.
What Decides How Long a Coat Takes
An ordinary all-purpose compound dries by releasing water into the room, which is why joint compound drying time changes with the conditions around it. Manufacturers generally give a working range of about 65 to 80 degrees Fahrenheit and 20 to 40 percent relative humidity. The finish-level standard adds its own requirement: at least 50 degrees, maintained continuously for 48 hours before finishing begins and throughout the work, with a separate document covering weather as extreme as ours.
Outside air here stays well above that humidity range for much of the year, so we keep the building’s cooling running while we finish. On a house that does not have power yet, we bring a dehumidifier and air movers with us.
A setting-type compound hardens on its own schedule instead of drying only by releasing water into the room, which lets us make a coat when conditions are poor. A coat that feels dry on the surface while moisture is still trapped underneath is what causes paint to bubble later.
What Stretches a Finishing Schedule
Several things add days to a drywall finishing timeline, and knowing which ones apply to your rooms explains the number on your estimate. A Level 5 adds a full skim coat and all the drying that comes with it. Ceilings take longer because overhead coats are slower to apply and inspect. A whole-surface retexture has to be done in one continuous pass so the wall finishes with one consistent pattern, which fixes the order of the work. Removing an old finish adds another stage, humidity stretches the drying time between coats, and a room you need to keep using shortens each working day.
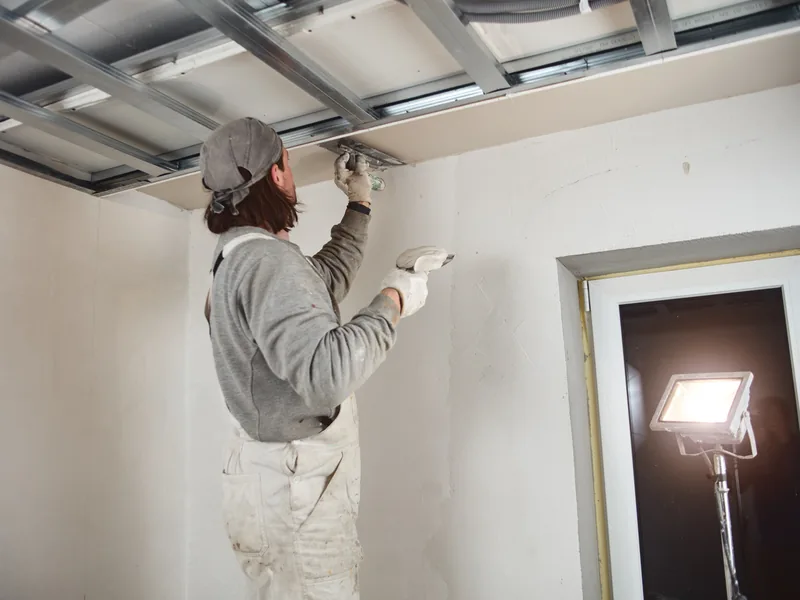
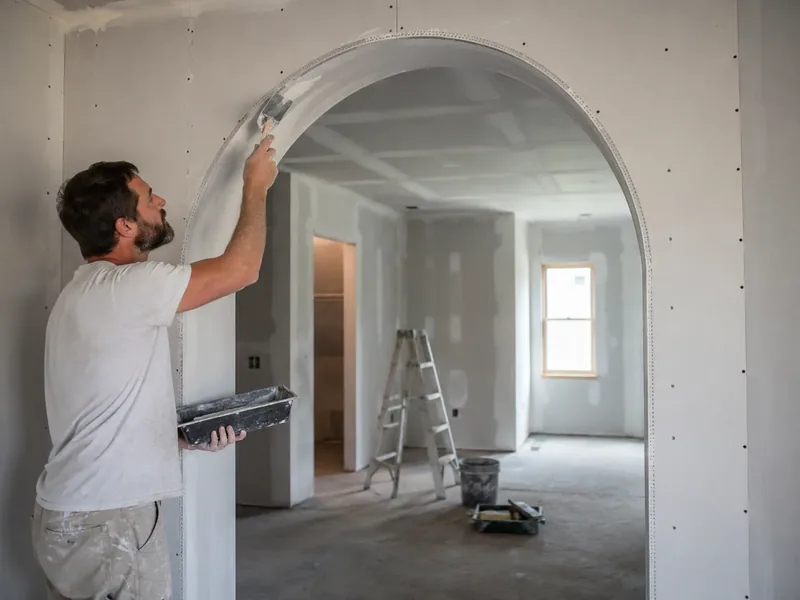
Where We Finish and Texture Drywall Across Spring and North Harris County
Walk through most homes here and the walls are not smooth. They carry sprayed or hand-applied patterns, which is why so much of the drywall texturing Spring TX homeowners ask us for is matching work rather than a flat finish. If your house is one of them, yours is a matching job before it is anything else. Houses built from the 1970s through the 1990s carry finishes applied by the methods common to those decades, while newer master-planned neighborhoods start with fresh board, where the first question is which finish level to specify before any texture goes on.
Drywall Finishing and Texturing From Spring Drywall Co.
Spring Drywall Co. provides drywall finishing and texturing across Spring and the surrounding communities of north Harris and Montgomery counties, and west into Waller County:
- Tomball
- Klein
- Shenandoah
- Oak Ridge North
- Porter
- Humble
- Aldine
- Westfield
- Bammel
- Champion Forest
- Willowbrook
- Jersey Village
- Cypress
- Hockley
- Waller
- Magnolia
- Pinehurst
FAQ
Finishing and Texture Questions Spring Homeowners Ask
How much does it cost to drywall and texture?
Expect about $2.00 to $3.00 per square foot when the board is hung, taped and finished to Level 4, and roughly $150 to $350 to blend an existing sprayed texture. The cost section above explains what moves a job within those ranges.
Will repaired drywall match my existing wall texture?
Usually, yes, including knockdown, orange peel, skip trowel and hand-laid patterns. What we do not promise is an invisible repair that stops partway across a wall. Where that is not possible, we carry the texture to the nearest natural break and tell you that during the estimate.
Is level 3 drywall finish good enough?
Only when a heavy texture is going over it, which is what Level 3 is intended for. The standard rules Level 3 out under smooth walls and light textures. If a quote specifies Level 3, check the texture or paint listed on that same quote to make sure the finish level matches what will go over it.
Is a level 5 drywall finish worth it?
Level 5 is specified under paint with sheen, under dark colors, or where strong side light crosses the wall. Outside those conditions, you are paying for a surface the room does not need. Finish levels are specified room by room, so the same house can use more than one level.
What is the highest quality drywall finish?
Level 5 is the highest published finish level, but that does not make it the right choice for your room. Under a heavy sprayed texture, the skim coat that makes Level 5 different will not be visible. The useful question is which finish level matches the room’s paint and lighting.
How can you tell if a drywall job is bad?
Stand about five feet back, facing the wall under the lighting the room will actually use. That is the standard’s acceptance condition, and nothing should catch your eye from there. Check the surface before the painters arrive, while any finishing problem is still straightforward to correct.
How long does a mud job take to dry?
There is no single drying time because it depends on the compound, the room temperature and the moisture already in the air. Your own test is color: joint compound that is still darker than the surrounding wall has not finished drying.
Can you retexture a whole ceiling instead of patching it?
Yes, and that is the right approach when a finish is too worn or too heavily patched for a repair to blend into it. Where an older sprayed finish has to be removed first, its age or condition can require testing by a qualified asbestos professional beforehand, and we scrape only what the testing clears.
Get a Written Price on Your Finishing and Texture Work
Spring Drywall Co. starts every finishing and texture job in Spring and throughout north Harris and Montgomery counties with a free on-site visit. From that visit, you receive a written estimate that prices the work in front of us. The finish level sits on it as its own line, along with any texture matching the room needs, so you can see exactly what you are paying for before you agree to the work. Call us at (936) 286-6045 or send the details through the quote form.