
Drywall Priming & Painting in Spring, TX | Spring Drywall Co.
Spring Drywall Co. is a drywall priming and painting contractor serving homes and businesses in Spring, Texas, and we have been finishing walls here for 15 years. We prime and paint bare board in new construction, patched walls, walls carrying a fresh skim coat, walls stripped of old wallpaper, and ceilings. When we hang and finish the board ourselves, the primer and finish coats complete the final stage of our work.
Board is hung to ASTM C840, which sets the spacing for screws and framing, and the surface is finished to the level GA-214 specifies for the room and its lighting. We choose the sheen with you, then apply one coat of primer followed by two finish coats. The primer keeps the finish from flashing, which leaves a patchwork of dull and shiny areas beneath a single paint color.
We work throughout Spring and across north Harris and Montgomery counties, giving you an even wall and one contractor responsible for the surface beneath the paint. Call us at (936) 286-6045 or use the quote form, and we will give you the price in writing.
What Drywall Priming & Painting Covers on a Spring Job
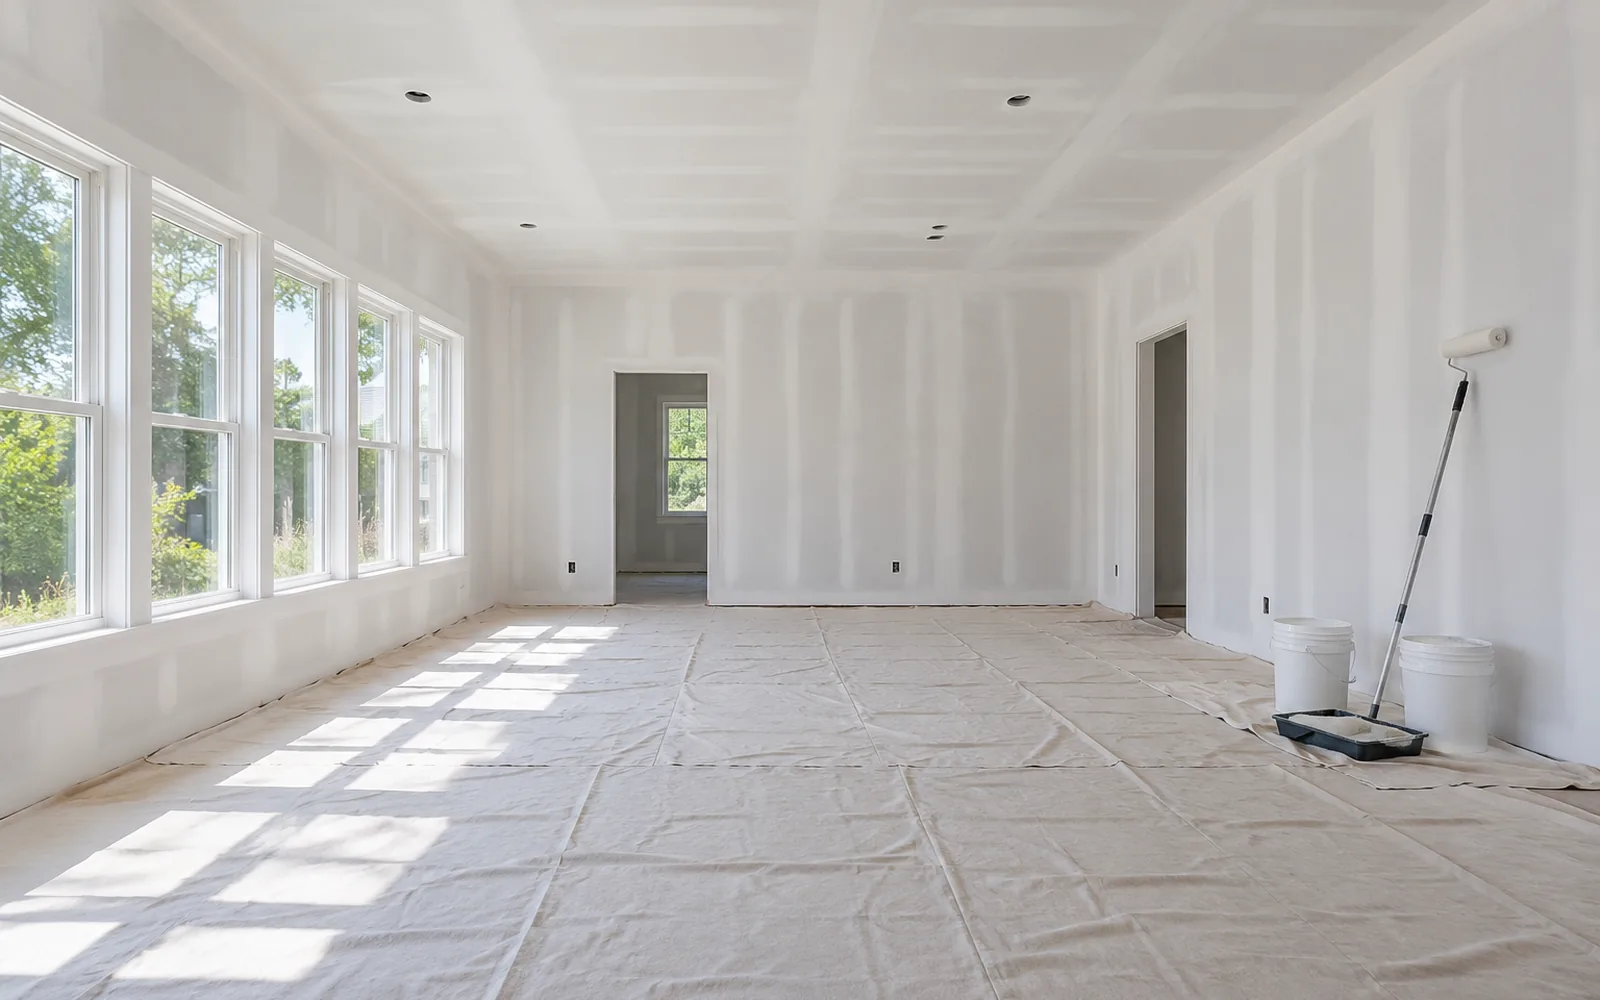
Drywall priming and painting gets a wall ready to take paint evenly, and every wall reaches that stage from a different starting point: new drywall straight from finishing, a wall skimmed smooth with compound, an older room with patches and old wallpaper, or a ceiling. New board, skim-coated walls, repaired areas, and stripped walls all need proper surface preparation and primer before the finish paint goes on. None of them is paint-ready as it stands.
New Board That Has Never Held Paint
New board is primed across the entire surface after finishing and sanding are complete. Spot-priming only the joints makes the wall absorb finish paint unevenly, so the primer is applied from wall to wall. On new construction, this is usually the first coating the room receives, and it determines how evenly the finish coats sit.
Walls Skimmed Smooth for a Level 5 Finish
On some walls, the compound is carried across the entire face instead of stopping at the seams. That is a skim coat, and it is how a Level 5 finish, the smoothest grade, is achieved. Because the compound covers the wall from edge to edge, the entire surface is absorbent rather than just the taped joints found on a Level 4 wall. Skimmed compound can feel dry to the touch while the layer underneath is still holding water, so we check it before priming. A Level 4 wall and a Level 5 wall then receive the same priming step, and GA-214, the finish-level standard, calls for a priming material before decoration at both levels.
Walls With a History: Patches, Texture and Old Wallpaper
Repainting an older room means priming the surfaces left behind by earlier work. A patch is fresh compound set into a wall whose paint has been fading for years, so the repair is both brighter and more absorbent than the surrounding surface; we carry the primer well past its edges instead of stopping at the patch.
New texture behaves the same way, absorbing paint faster than the aged finish beside it. Most walls around here have sprayed texture rather than a smooth face, usually the fine stipple of orange peel or the flattened ridges of knockdown, and that textured surface takes paint unevenly across its high points and hollows. A wall stripped of wallpaper can still hold adhesive, which paint will not bond to and which has to be removed before we prime. Each of these surfaces reaches us at the priming stage after another crew's work, and each would show through a repaint as a difference in sheen.
Ceilings, and the Flat Paint They Take
Overhead surfaces are lit differently from walls. Light from a window or fixture travels across a ceiling at a shallow angle instead of striking it head on, so any variation in sheen is visible from your doorway even when the same variation on a wall would go unnoticed. Flat paint reflects the least light, which gives that shallow light less to catch, and that is why ceiling paint is almost always sold flat. The sequence overhead is the same as it is on the walls: primer first, then the color over it. Sagging board and popcorn removal are separate services.
Getting a Wall Ready Before Any Primer Goes On
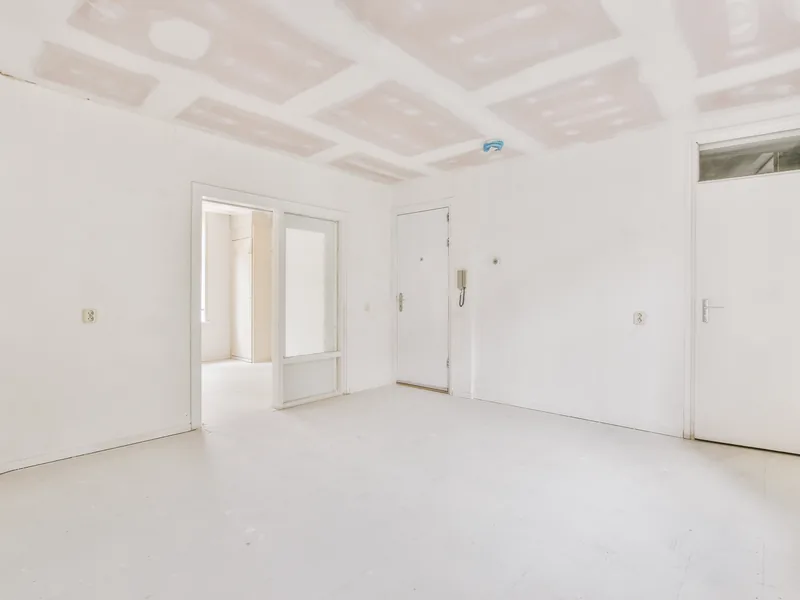
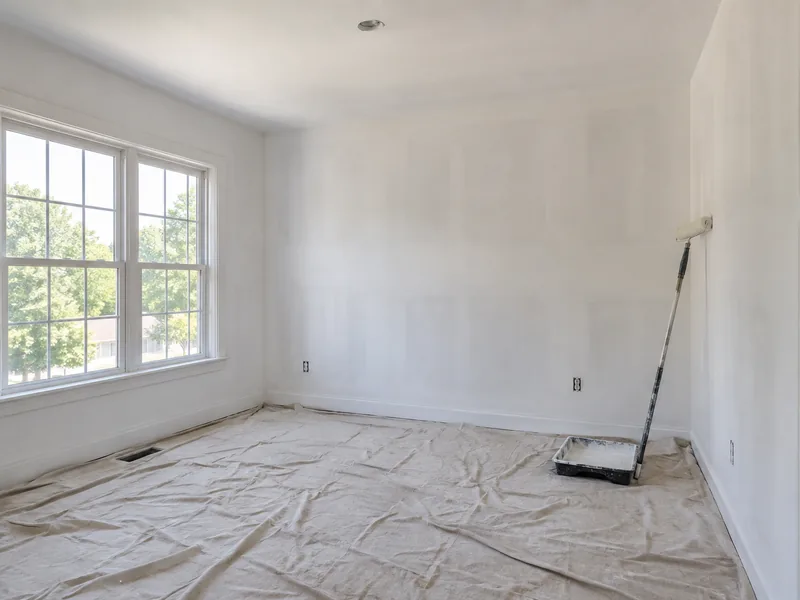
Surface preparation has more to do with the finished look of your wall than the paint you choose. The wall reaches us at its agreed GA-214 finish level, which defines how smooth the joint compound and board are before any coating is planned. From there, three things have to be right before anything goes on: the wall has to be flat so nothing catches the light, clean so the coating bonds to the board, and dry so moisture behind the surface does not come back through it.
The Final Sand Before Primer, and Knowing When to Stop
The final sanding pass removes the ridges from the finishing coats of compound so the joints sit level with the surrounding board. A pole sander fitted with a sanding screen does that across the wall in long, light strokes, and the light pressure matters. Beneath the compound is the paper face of the board, which is softer than the dried compound above it. Once the abrasive reaches that paper, it begins to fuzz, and the rough fibers show through the finish as a halo around the joint that paint will not hide. The repair for over-sanding is another skim of compound and a gentler pass. Sanding harder only removes more paper.
Getting Sanding Dust Off the Drywall Before Primer
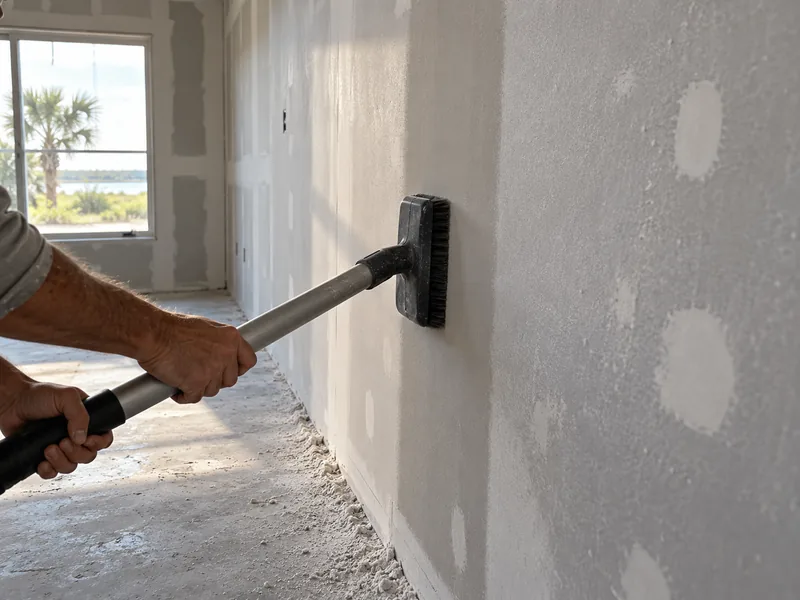
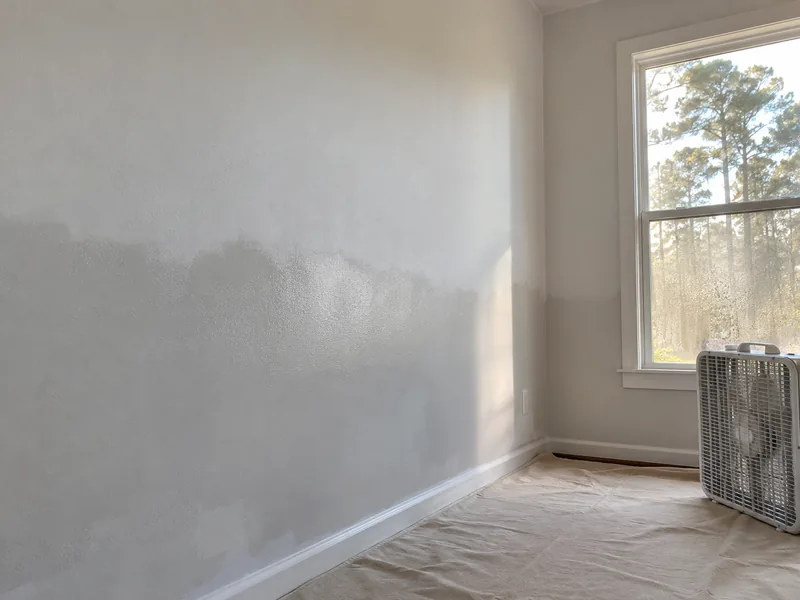
Sanding leaves a fine film of compound dust across the entire wall, not just along the joints. Clearing it is more than cleanup; dust removal is part of the bonding process because a coating applied over dust bonds to the dust instead of the board and later lifts with it. We wipe down and vacuum the wall before opening any drywall primer, never afterward, then make a final pass with a tack cloth. That is what makes the surface genuinely paint-ready.
Checking the Wall Is Dry Before It Is Closed In
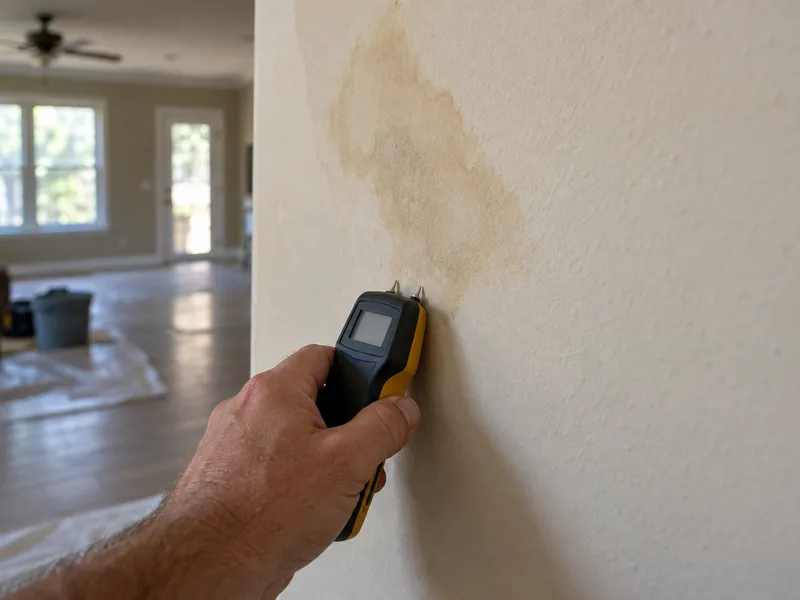
A water stain shows that moisture reached the board at some point, but it does not tell you whether the gypsum is still damp, and a coating applied over damp board will not hold. We measure the area instead of judging it by sight or by the age of the stain, comparing it with confirmed dry board nearby and waiting to coat until the readings show the material has dried. The meter goes on the stain itself, at its darkest point, because that is where any remaining water sits.
What the Primer Coat Has To Do
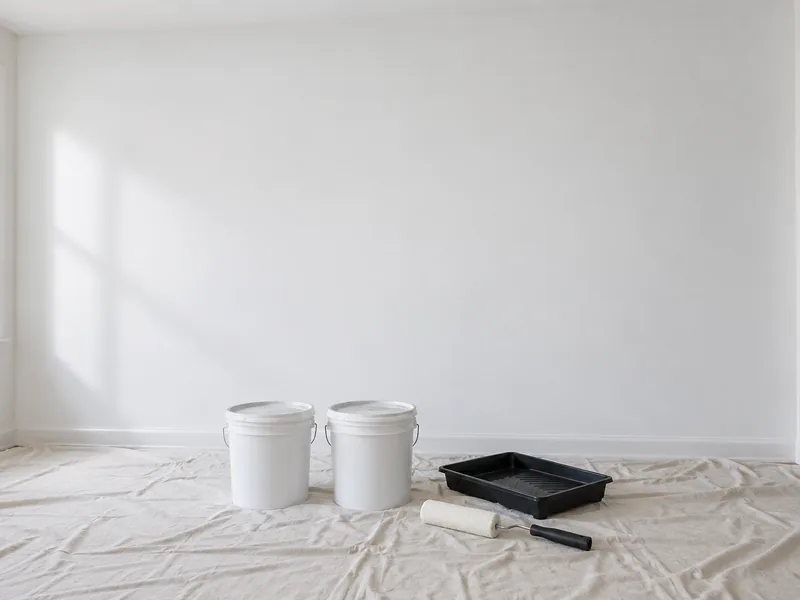
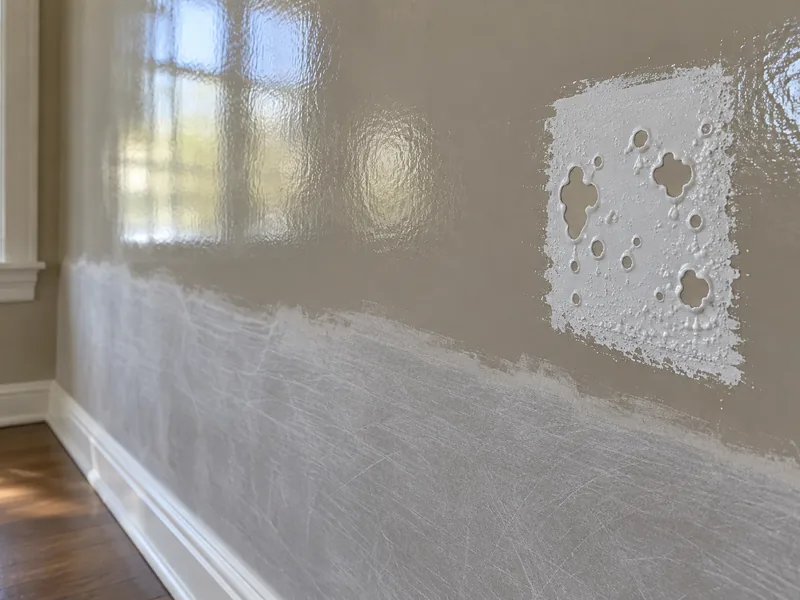
A primer is the coat applied to a finished wall before any color, and its job is to help the surface take paint evenly rather than seal it off from the finish. A newly finished wall is made up of two materials: the gypsum board's paper face across most of the surface and dried joint compound, a hard, slightly chalky plaster-like filler, over every taped joint, corner, and screw head. Dried compound is more porous than the paper, so it pulls more liquid from wet paint than the surrounding board.
Wherever a coating loses more liquid, it dries to a different sheen, leaving dull patches over every taped joint. The trade calls this flashing, and once the finish coats are on, it is permanent. Drywall primer levels out that difference in suction, which is why it goes over the entire surface instead of only the joints and why the paint you choose then behaves the same way everywhere it is applied. The Drywall Finishing Council, which publishes the trade's recommended paint systems, specifies one primer coat beneath two finish coats. Everything that follows depends on how much the surface absorbs.
Why We Say What a Primer Does, Not What It Is Made Of
Many pages sell primer by name, as though the label itself were the guarantee. Coatings sold under the same label differ in their solids, the material that remains on the wall, so the name alone guarantees nothing. We specify the result the primer has to deliver instead: the coat has to leave the surface absorbing evenly beneath the paint you have chosen.
Paint, Sheen and How Many Coats a Room Takes
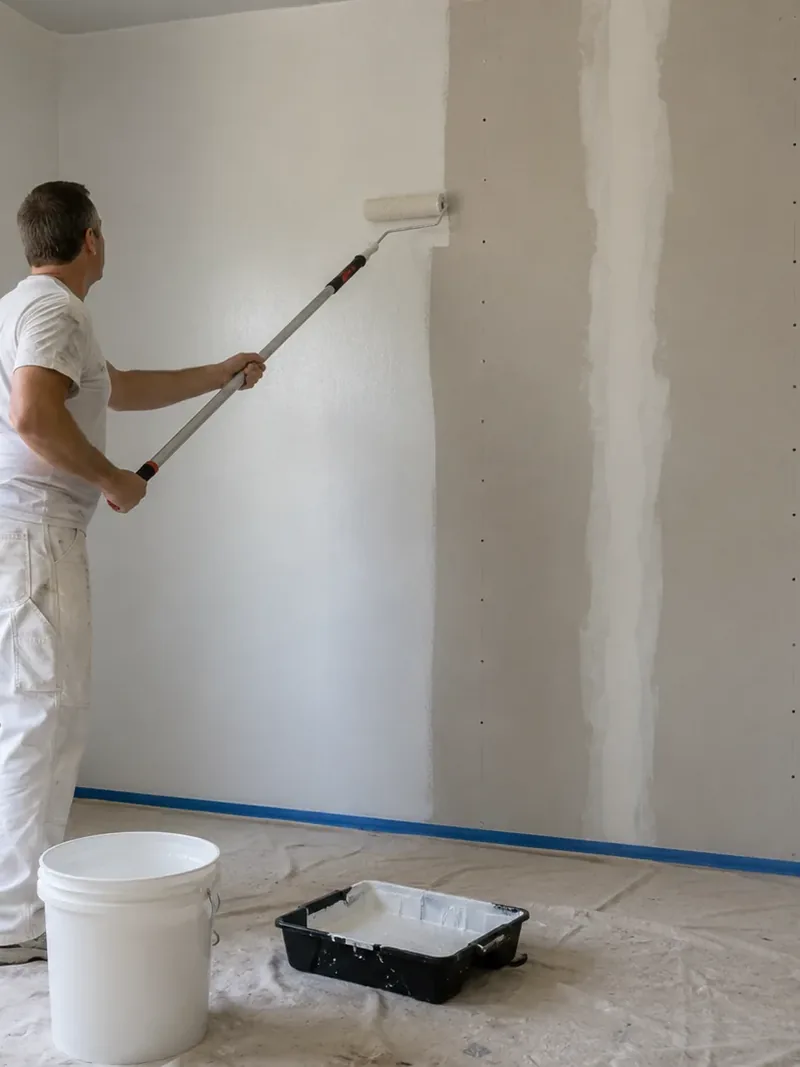
Sheen determines how reflective and washable the finished wall is. Coverage comes from applying enough material at the manufacturer's specified spread rate, not from counting roller passes.
A wall with its primer and both finish coats applied at the paint's designed thickness wears the way that paint was made to wear. The same wall coated twice with material spread too thin can look identical on the day you move back in, but the finish wears out years earlier. You will see the sheen every day, while the coverage beneath it determines how long the finish lasts.
Sheen by Room, and What Each One Gives Away
Sheen is chosen room by room rather than once for the entire house because each wall faces different wear. Flat, sometimes sold as matte, scatters light and hides more surface imperfections than any other option, but its open finish holds dirt and breaks down under scrubbing.
Each step up the sheen scale trades some hiding power for a harder, more washable surface: eggshell handles wiping, satin stands up to repeated cleaning, and semi-gloss handles the most. Kitchens, bathrooms, and hallways collect hands, steam, and cooking grease, so they call for a higher sheen. The tradeoff is more reflected light, which makes every ripple in the surface beneath it easier to see.
What Two Coats of Paint Actually Buy You
A coat is one pass across the wall, not a fixed quantity of paint, and the two are easily confused. Every interior wall paint lists a spread rate, which is the number of square feet a gallon covers at the thickness the manufacturer designed it to reach. Stretch that gallon beyond the stated coverage and less paint goes onto each square foot, so two thin coats can leave only one coat's worth of film build at two coats' price.
How the material is applied matters as well. A sprayer lays the coating onto the face of the surface without working it into the texture, so we back-roll while it is still wet, running a roller directly over the sprayed area to press the paint into the surface instead of leaving it sitting across the top.
Cutting In, Rolling Paint and Keeping a Wet Edge
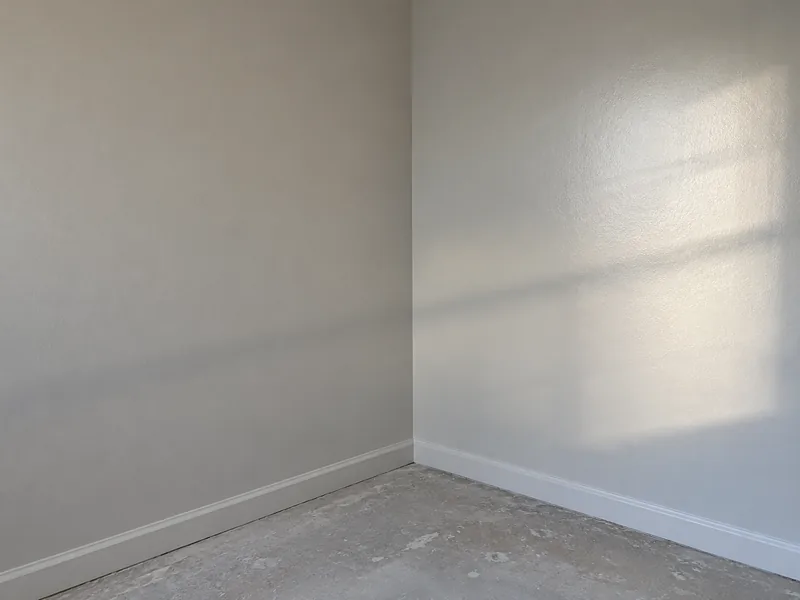
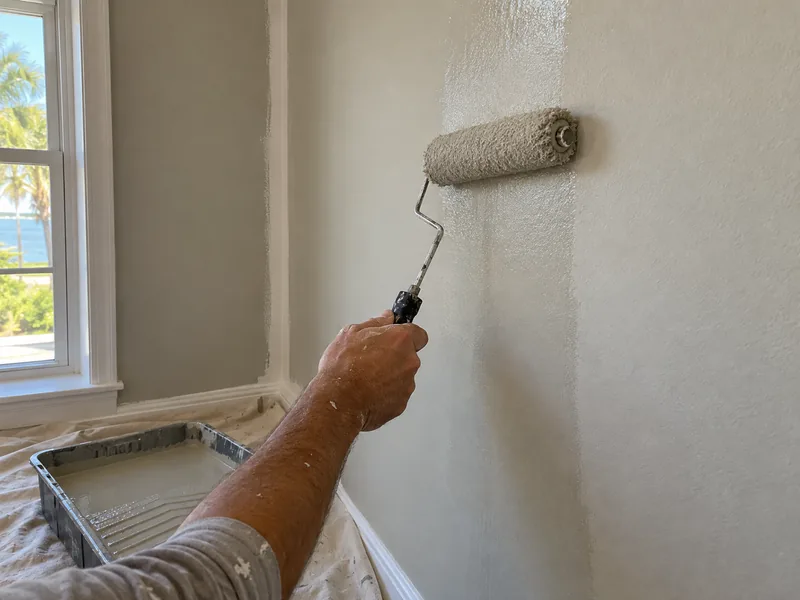
Cutting in is the brushwork done first wherever the roller is too wide to reach cleanly. The roller then has to meet that brushed band while it is still wet, which is what keeping a wet edge means; if the roller reaches it too late, the two dry as separate films and leave a visible border around the room.
Why Choose Us
Why Choose Spring Drywall Co. for Drywall Priming & Painting
Priming and painting is the final stage of the board work we have already completed, so the same crew that hung, taped and finished your wall also applies the coating. That gives you one contractor responsible for the finished surface if something does not look right. When one company hangs the board and another paints it, uneven sheen can turn into a dispute between two trades, leaving you caught in the middle. With us, the responsibility stays in one place. We are an insured drywall contractor, and our crews work to ASTM C840 for how gypsum panels are hung and fastened and to GA-214 for finish levels.
Fifteen years of work on homes and businesses around Spring backs that experience. We take the wall to whatever stage you need:
- stop after drywall primer, leaving the wall ready for your own painter
- continue through to the finished color with interior wall paint
Financing is available for larger projects. Call us at (936) 286-6045 to get a written estimate.
What a Priming and Painting Estimate Is Built From
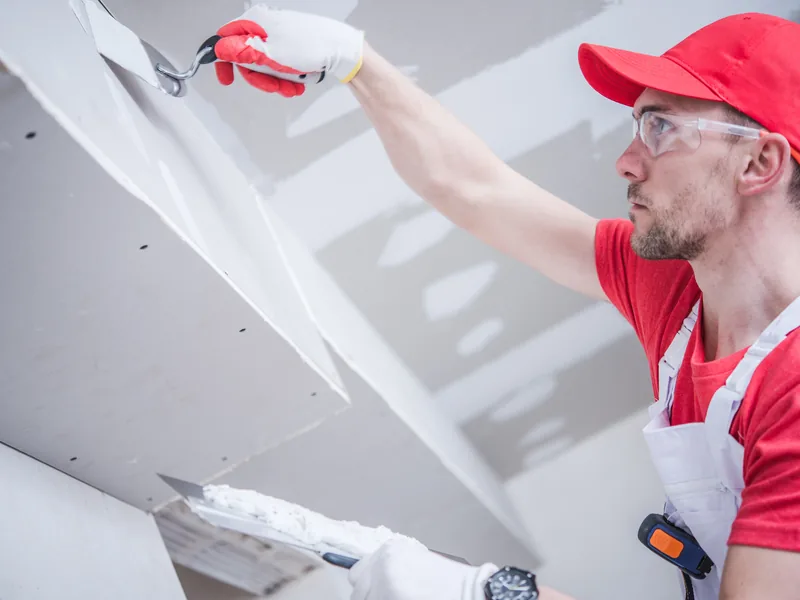
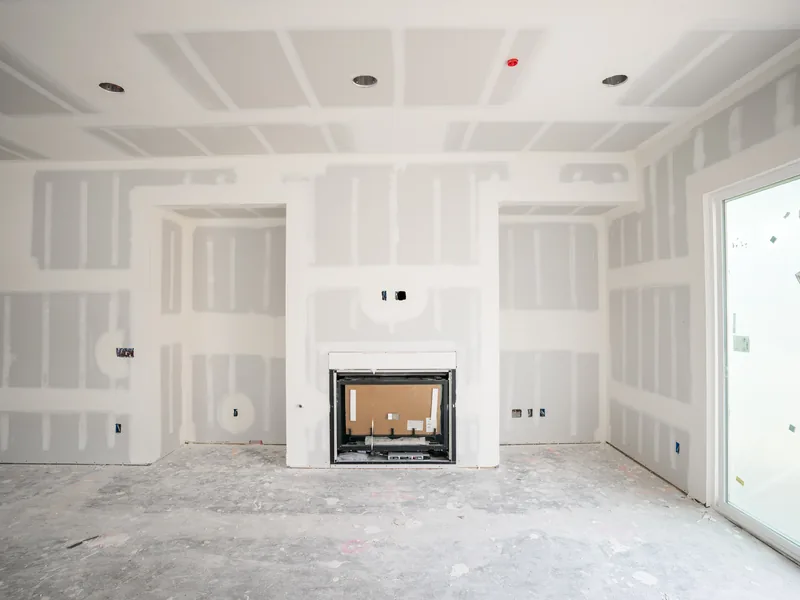
An estimate for priming and painting accounts for both surface area and labor, and the two do not increase at the same rate. The cost starts with how much wall and ceiling surface there is, because square footage determines how much drywall primer and interior wall paint the room requires. From there, the condition of that surface sets the prep time: bare board behaves differently from a room that has already been painted, and nobody can price the preparation a wall needs without first looking at it.
The sheen you choose and the number of colors in the job affect how the work is sequenced, while ceiling height determines whether we can reach the surface from the floor or need to build up to it. All of that is written down before you commit, so the price is tied to a measured scope rather than standing on its own. Call us at (936) 286-6045, or list the rooms on the quote form for a measured scope.
Bare Board Against a Room That Has Been Painted Before
New construction gives us the larger coating job but the easier room to work in. Bare gypsum board is highly absorbent and more of it is exposed, but the space is empty, so the crew can work straight through without stopping.
A repaint is the opposite. There is less surface to cover, but the job takes longer because protecting and resetting an occupied room adds time before any coating is opened. The new finish also has to work with what is already there, so the color and sheen are matched to the trim, the ceiling, and the adjoining rooms.
Priming Only, or Carrying It Through the Color
Some jobs stop at the primer. If a decorator is handling the color or you plan to paint the room yourself, we leave you with an evenly primed surface and let whoever follows us apply the finish coats. Trim, doors, and baseboards are painter's work and remain outside this scope either way.
On other jobs, the same crew stays to apply the two finish coats. Either way, priming and painting appear as separate line items, so you can see exactly what the color is costing you.
How Spring Drywall Co. Runs a Priming and Painting Job
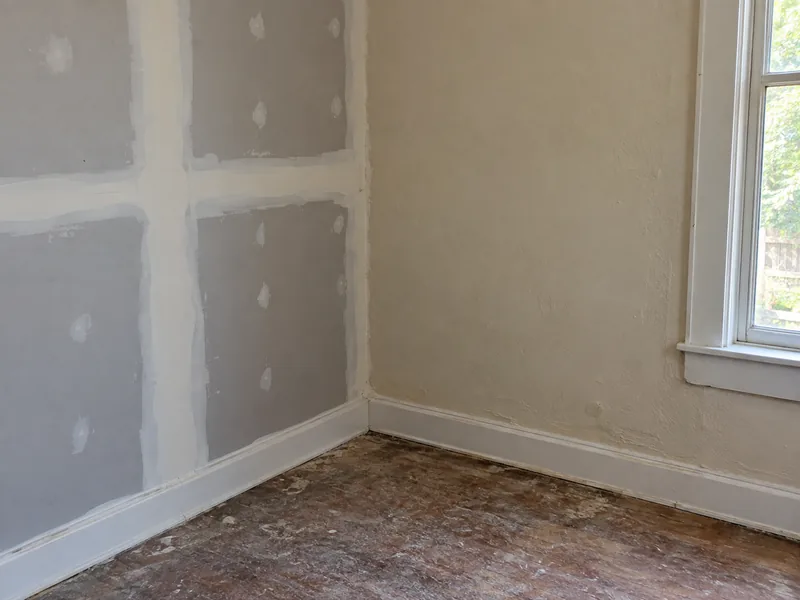
A priming and painting job at Spring Drywall Co. moves through five stages, from the first phone call to the final light switched on, and at any point you can tell exactly where your rooms stand. That way, you know what the crew will be doing in your house each day and when each room will be ready for you to use again.
-
1
We Look at the Walls in the Light They Live In
You tell us first what state the rooms are in, how many there are and how high the ceilings run. The walkthrough itself is a free on-site visit, and we do it with your own daylight and lamps rather than a work light, because that is the light you will judge the finished wall in. What we find on the surface sets the prep, and the prep is the largest variable in what the job costs. We verify that stained or recently repaired areas are dry before anything is coated.
-
2
The Written Estimate, With the Sheen On It
Before anything is booked, we write the scope down. The estimate names the sheen and the number of coats, and it separates the priming from the painting rather than giving you one figure for the room. You approve the work itself, not only the total at the bottom.
-
3
Prep and Masking Before Any Painting Starts
On the first day in the room, we cover the floors and furniture and seal the openings before a lid comes off a pail. The final sand, the dust removal and the moisture check all belong to this day. Nothing is coated until the room is covered and the board is clean and dry.
-
4
Primer, Then the Finish Coats
Drywall primer goes on first and is left to dry through before anything else touches the wall. The two finish coats follow, and each one is given its own drying time before the next. Most of this stage is waiting, and the schedule we give you counts those waits as working days.
-
5
The Final Walkthrough of the Painted Rooms
At the end we walk the rooms with you, lights on and curtains open. Anything that looks wrong under those conditions is marked and put right while the ladders and tarps are still in the house. Then the switch plates and fixtures go back on and the furniture returns to where it stood.
To have your rooms looked at, call (936) 286-6045 or complete the quote form to schedule the visit.
Drying, Recoating and Painting Through Gulf Coast Humidity
Spring air carries moisture through most of the year, and that affects how long a coat of interior wall paint takes to release its water. Each coat has to dry completely before the next one goes on, so during a wet stretch the same rooms take longer than they would in March. You will see us leave a wall untouched between coats, and that drying time is what protects the finished surface.
Drying Between Coats
Manufacturer recoat times assume the temperature and humidity conditions stated on the tin. When a room is warmer, more humid, or not yet conditioned, the drying time increases. The dew point is the temperature at which moisture in the air begins condensing into water on any cooler surface, and when a wall sits close to that point, it holds damp that you cannot see or feel by hand.
Cold air slows the same drying process, and a room without heating or cooling running takes the longest of all. If a second coat goes on before the first has dried through, the roller drags the paint underneath it, and that damage remains until the wall is sanded back and recoated.
When Fresh Paint Is Safe to Use and Wash
Paint stops feeling wet long before it fully hardens, and the gap between those stages is measured in weeks rather than hours. Until the film has hardened, it stays soft enough to pick up a mark from a chair back, burnish into a shiny patch where someone wipes it, or stick to anything left pressed against the surface. Painters call that sticking blocking, and it is why furniture pushed back against a fresh wall can pull paint away when it is moved again. We ask you to keep furniture and pictures off the walls a little longer and avoid washing them, even after the room looks finished and the crew has left.
Walls That Are Not Ready for Priming Yet
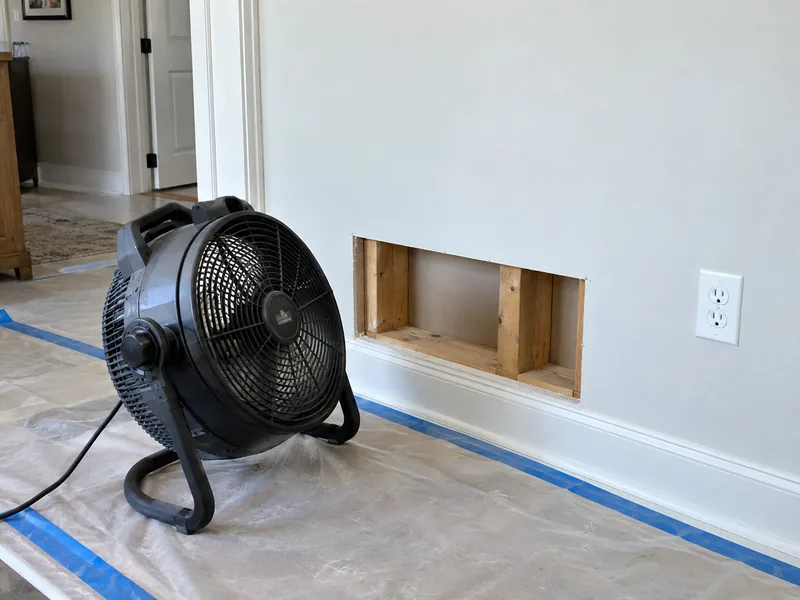
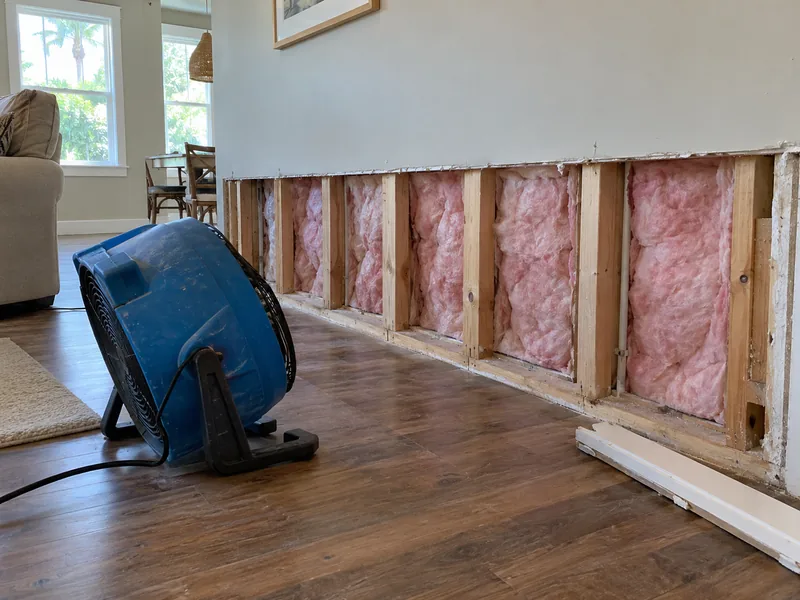
Some walls need other work resolved before priming and painting can begin, and that work falls outside our scope. Each condition shows that something is still happening inside the wall or within the material on its surface, and painting over it leaves you with a finish that fails while hiding the problem underneath. If we find one during the walk-through, we tell you before the estimate is written rather than after two coats have gone on.
Damp Drywall Behind a Water Stain
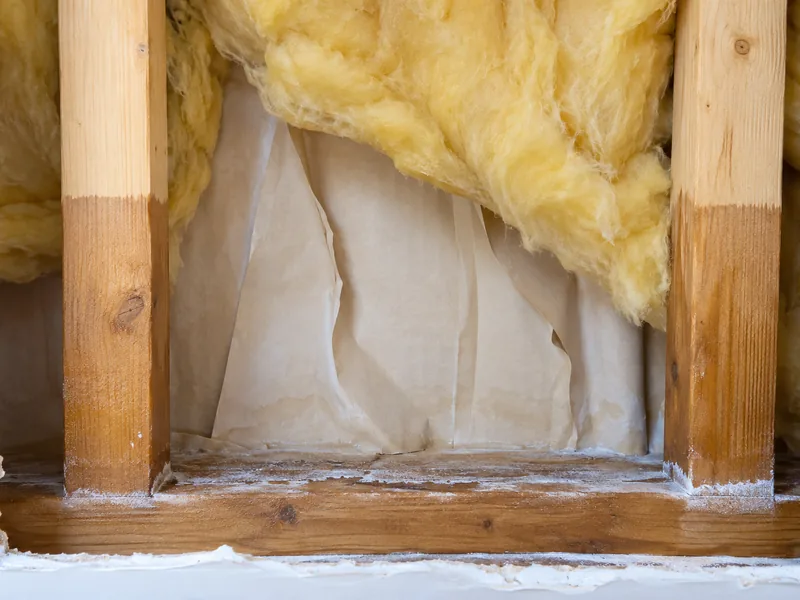
A water stain is the brown or yellow mark left on gypsum board after water has soaked through it and dried. If the board around that mark is still damp when we check it with a moisture meter, water is still getting in from somewhere, which means the leak behind it has not been found or has not been fixed. Paint will not hold on a damp surface: the stain bleeds back through the new coating within weeks, while the moisture continues damaging the board underneath.
So the source is traced and stopped first, and any wet board is cut out and replaced, both of which are separate from priming and painting. Once the moisture meter confirms the wall is dry, the old mark gets a stain-blocking primer beneath the finish coats so it does not bleed back through.
Mold on Drywall, and Who Is Licensed to Touch It
Damp board that stays wet develops mold, and the amount present determines who is permitted to handle it. Where Texas law requires licensed mold assessment or remediation, that work is handled by a licensed mold professional first. The license is issued by the Texas Department of Licensing and Regulation, and we do not hold it, so we do not inspect for mold, test it, treat it, or remove it. We coat the wall after the professional who is licensed for that work has cleared it. Where the room and wall assembly require it, moisture- and mold-resistant board can be specified instead of ordinary gypsum board.
Older Texture, and the Wet Zones Drywall Does Not Belong In
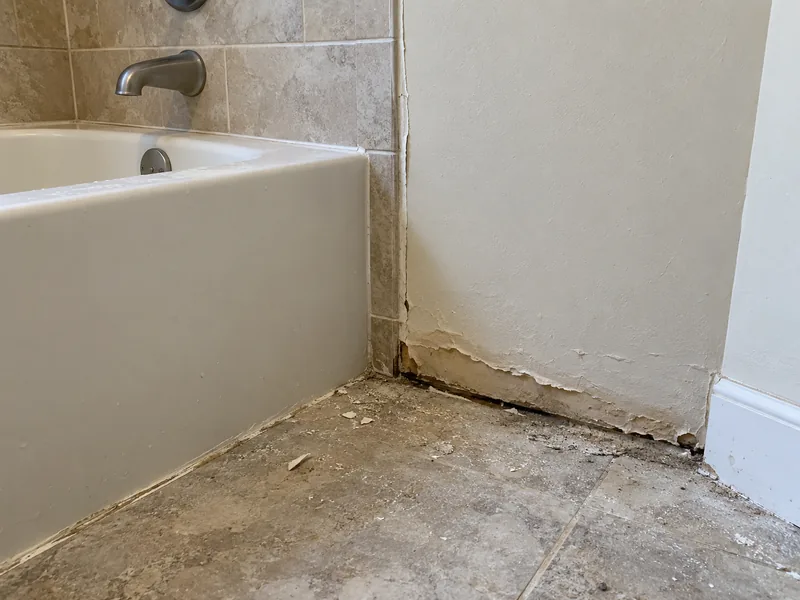
Another boundary is the material already on the wall. Popcorn texture or other suspect material is tested by a qualified asbestos professional when its age or condition warrants testing before disturbance, and we scrape only material the results clear as safe. We do not scrape, remove, or dispose of anything the results do not clear. The same kind of boundary applies where the wall is exposed directly to water. Ordinary gypsum drywall is outside our scope as the tile substrate in direct-wet shower and tub-surround zones. That means there is no gypsum board for us to prime within those wet areas.
Priming and Painting Around You in an Occupied House
Priming and painting an occupied house means the rooms stay in use around the work, so we plan the job accordingly. We work through one room at a time instead of opening up the entire floor, leaving the rest of the house available to you while we prime and paint. You tell us which rooms you need to keep in use, and we schedule around them. A room goes back into service once the paint is dry, not simply when the drop cloths are packed away.
Painting Room by Room, and What Has to Move
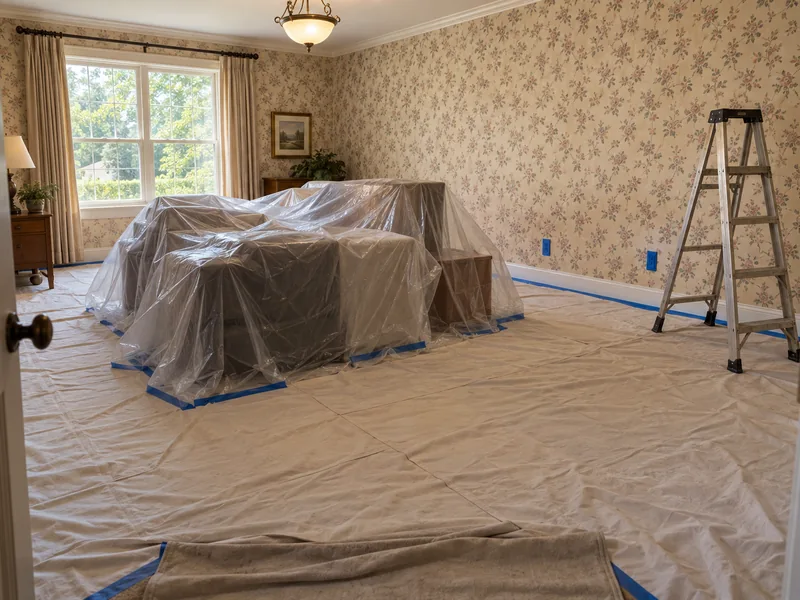
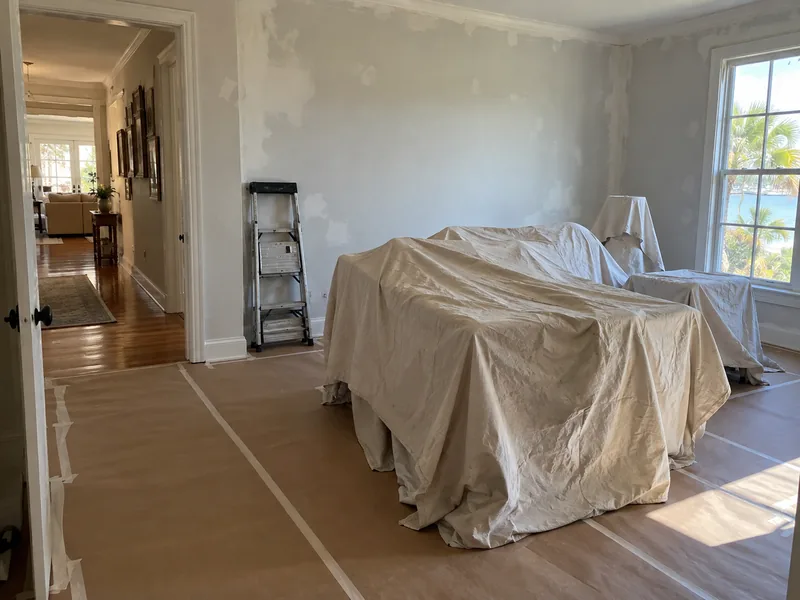
Working room by room keeps the disruption contained to one space at a time. Your furniture is moved to the center of the room and covered with masking film and drop cloths instead of being carried out to the garage, saving you the lifting and the trouble of finding somewhere to store a sofa for a week. Trim, fixtures, and built-ins are covered as well, while switch and outlet plates are removed from the wall rather than painted around, giving you a clean line at the box instead of a ragged edge you notice every time you reach for the light.
Fresh interior wall paint marks if anything is pushed against it, so we schedule the room you need most for a time when you can spare it instead of simply painting it when it comes next in the house.
Keeping Drywall Dust Out of the Rest of the House
Plastic barriers, sealed doorways, and vacuum-assisted sanding are part of the base scope on every occupied-space job, not an add-on. A sealed doorway is covered with a sheet taped around the opening so the room being sanded is closed off from the hallway, and that containment keeps sanding dust from spreading through the rest of the house. Dust travels farther than paint smell and settles on surfaces two rooms away long after the odor has cleared. We move air through the room with fans instead of relying on an open window.
Drywall Priming and Painting Across Spring and the Surrounding Communities
We prime and paint on the same terms throughout the area, whether your house is in Spring itself or in a town on either side of the county line. The crew, the scope, and the way the estimate is written stay the same regardless of the address.
The Communities We Prime and Paint In
Spring Drywall Co. provides drywall priming and painting across Spring and the surrounding communities of north Harris and Montgomery counties, and west into Waller County:
- Tomball
- Klein
- Shenandoah
- Oak Ridge North
- Porter
- Humble
- Aldine
- Westfield
- Bammel
- Champion Forest
- Willowbrook
- Jersey Village
- Cypress
- Hockley
- Waller
- Magnolia
- Pinehurst
FAQ
Priming and Painting Questions Homeowners Ask Us
Do I need to prime new drywall before painting?
Yes. One primer coat goes over the entire wall before any finish coat is applied. An extra coat of color does not do the same job, and priming only the joints simply shifts the problem to the paper.
How many coats of paint does new drywall need?
Two finish coats go over one primer coat, with each coat drying fully before the next is applied. A coat means one pass across the wall, regardless of how much paint that pass leaves behind.
Why does new paint look patchy or uneven in places?
That is flashing, and it follows the taped joints underneath rather than the path of the roller. Once the color is on, the wall has to go back to primer to correct it.
What paint sheen should I use in each room?
Choose the sheen by what the room puts the wall through. Flat suits rooms where the walls are rarely touched; as moisture and traffic increase, the sheen moves up through eggshell and satin to semi-gloss.
Can you paint a wall right after it has been skim-coated?
Not until the compound is dry all the way through, rather than only at the surface. Once it is fully dry, a skim coat takes the same priming step as any other wall.
How long do you wait between coats in a Spring summer?
Longer than the tin states, because that recoat time assumes the conditions printed on it. Humid or unconditioned rooms need more drying time, and paint that feels dry to the touch is not necessarily dry all the way through.
Do you paint, or do you only get the walls ready for a painter?
We do both, and the estimate says which. Some jobs stop at a primed surface; on others the same crew carries the wall through to finished color, on separate lines either way.
Talk to Spring Drywall Co. About Your Walls
Spring Drywall Co. primes and paints walls and ceilings throughout Spring and the surrounding communities. Your on-site visit is free, and the price comes back as a written estimate you can review line by line before making a decision. Call (936) 286-6045 or use our quote form for a clear, written price on your project.