
Drywall Installation in Spring, TX: Board Hung, Fastened and Finished to Level | Spring Drywall Co.
Spring Drywall Co., a drywall contractor in Harris County, has handled drywall installation for homeowners and property owners in Spring, Texas for 15 years. Hanging the board is only part of the job; planning where the joints land matters just as much. We install drywall in single rooms and on individual walls that have been opened up, as well as across multi-room and whole-interior jobs, garages and attic rooms, stripping off the old surface first where one is already in place. From there, we choose the right board, hang and fasten it, then tape and finish it to the level you agreed to.
Our crews are insured, and they hang and fasten drywall to ASTM C840, the standard for installing gypsum board. GA-214, the Gypsum Association standard, sets the finish levels for a taped surface, and Level 4 is our working baseline: taped, coated and sanded smooth enough for flat paint. We specify 1/2-inch and 5/8-inch board room by room, and full ceiling sheets are raised with a mechanical drywall lift. Sheetrock installation at this level runs about $2.00 to $3.00 per square foot, from hanging through Level 4.
We work throughout Spring, across northern Harris County into Montgomery County, and west into Waller County. Before you commit to the work, you receive a free on-site estimate and a written scope with each item priced separately. Request yours through the form on this page, or call (936) 286-6045.
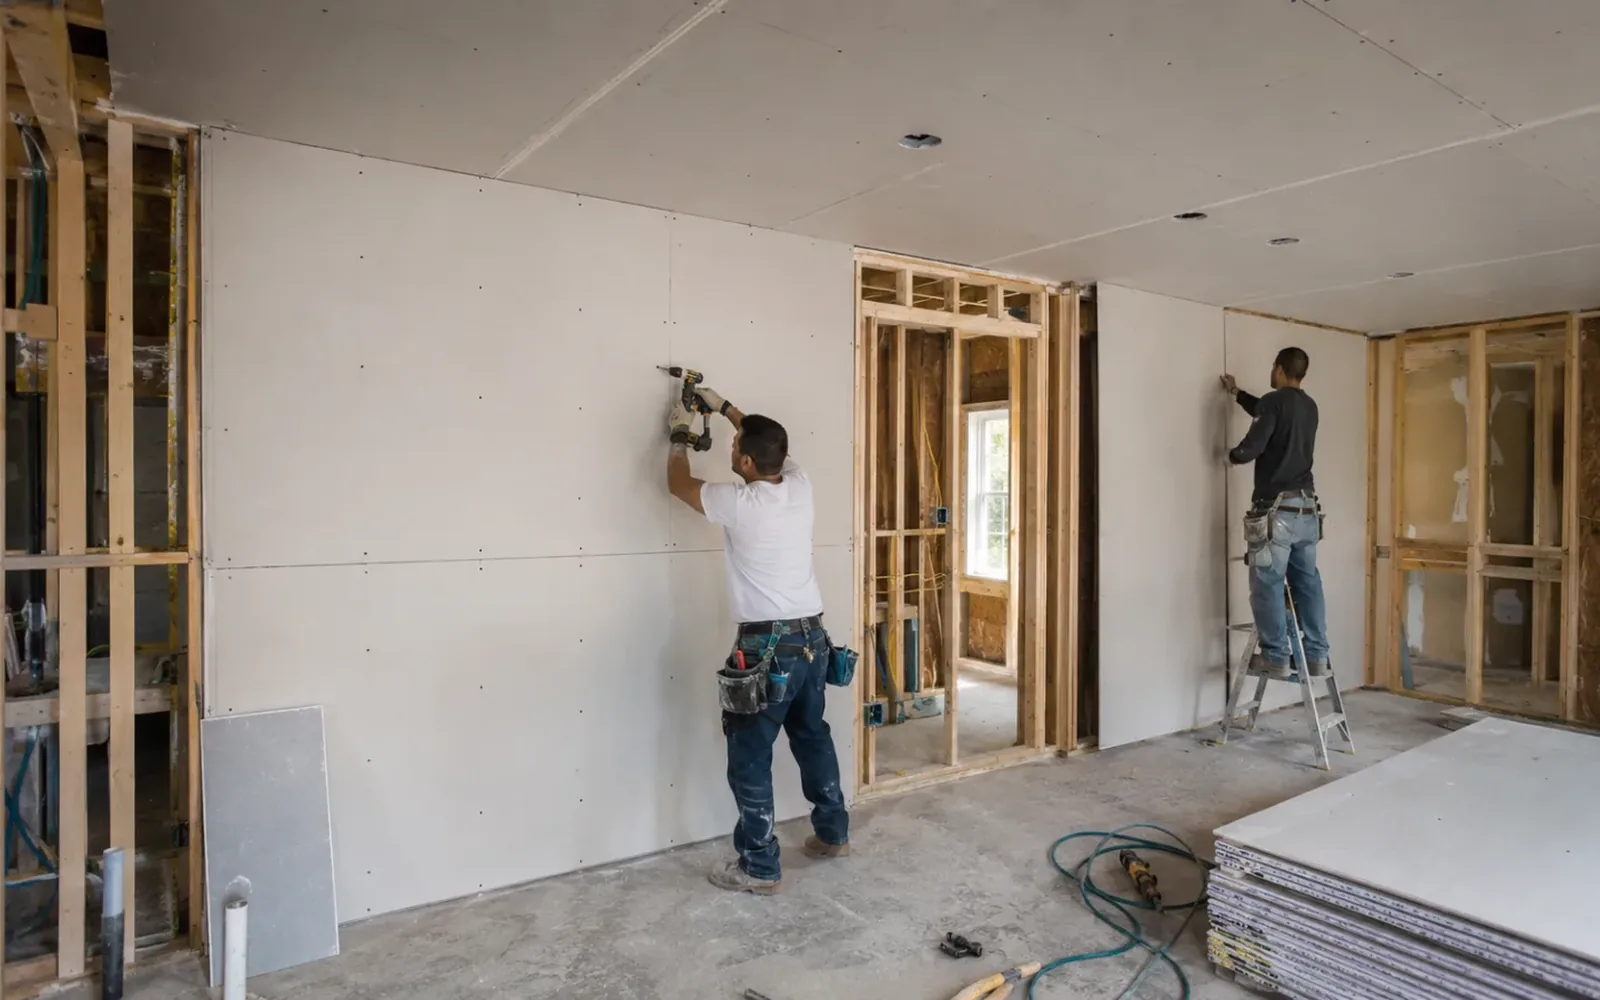
Drywall Installation Work in a Spring Home
For drywall installation of this kind, we hang new gypsum board on framing that is already in place. The studs are either bare, or a finished wall is being opened up and the new board has to meet the existing surfaces around it. Board comes in sheets 4 feet wide and 8 or 12 feet long, and the work can cover anything from a single wall to a whole floor. A house that has never been finished falls under new construction drywall, while a ceiling on its own is ceiling drywall installation. Wherever your job starts, we hang drywall and tape it to the finish level you agreed to.
One Room, One Wall
The smallest version of this work is a single room stripped back to bare studs, or one wall opened after a leak, a moved door, or the removal of a cabinet run. We cut the opening back to the nearest studs so the new piece has solid framing along every edge, then install drywall cut to fit the opening rather than the room. While the cavity is open, you can see the wiring and framing behind the wall. Blending a small patch into the surrounding texture falls under drywall repair, not installation. We measure and write up a one-wall job the same way we do a whole floor.
Multi-Room and Whole-Interior Hangs
A remodel that has moved beyond one room, a house stripped out after a long-standing problem, and a rental being reset between tenants all turn into the same size of job, with several rooms, a full floor, or the whole interior boarded at once. At that scale, the board arrives by the pallet and is stacked in the rooms where it will be hung, while our crew follows a set order so no room is left half finished around you. We measure the entire sheetrock installation in one takeoff rather than room by room, and on a whole interior, 12-foot sheets let us cover long walls with fewer joints.

Garages, Attic Rooms and Bonus Spaces
An open-framed garage, an attic being turned into a room, and a bonus space over a garage have never had drywall on them. The framing that has stood bare for years is often out of plane, meaning the front faces of the studs do not line up flat, so we straighten them before hanging board.
Before we install drywall in a Spring attic, the space also has to be workable because it holds heat most of the year and the crew needs a clear way in with full sheets. Insulation goes into open walls before the drywall, and that is a separate job. Garage drywall is different on the wall between the garage and the house, which takes 5/8-inch Type X board.
Taking the Old Surface Off First
Where a wall or ceiling is already covered, drywall removal comes first. We take off the old board, the texture on its face and the fasteners holding it before we install drywall on the same studs, leaving the framing, wiring and plumbing open to view. Anything you want changed behind that surface is handled while the wall or ceiling is open, not after the new board goes up. Where tear-out is included in our scope, the old board and our offcuts leave with the crew.
Two findings stop tear-out until another trade has handled them. Popcorn texture or other suspect material is tested by a qualified asbestos professional when its age or condition warrants testing before disturbance, and we scrape only material the results clear as safe. When mold reaches past a small, contained area, Texas licenses that assessment and remediation work, so a licensed mold professional handles it first. Once that work is complete, we return for the drywall rebuild.
Which Board a Drywall Installation Uses, and Where
Every drywall installation starts with choosing the right panel for each room, and that choice is based on the space rather than whatever happens to be on the truck. Drywall is also called Sheetrock, gypsum board, or wallboard - all the same panel. Panels differ in three main ways. The thickness is the amount of board between the framing and your paint, the facing is the surface layer the paint goes over, and the core is the gypsum pressed between the two faces. How the room is used determines all three.
How Thick the Board Needs to Be
The standard wall panel in a house is half-inch board. The heavier option is 5/8 drywall, which is stiffer and stays flat over a longer span between the supports behind it. We use it where the framing is spaced farther apart, where a ceiling needs the extra stiffness to stay flat, and where the plans call for a fire-rated panel. A 5/8-inch sheet is a two-person lift, and it costs more to buy and carry into the room. Drywall thickness on your job is a specification to be met, not an upgrade we sell you.
Board Made for Damp Rooms
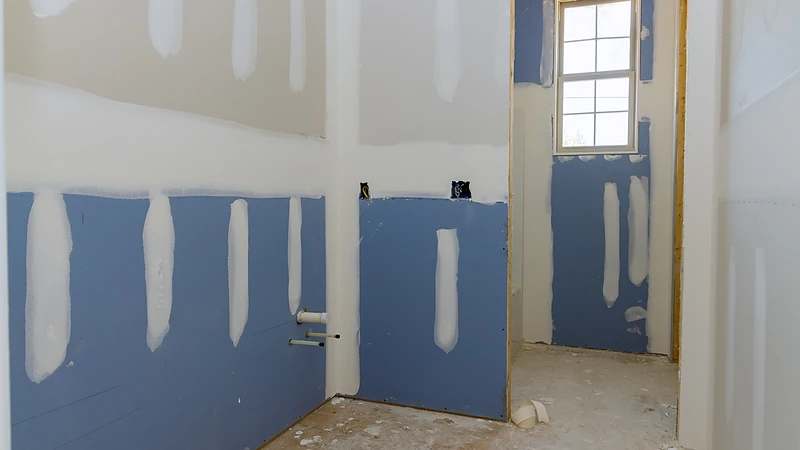
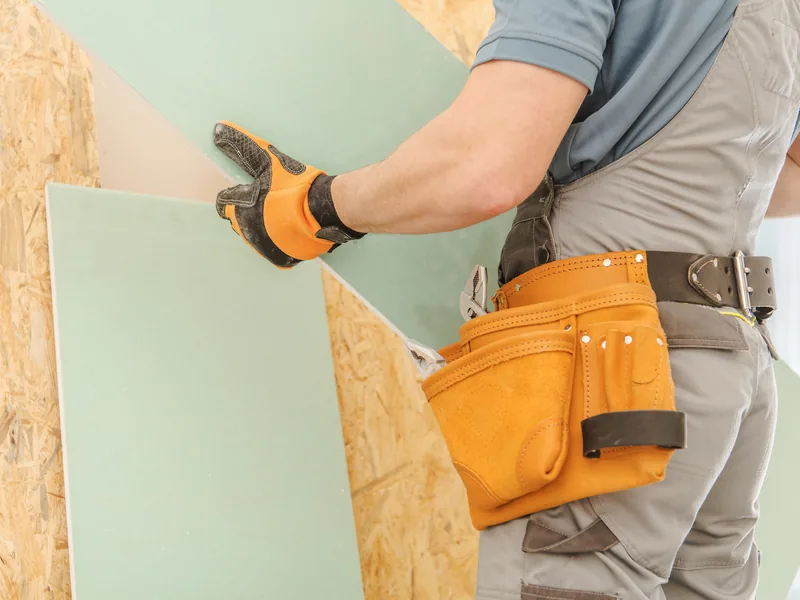
Some panels are made for humid rooms and to slow mold growth on the board itself, which comes from the panel rather than from a treatment applied inside your house. In bathrooms outside the shower, as well as in laundries and kitchens, we install drywall of this kind instead of standard board. A sheet of moisture resistant drywall costs more than the standard panel beside it. Direct-wet tub and shower zones require an approved tile-backer board because drywall has a wet-area limit.
Fire-Rated Board Where the Plans Call for It
House plans call for a fire-rated wall in a few places, most often between an attached garage and the living space, including the ceiling, and along a wall shared with a neighboring unit. The panel specified there is usually 5/8-inch Type X drywall, which has a core made to hold together longer under heat.
That specification comes from the plans and the building code, not from our crew. The fire rating belongs to the full tested fire-rated assembly, which is the framing, the fasteners, the layers of board and the finished joints working together. Hanging fire rated drywall is one part of building that assembly, not the same as certifying it.
How the Board Is Stocked, Laid Out and Hung
The finished wall is meant to look like one flat, continuous surface, with the joints between sheets placed where they will cause the fewest problems. That flat plane is established when we hang drywall, not later during finishing. This stage starts with board arriving in the condition it left the yard. Taping, sanding and texture come afterward and require their own skill, but joint compound does not fix a poor decision made during hanging.
Getting the Board Into the House
A drywall delivery needs a dry place to land and has to stay flat until it is used. We stack the sheets flat instead of leaning them against a wall, keep them up off a slab floor, and do not leave them in an open garage during humid weather because gypsum board that absorbs moisture softens along the edges and no longer holds fasteners cleanly. For the same reason, we do not install drywall until the house is dried in, with the roof, windows and exterior doors in place and the interior closed to the weather.
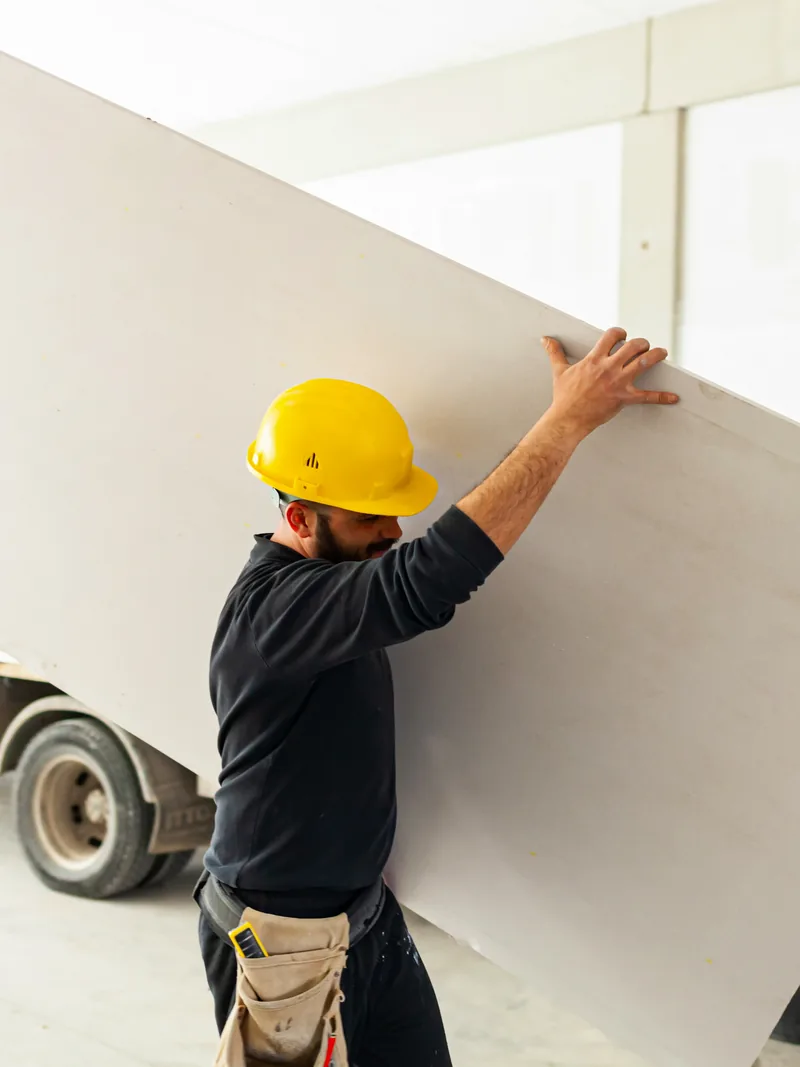
Access determines the rest. A long carry, a stair turn or a narrow hall decides whether we can bring in sheets 8 or 12 feet long, so the route through your house affects the drywall layout.
Ceilings First, Then the Walls
We hang ceiling drywall before the wall sheets because the order affects how the edges are supported. The wall panels then fit tight underneath, so the edge of the ceiling rests on the top of the wall board instead of hanging on fasteners alone. If the walls go up first, that ceiling edge supports itself, and a year or two later you see a fine line where the ceiling meets the wall. A mechanical lift holds a full sheet flat against the framing while we secure it, which allows us to hang the ceiling in full sheets. The fasteners required overhead, along with the sag-resistant board used on some ceilings, are separate considerations.
Where the Seams Land
The drywall seams you eventually see are set by the way the sheets are laid out. We stagger the joints so they do not form one continuous line down a wall or across a ceiling, because a straight run gives a crack a direct path to follow as the building moves through the seasons.
Where the span allows, we run sheets across the framing rather than along it, and a 12-foot sheet often removes a joint from a short wall altogether. We also keep joints away from the corners of doors and windows, where movement is concentrated. A wall with fewer joints has fewer places that can move independently, which is why we install drywall in the longest lengths the access allows.
Control Joints on Long Walls and Big Ceilings
A long wall or wide ceiling needs a deliberate break so seasonal movement has somewhere to go besides the finished surface. A control joint is a manufactured accessory set into the board, not another taped seam. ASTM C840 sets the limit at one joint every 30 feet on a wall. A ceiling can run farther when it has perimeter relief, meaning it is left free to move where it meets the walls instead of being fixed to them. With that detail, a ceiling can run 50 feet, or 2,500 square feet, before it needs a break. A ceiling fixed at the walls is limited to 30 feet and 900 square feet.
Open-plan great rooms and long hallways easily run past 30 feet, and the control joint is one of the most common things left out of a residential drywall installation. When it is omitted, a crack shows later where the movement was forced into the finished surface. We decide where the joints belong when we lay out the sheets and install them as part of the hang.
Fastening the Board, and the Edges That Show
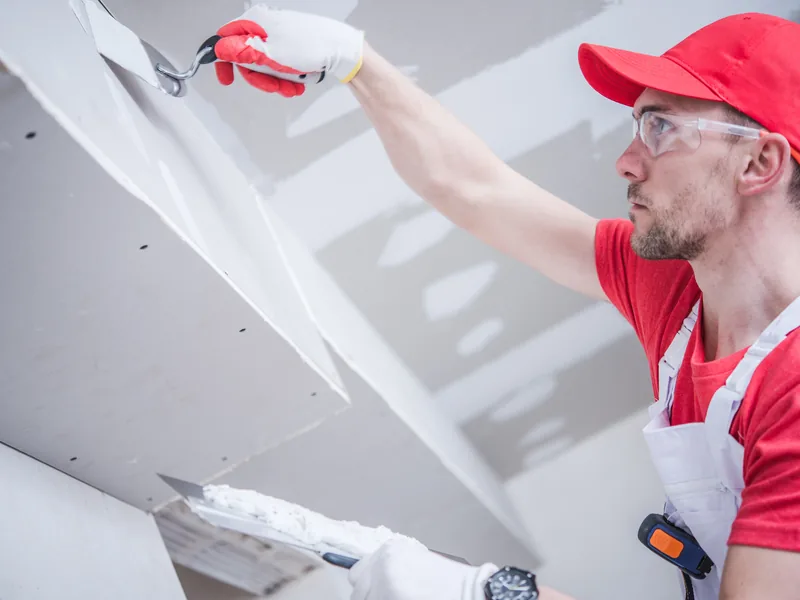
When we install drywall, every sheet has to be pulled tight against the framing and held there, with no fastener standing proud of the surface and no torn paper around it. The paper face on the front of the board is what the fastener grips, and a screw driven too far breaks that face. Joint compound applied later fills seams, but it does not correct torn paper underneath. This is the stage where careless fastening leaves damage that can still show years later.
Setting a Screw Without Tearing the Paper
Each screw head is driven just below the face of the board into a shallow depression called a dimple, while leaving the paper intact so it still holds the fastener. A screw left proud of the surface shows later as a small bump through the paint, while one driven too far tears the paper, loses its grip and works back out. A screw gun with a depth setting makes fastening drywall repeatable, and how far apart the drywall screws go follows the panel being installed, the framing behind it and the manufacturer's instructions.
We keep fasteners back from the corner where a wall meets the ceiling. As the ground under a house shifts with the seasons, that joint is left free to take the movement instead of forcing it through the screws and into the finished surface.
Tapered Edges, Cut Edges and Butt Joints
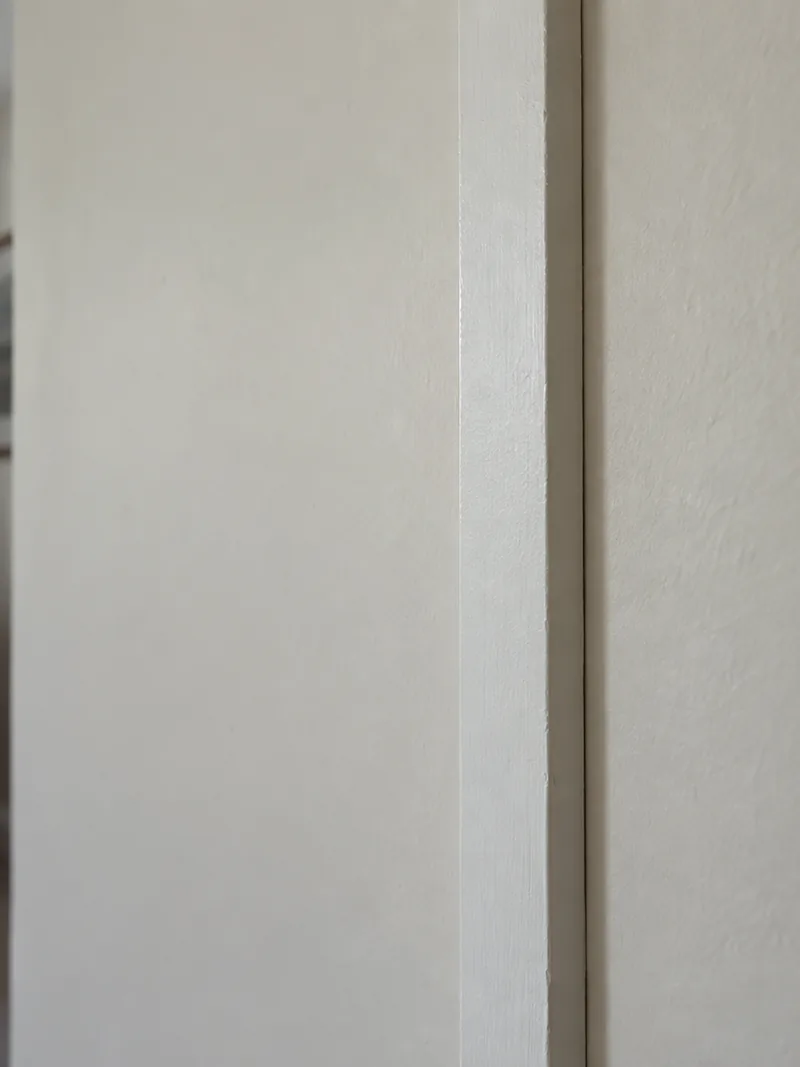
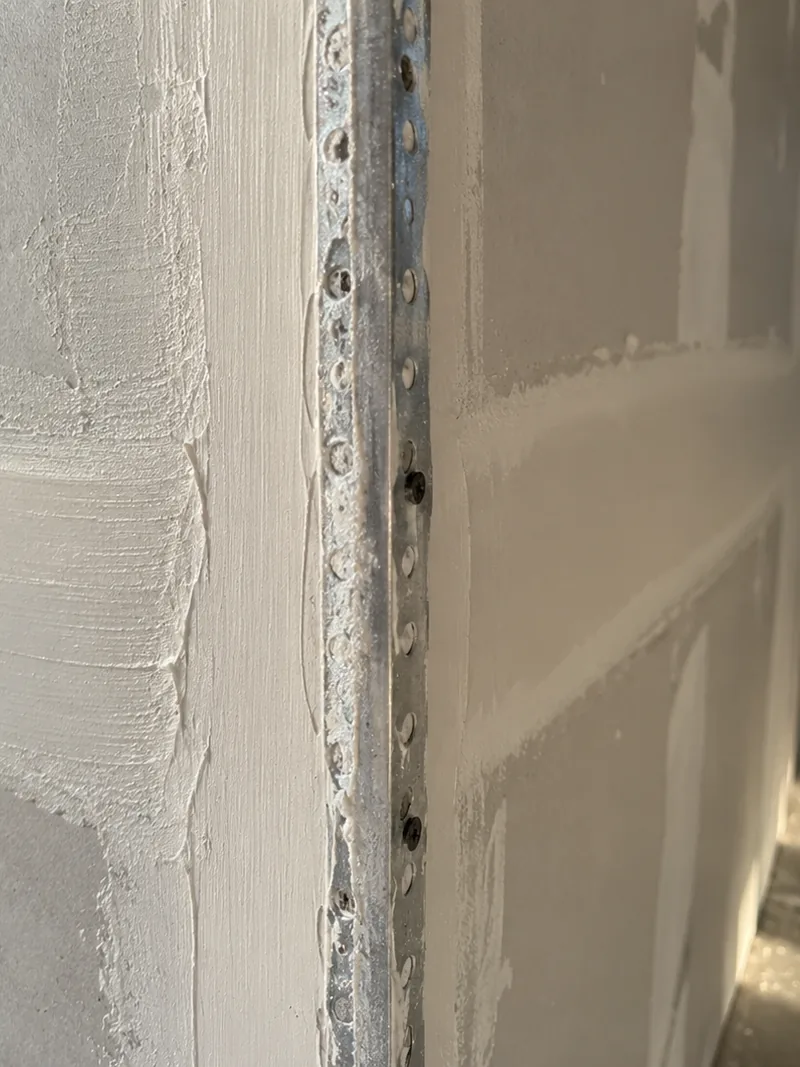
The long edges of a drywall sheet come from the factory with a slight recess running down their length. When two of those edges meet, the tape and joint compound sit inside that recess and finish level with the wall around them.
An edge cut on site has no recess, so where two cut edges meet, the butt joint has to be built up above the wall surface and feathered out wide on both sides to make the ridge gradual enough that it does not stand out. Those are the drywall seams most likely to show when light crosses the wall at a low angle, and a few are unavoidable on a long wall. The layout determines how many there are.
Cutouts for Boxes, Vents and Openings
An opening for an electrical box is measured from a fixed point on the framing rather than from the sheet just hung, because a small error in one measurement carries into the next and can leave the last box on a long wall out of place. We keep the drywall cutout tight to the box on every side. A cut made too wide leaves a gap the cover plate will not cover and an unsupported edge of board that cracks the first time someone presses the switch.
The same method applies to air vents, recessed ceiling fixtures called can lights, and the return grilles that draw air back toward the furnace. Before the plates and grilles go back on, you can look directly at each cutout and see whether the drywall meets the box cleanly.
Why Choose Us
Why Spring Homeowners Choose Spring Drywall Co. to Install Drywall
Our on-site estimates are free, the written estimate is line-itemed before you commit, and financing is available on larger projects.
- 15 years working in Spring as residential drywall contractors
- the board for each room specified rather than defaulted to whatever is on the truck
- control joints laid out where the standard puts them, rather than left out
We are an insured drywall contractor, and our crews work to ASTM C840 for how gypsum panels are hung and fastened and to GA-214 for finish levels. Those standards set the requirements for board thickness, sheet direction and how fasteners are installed. We carry general liability insurance and can send our certificate of insurance before work begins.
Call (936) 286-6045 or send the details through the quote form, and we will come out to measure the job.
What Drywall Installation Costs in Spring
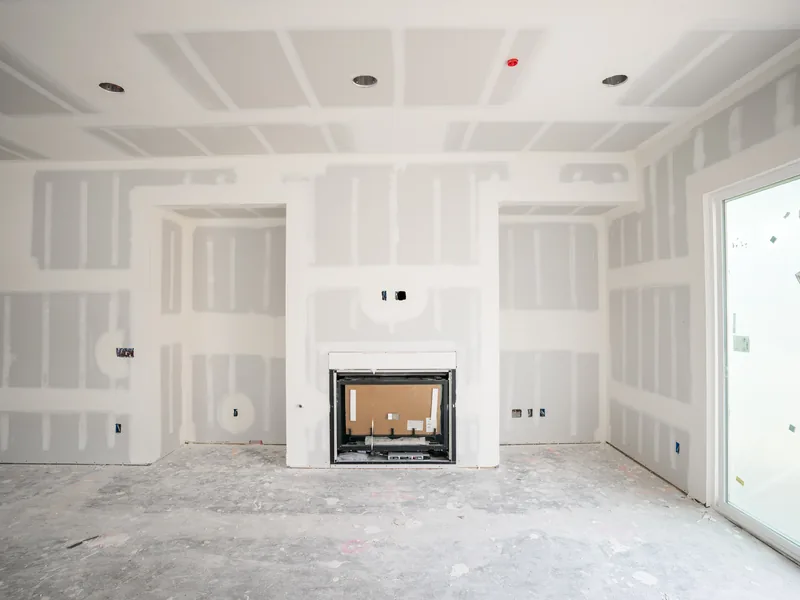
New drywall installation runs about $2.00 to $3.00 per square foot for hang, tape and a Level 4 finish. That is the market range for this area, not a price we have quoted for your job; your drywall installation cost comes from the measurements we take in your house. Two houses with the same square footage can still price very differently, and seven factors account for that difference.
- Total board area across the walls and ceilings, rather than the number of rooms.
- Ceiling height, which adds board and puts more of the work out of reach.
- The number of doors, windows and other openings in each room. They reduce the board area but add cutting and fitting time, which is why two rooms of the same size can price differently.
- The type of board the job requires.
- How far the board has to be carried and how many stair turns are between the truck and the room.
- Whether tear-out is included in the scope.
- The finish level you agree to.
Estimates name the GA-214 finish level as its own line item, so a Level 5 skim is a priced choice rather than a vague allowance. It costs more than a Level 4 finish. For a drywall cost per square foot based on your rooms and a sheetrock installation cost broken out line by line, call (936) 286-6045 or use the quote form.
How Spring Drywall Co. Runs a Drywall Installation
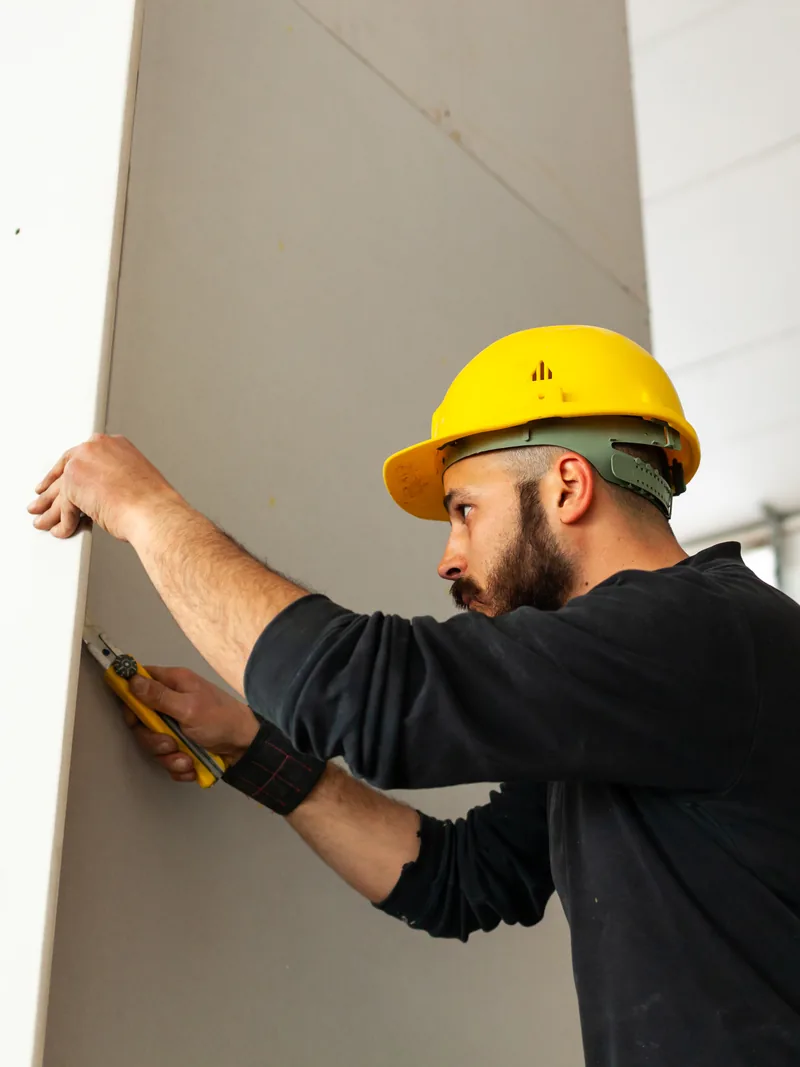
The same people handle your drywall installation from the initial measure through the final walk-through. We do not order materials until you approve the written scope. A single room generally takes a few working days from the first morning on site to the final walk-through. The four stages below show what happens and the order the work follows.
-
1
The Site Visit and the Measure
The visit that begins a drywall installation costs you nothing. We measure each space and calculate the square footage of board it will take, then look at the framing behind the surface, at the route a sheet has to travel from the curb, and at whatever is on the walls now. We also ask what each room is for, so that the scope we write back matches what you plan to do in it.
-
2
The Written Scope You Sign Off
What comes back is a written scope, itemized rather than a single number, and it names the finish level, so the finish you are paying for is written down rather than assumed. The schedule is agreed at the same time. If you change the scope afterward, we re-quote that change instead of absorbing it, and you see the new figure before we act on it.
-
3
Board Day
Protection goes down over your floors and anything still in the room before the first sheet comes through the door. Where the scope includes tear-out, that comes first. The board delivery is then spread room by room, and hanging starts overhead and works down the walls. This is the quickest stage of the job, and a single room is usually hung inside a day.
-
4
Finishing to the Agreed Level, Then the Walk-Through
The seams are then taped and finished to the level your scope names, which leaves the surface paint-ready, meaning ready for primer and paint. Before the job is called done, you walk it with the crew under a light held close to the wall rather than the ceiling fixture, because that angle shows a ridge or a shadow the overhead light hides.
To have your rooms measured and the scope written up, call (936) 286-6045 or start with the quote form.
Preparing the Room Before Installation Day
Some of the preparation for drywall installation falls to you and some to us, and we sort that out when we measure the room rather than on the morning the board arrives. You remove anything you prefer to handle yourself, while we cover and protect whatever remains. An empty room takes less time to board than one where the crew has to work around furniture.
What to Move, and What Gets Covered
Anything small enough to carry and easy to break should come out of the room, along with pictures, curtains and blinds. A drywall sheet has to go flat against the wall, so hooks and curtain rods left in place get in the way. Heavy furniture can stay if it is moved to the middle of the room, where we cover it with sheeting.
We put floor protection down along the route the board takes and across the room itself, since a full sheet is carried by two people who cannot see their feet. We remove cover plates, vent registers and light fixtures ourselves. What we need from you is a clear strip along every wall so the sheets can be lifted into place.
Dust, Doorways and Living in the House
Plastic barriers, sealed doorways, and vacuum-assisted sanding are part of the base scope on every occupied-space job, not an add-on. From your side of the barrier, that means one room is closed off for a day or two, with a protected path running from the entry door to the work area. We also cover the air returns, the grilles that draw air back into your heating and cooling system, so dust does not move through the rest of the house. The barriers stay in place until sanding is finished, which is the dustiest stage of the work.

What You Receive When the Drywall Is Finished
You receive a taped surface finished to the level named in your scope, and we handle both the hanging and the finishing. Level 4 is the usual choice for a room that will be painted with a flat or low-sheen finish. Level 5 gives you a smoother surface and is worth the added cost where a lamp or a window rakes light along a finished wall, or where gloss paint is going on. A sprayed or troweled texture is a separate service, and it can be added to the same job.
What Follows the Handover
The surface we leave is sound and smooth enough for primer to go straight onto it. Priming and painting are a separate stage with their own scope, and primer matters because it evens out how the wall takes the paint that follows. Joint compound over the seams and the paper face of the board absorb paint at different rates, so paint rolled onto an unprimed wall dries in visible bands along the joints. Trim and baseboard go on after the paint, and flooring goes down last. That puts drywall installation in the middle of your project, so the date the surface is ready is the date you can schedule the trades that follow us.
Drywall Installation Across Spring and the Surrounding Communities
Spring has a humid subtropical climate, and the cooling season here runs for roughly seven to eight months. Damp air is a regular working condition, so we keep gypsum board dry and off the ground from the time it is delivered until it is hung on the framing.
Most houses here are built slab-on-grade, with the ground floor sitting on a concrete pad poured at ground level rather than on a wood floor raised over a crawl space. Concrete holds and transfers moisture, so we keep the bottom edge of your wall clear of the slab instead of resting it directly on the concrete. Those conditions apply across every community we work in, and we plan each drywall installation around them.
Where Spring Drywall Co. Installs Drywall
Spring Drywall Co. provides drywall installation across Spring and the surrounding communities of north Harris and Montgomery counties, and west into Waller County:
- Tomball
- Klein
- Shenandoah
- Oak Ridge North
- Porter
- Humble
- Aldine
- Westfield
- Bammel
- Champion Forest
- Willowbrook
- Jersey Village
- Cypress
- Hockley
- Waller
- Magnolia
- Pinehurst
FAQ
Drywall Installation Questions From Spring Homeowners
How much would it cost to drywall a 20x20 room?
Roughly $2,080 to $3,120 for hanging, taping and a Level 4 finish. That estimate uses 1,040 square feet of board at the square-foot range above: 640 square feet of wall with an eight-foot ceiling, plus 400 square feet of ceiling. Doors and windows are deducted from the total area first, so your own room would come in a little lower.
What type of contractor installs drywall?
A drywall contractor handles both hanging the board and taping it. A general remodeler will usually subcontract that part of the work rather than do it themselves.
How do I choose a drywall contractor?
Ask for three things: a line-item estimate instead of a lump sum, the finish level named on that estimate, and a certificate of insurance before the work starts. Then ask whether the person who measured your rooms will also run the crew.
What is the difference between hanging drywall and finishing it?
Hanging means fastening the board to the framing, while finishing means taping the joints and coating them to a named finish level. The two are commonly priced as separate lines, so a low quote sometimes covers only half of the work.
How far ahead should I book a drywall installation?
Call as soon as you know which rooms are involved. We do not schedule the work until the rooms have been measured and the scope agreed, because the board is ordered against that scope. Where drywall sits between other trades, we work backward from their dates to set ours.
Get a Written Price for Your Drywall Installation
Someone from Spring Drywall Co. comes out to measure the rooms you want boarded, and that free on-site estimate costs you nothing. We then send you a written scope that prices your drywall installation line by line, so you can compare it directly with any other quote you have received. We provide this service throughout Spring, Texas and the surrounding communities. Call (936) 286-6045 or use our quote form for a clear, written price on your project.