
Custom Drywall & Architectural Features in Spring, TX: Curves, Arches, Coffers and Niches | Spring Drywall Co.
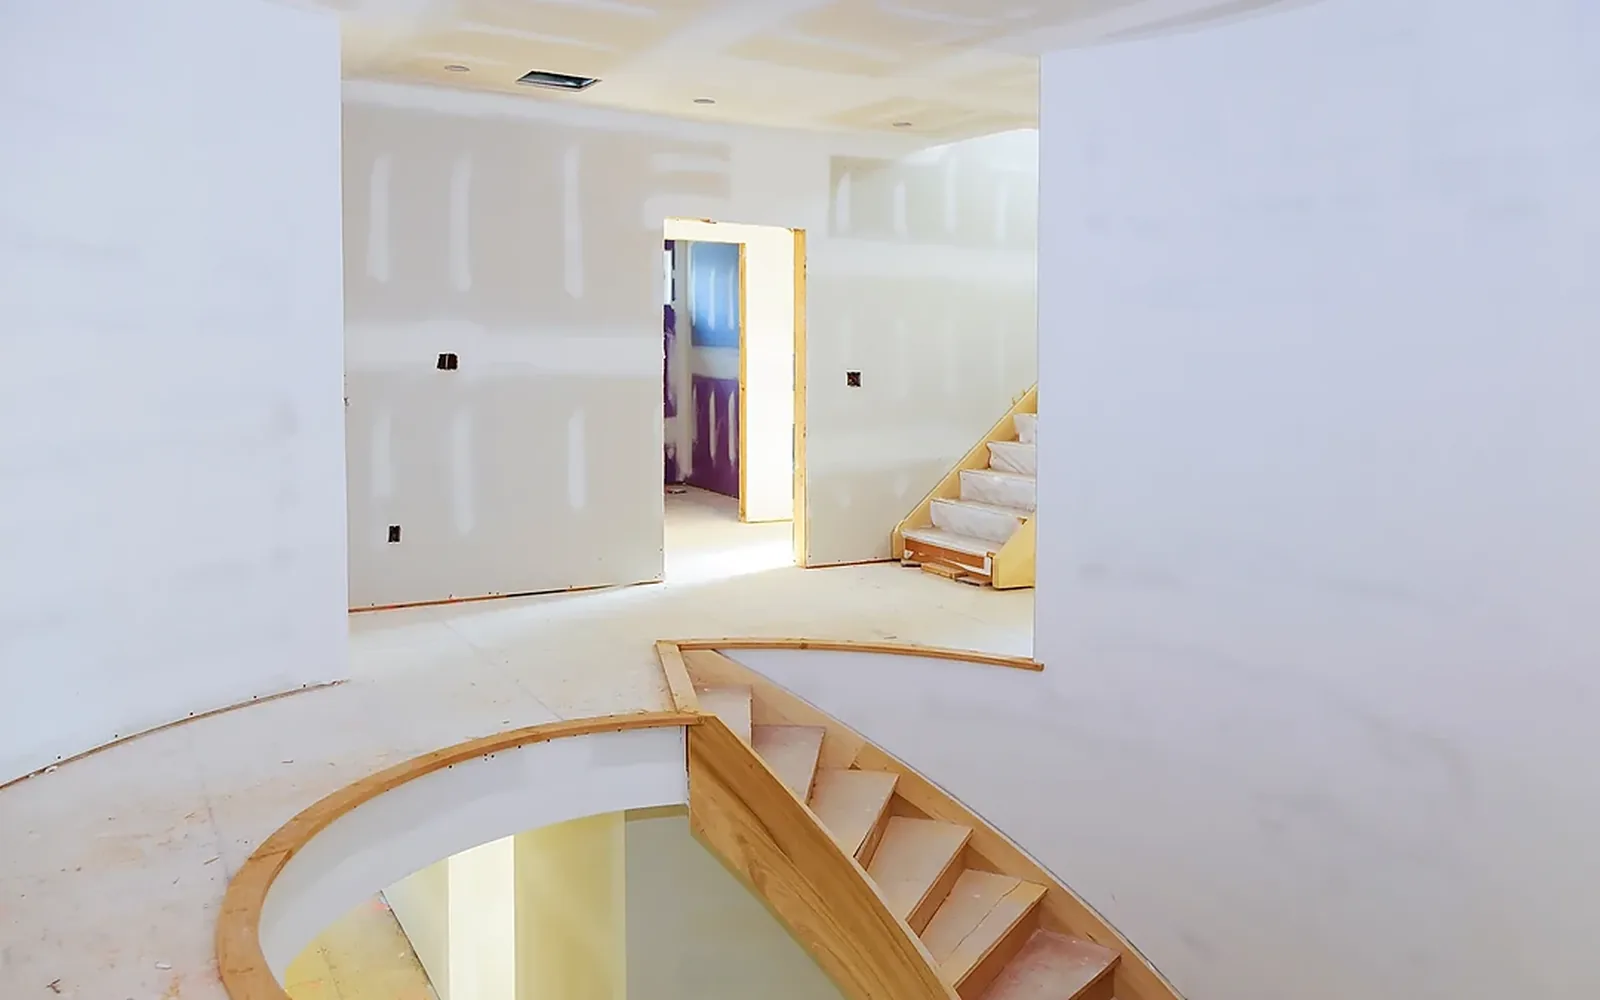
Spring Drywall Co. builds Custom Drywall & Architectural Features throughout Spring, Texas. Custom drywall is the shaped work in a house rather than the flat wall and ceiling surfaces. It includes curved walls that follow a bend in a room, archways over openings, and coffered ceilings built with recessed panels. It also includes niches and reveals cut into a wall for a shelf or a strip of shadow. The material is the same gypsum board used on every flat wall, made from compressed plaster pressed between two paper faces.
That material bends only to its published limits, which are set out in GA-226. GA-226 does not permit a standard half-inch sheet to be bent dry across its width, and forcing it into that curve will break it. Where a tighter shape is required, flexible gypsum panel is used because it bends farther than ordinary board of the same thickness. The tightest curve a sheet will hold is its bending radius, and that figure determines the framing behind it. The wood or steel frame is built to a shape the board can reach, rather than forcing the board to match a shape someone drew.
The architectural features in your house are planned around what the board will do, so we set the framing to those limits before anything is cut. We have been doing this work for 15 years, we are insured, and the on-site estimate is free. Tell us the shape you have in mind, and we will come and measure it at no charge before we price the work. Call (936) 286-6045.
What Custom Drywall & Architectural Features Covers
The method depends on the shape. Curves, arches, coffers, niches and reveals each require different framing and board. A soffit or bulkhead built to conceal a duct or pipe is a different type of work and is covered elsewhere.
Curved and Radius Walls
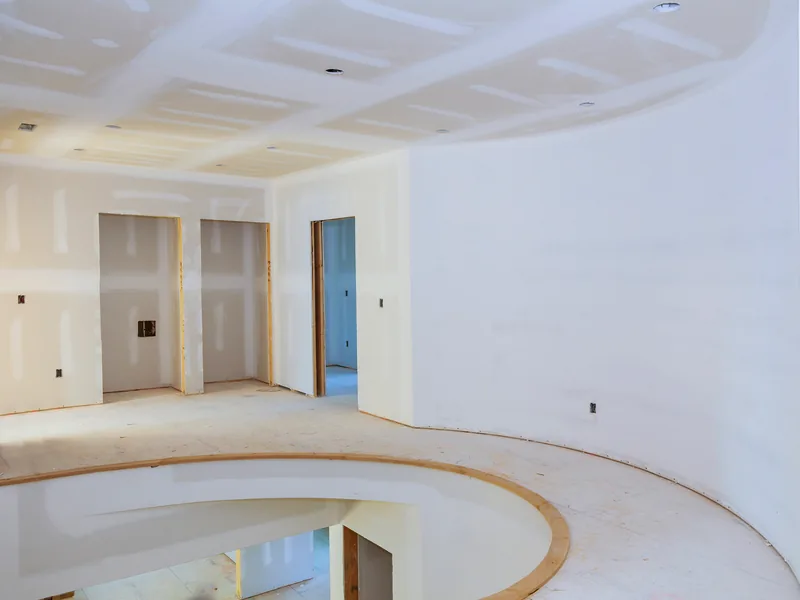
A curved wall follows an arc instead of meeting the next wall at a corner, and it may wrap around a stair, soften an entry, or form the face of a built-in. The curve is convex when it bows out toward the room and concave when it turns away from you, like the inside of a bowl. We measure the radius before ordering the board because that figure determines the board type, the sheet direction and the framing spacing.
A curved wall is built to its final shape rather than cut to fit afterward. The framing is laid out to the arc first, and the board is bent around the frame once it is in place, so there is no stock part to order and no way to correct the curve later with compound. That is why we agree on the shape with you on paper before any framing is built.
Archways and Radiused Openings
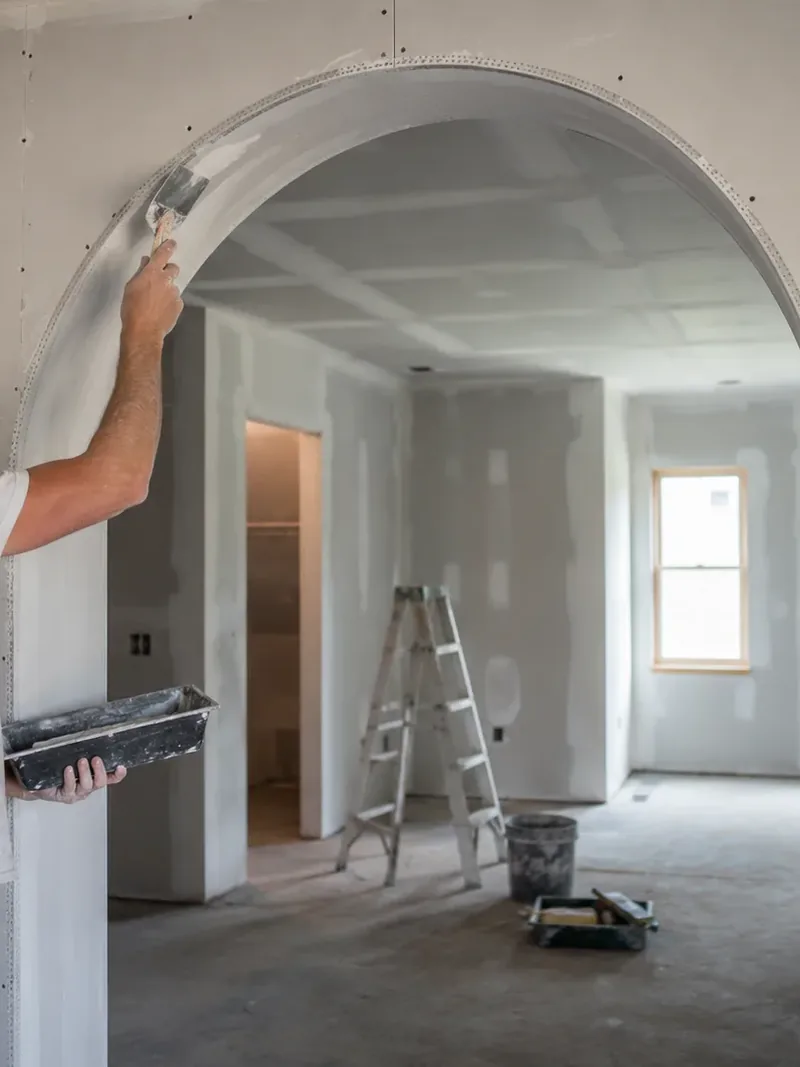
An archway is an opening with a curved top rather than a square one, and it may be finished with trim or plain drywall. The curved head is the difficult part, not the sides. Inside the opening, a narrow face runs along the underside of the curve, up one side, across the top and down the other. That face has to be boarded to a much tighter arc than the flat wall around it.
Board will not wrap around that tight a curve on its own, so it is relieved by cutting part-way through the panel to let it close without breaking. GA-226 permits the back paper to be scored across the width of the panel at one-inch intervals. Scoring means cutting through the paper on the back of the board and snapping the plaster core behind each cut, while leaving the front paper intact so the panel can close into the curve. Because the front face stays continuous, the finished arch forms one smooth surface.
Coffered and Tray Ceilings
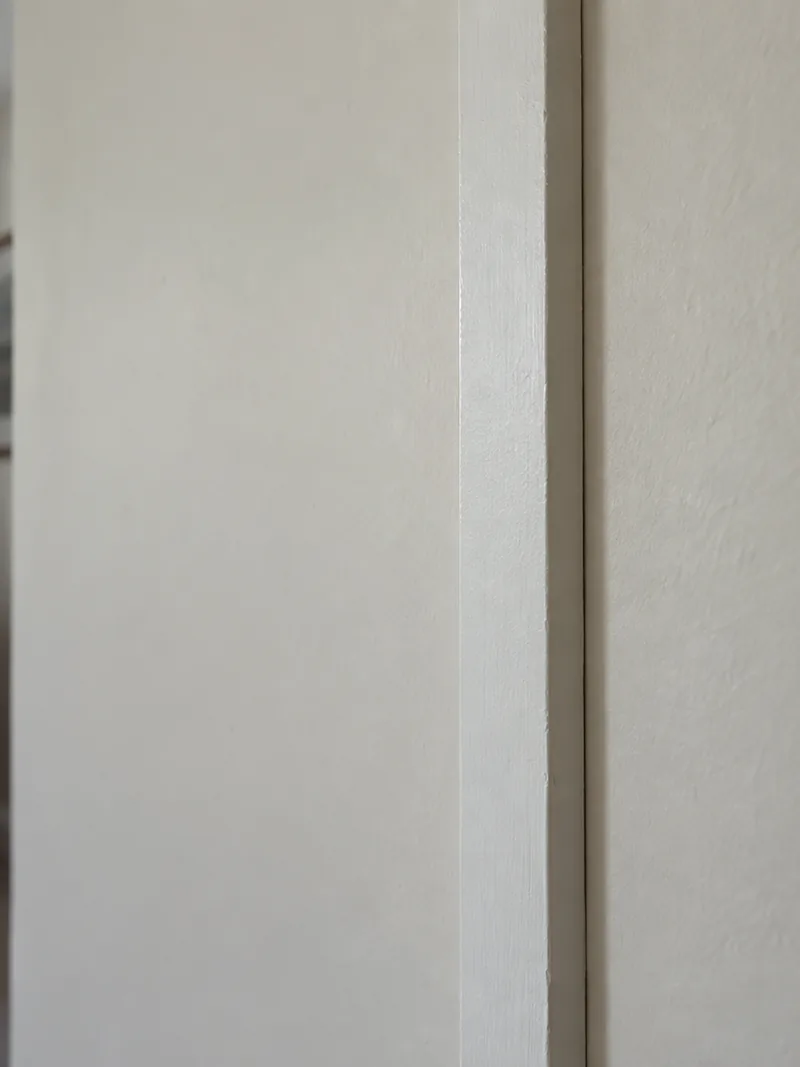
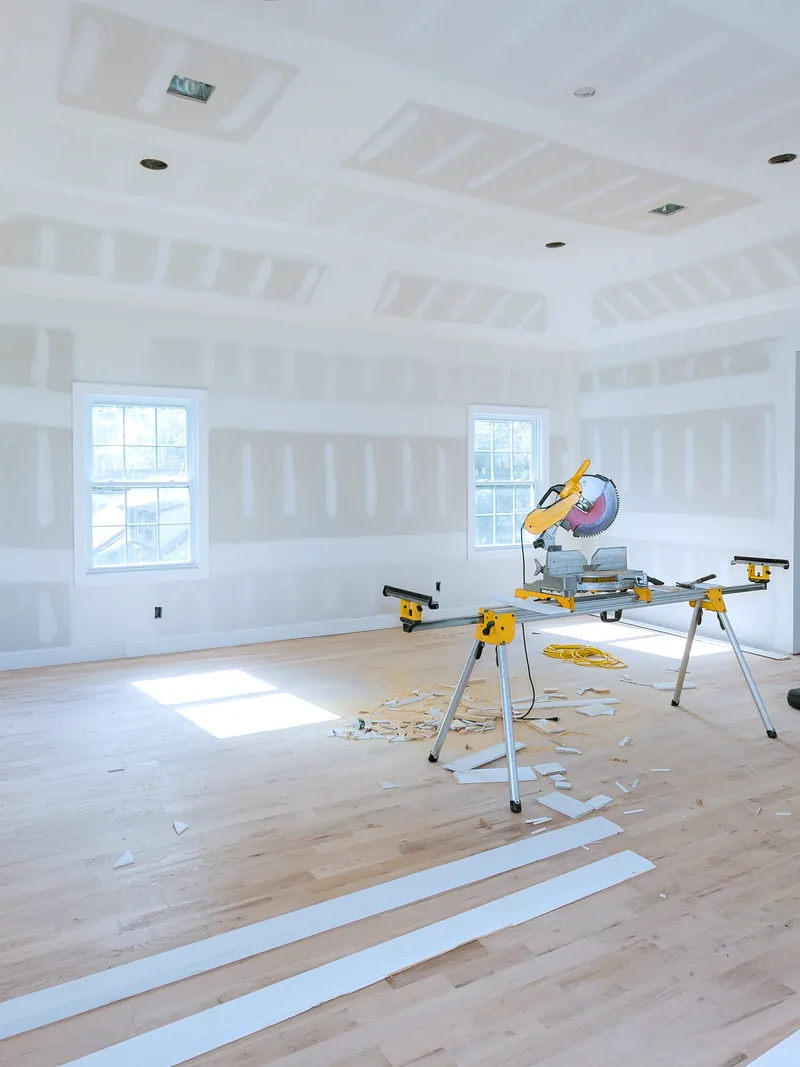
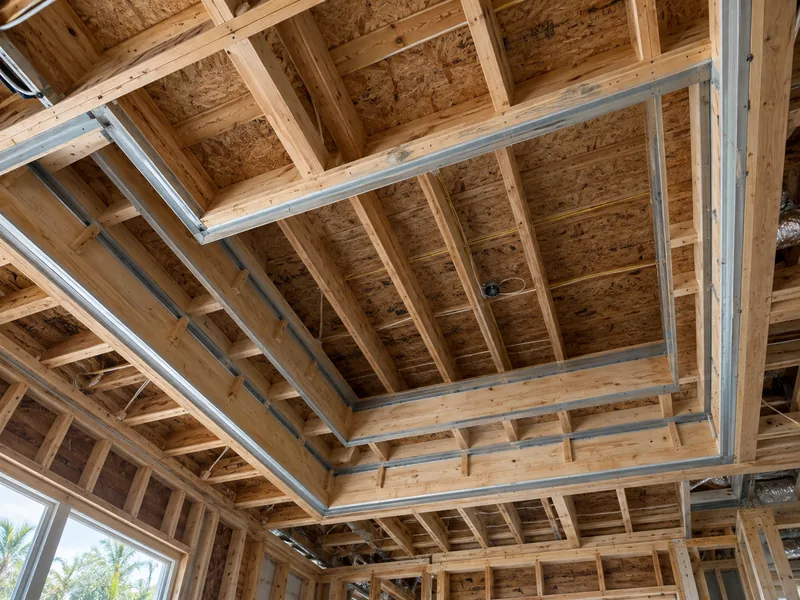
A tray ceiling has one recessed field, with the ceiling dropping around its edge to form a shallow box in the room. A coffered ceiling uses a grid of those recesses, separated by beams. Neither design uses curves. Every line is straight, so the work depends on keeping everything square and level, because a beam that runs a quarter of an inch out of true stays visible for the full length of the room.
The finish sets a limit on the board before the board is ordered. Under GA-216, a ceiling that will receive a water-based texture has a minimum board thickness: half-inch gypsum ceiling board installed across the framing rather than along it, with ordinary half-inch board increased to five-eighths where the framing is spaced 24 inches apart. The standard lists prolonged high humidity as one of the conditions that causes a ceiling to sag between its supports, and that describes most of the year here. For that reason, we ask what texture you want on the ceiling before we buy the board.
Wall Niches and Drywall Reveals
A wall niche is a recess framed into the thickness of the wall, either as a shelf for something you want lit and displayed or as a sunken shelf inside a shower for soap and bottles. A drywall reveal works the opposite way: the board stops short to leave a deliberate narrow gap, held open with metal trim, so a change of plane shows as a thin shadow line instead of a taped joint. A niche gives you a place to put something, while a reveal gives a wall or ceiling a clean break without trim on its face.
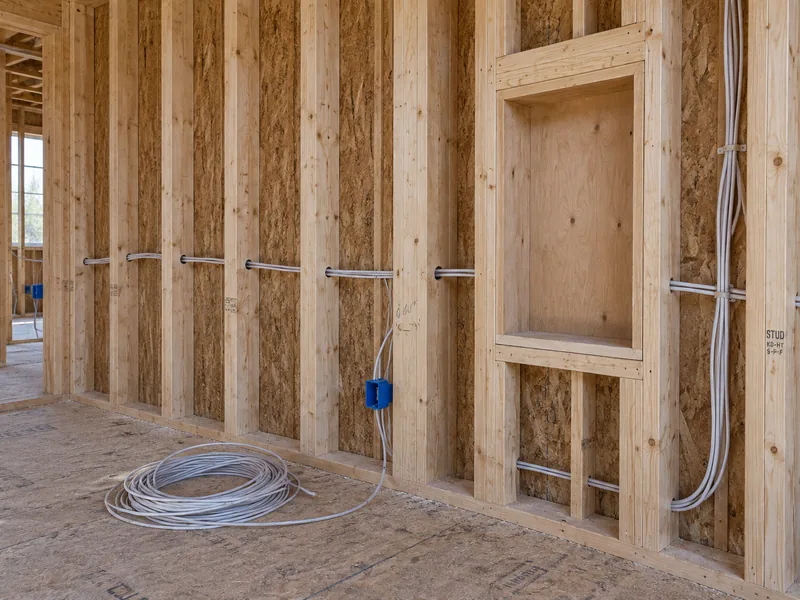
Both are planned while the wall is still open framing because each one needs blocking. Blocking is extra lumber installed between the studs to give the board and trim something solid to fasten to, and a standard wall does not include it.
How Tight a Curve Drywall Will Take
Before we order any board, we establish the tightest curve the selected sheet can hold. Past its bending radius, the core splits or the face loses the arc and forms a series of faint straight lines. Those limits are published in GA-226, a Gypsum Association specification, so what the board will and will not do is a matter of record rather than a judgment made on site. The radius determines the board, the framing spacing and the installation method.
- 1/4 in. standard — 5 ft. lengthwise, 15 ft. across the width.
- 3/8 in. standard — 7-1/2 ft. lengthwise, 25 ft. across the width.
- 1/2 in. standard — 10 ft. lengthwise, and not bent across the width while dry at all.
- 1/4 in. flexible — tighter again, and never hung as a single layer. Figures below.
Standard Board, and the Radius It Will Reach
The first thing to decide is which way the sheet will run because it bends much more easily along its length than across its width. That difference determines whether your design can be built with ordinary board at all. Here, radius means the radius of the circle your wall forms part of: a 5-foot radius would make a full circle 10 feet across, so the smaller the radius, the tighter the bend.
Those figures are limits, not targets, and they all apply to dry board that has not been softened. If the curve is tighter than the board will take, pushing harder is not the answer. The job needs a different board or a different installation method.
Flexible Quarter-Inch Board, and Why It Is Never Used Alone
Where the curve is tighter than standard board will take, we use a flexible gypsum panel: a quarter-inch product made to bend rather than simply a thinner version of ordinary board. Installed with its length parallel to the framing, it will bend to a 20-inch radius on a concave curve and a 12-inch radius on a convex curve. Turned across the framing, it will bend to a 30-inch radius in either direction.
The manufacturer does not permit these panels to be used as a single layer on a wall or ceiling, so we hang them in a double layer. One sheet is bent into place first, followed by the second over it. Together they make the same half-inch thickness as a standard wall while keeping the tighter radius allowed by the quarter-inch panel.
The second layer is required to make the assembly compliant, not to tighten the curve further. On a ceiling, two additional rules apply: the layers are laminated together with adhesive, and the manufacturer does not recommend this panel where a water-based texture will be applied over it.
Wetting Board to Take a Tighter Curve
Board that has been thoroughly moistened through the face paper, back paper and gypsum core will bend to a tighter radius than the dry limits allow. GA-226 permits this method, but it also requires the board to be dried within 24 hours of being wetted. Around Spring, that requirement matters because the air stays warm and carries enough moisture through most of the year that a wet sheet left to dry on its own may still be damp the next day.
So we bring fans and mechanical dehumidification into the room as part of the process rather than keeping them in reserve. Wet board is soft and easy to dent until it dries, then it returns to full hardness once it is thoroughly dry. The same humidity also slows each coat of compound that follows, which is why we use a setting-type compound that hardens through a chemical reaction instead of waiting for water to evaporate.
How Curved Drywall Is Framed and Fastened
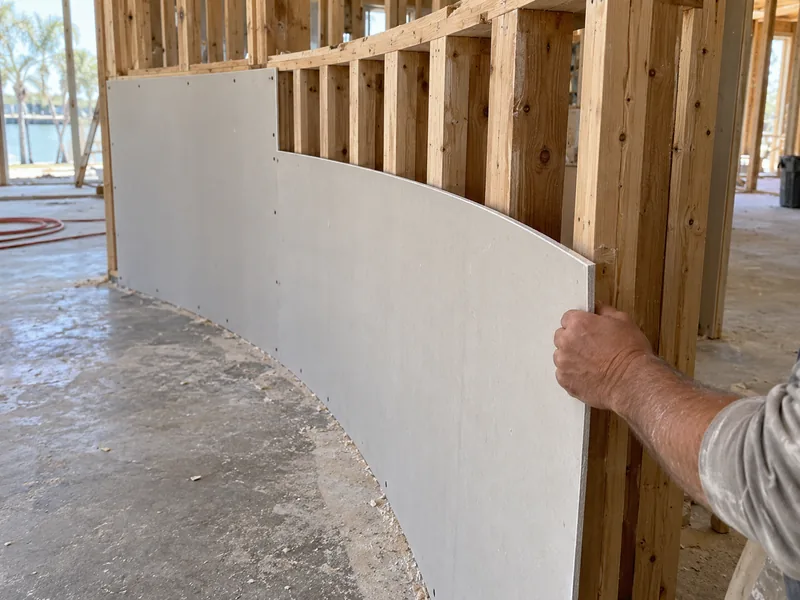
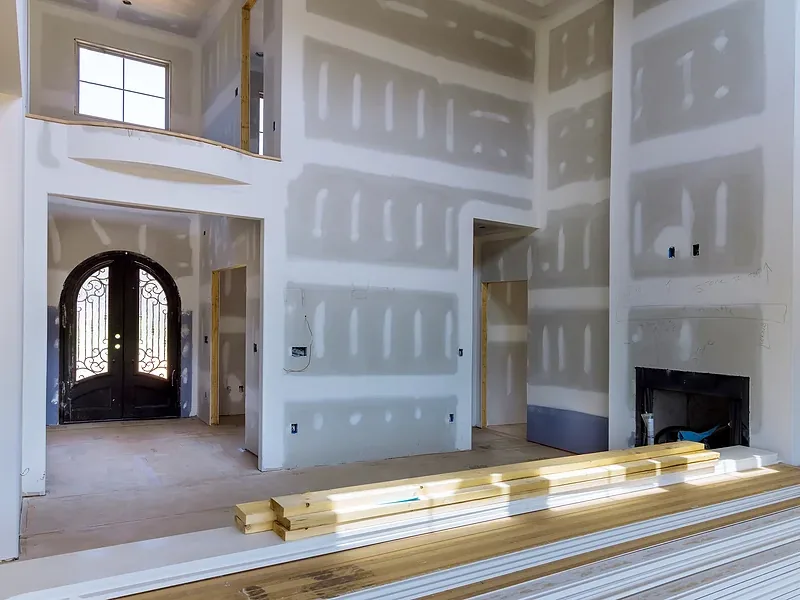
Board does not form a curve on its own. It bends between the points where it is fastened, so the smoothness of the curve depends on how many solid points support the sheet from behind. If those points are spaced too far apart, the board runs straight between them.
The spacing behind your curve is set by the board's own limit, and this stage is where we make sure that spacing is correct. Where the feature meets a long flat wall or ceiling, we also plan it around any movement joint that run requires so the two do not interfere with each other.
Six Inches on Center Through the Arc
This step puts enough support behind the sheet that no straight span between two points is long enough to show. The vertical or horizontal pieces the board is screwed to are the framing members, and framing spacing is measured from the center of one member to the center of the next, which is what "on center" means. A flat wall in your house is framed at 16 or 24 inches on center. Where the board is bent to the tightest radius it will take, GA-226 requires framing at no more than 6 inches on center because spacing the members that closely keeps the board from flattening out between them.
That puts close to three times as many framing members through the arc as along the flat wall beside it, and each one has to be cut, set and checked. A gentler curve allows wider spacing, while the tightest curves keep the framing close together. That means a shallow arc and a tight one involve different amounts of work before any board is installed.
Which End of the Curve Gets Fastened First
Fastening a curve means pulling the sheet into full contact with every framing member without letting it spring away, and the direction of the curve determines where we start. On a concave curve, GA-226 calls for one end to be held against a stop so it cannot move, then the board is pressed into the framing from that fixed end onward. On a convex curve, we fasten one end first and then press the sheet into contact with each framing member in sequence.
Fastener spacing on tight-radius work is closer than on a flat wall, with screws set 6 inches apart along the edges and 8 inches apart through the middle of the sheet. The board is held tight against each framing member as every screw goes in. If the sheet is fastened while it sits even slightly proud of the framing, that gap stays in the surface and shows as a flat spot once light runs across the finished curve.
Finishing Curved Drywall So It Stays Fair
Finishing determines whether your curve comes out fair, meaning the arc runs true without flats or ridges. You judge that by the light in the room rather than by holding anything against the wall. Light moving across a curved wall changes angle all the way around it, so a low spot that would disappear on a flat wall throws a visible shadow here.
The difficulty is that the tape and metal used to finish a joint are made for flat work and will not follow a curved line as supplied. Both have to be altered before installation, and the industry standard for gypsum board finishing sets out how that is done rather than leaving each crew to make up its own method.
Tape and Corner Bead on a Radius
Where a joint runs along the edge of a curve, the paper joint tape has to bend along its length while staying flat across its width, which a straight strip will not do on its own. We snip one edge of the tape at intervals, with each cut running from the edge to the middle of the strip. The uncut half goes on the curved surface, while the cut half lies on the flat wall beside it. Those cuts let that side open or overlap as it follows the curve, while the uncut half stays continuous where the finished surface is most visible.
Corner bead, the rigid strip that forms and protects an outside corner, is relieved the same way for the same reason. One of its two legs is snipped at roughly three-quarter-inch intervals along its length, while the uncut leg follows the curve. If the bead is not relieved first, it buckles into a row of small kinks as it is pushed around the curve, and those kinks remain visible through the finish that covers it.
Choosing the Finish Level for a Curved Surface
A flat wall is lit from one or two directions, so it is checked under raking light from a particular angle. A curved wall takes light from every angle because the surface keeps turning through the beam, which means some part of the curve is always under raking light. A finish that looks acceptable on the flat wall beside it can still show defects on the radius.
That makes the finish level a deliberate choice on this kind of work rather than a default. A finish level is the graded standard for how smooth the surface is prepared before paint, ranging from a basic taped joint to a fully skimmed wall.
Two things determine the finish level your curve needs: whether it sits in raking light and what sheen the paint has, because eggshell and gloss reflect more light while flat paint absorbs it. Estimates name the GA-214 finish level as its own line item, so a Level 5 skim is a priced choice rather than a vague allowance.
Custom Drywall & Architectural Features in Older Spring Homes
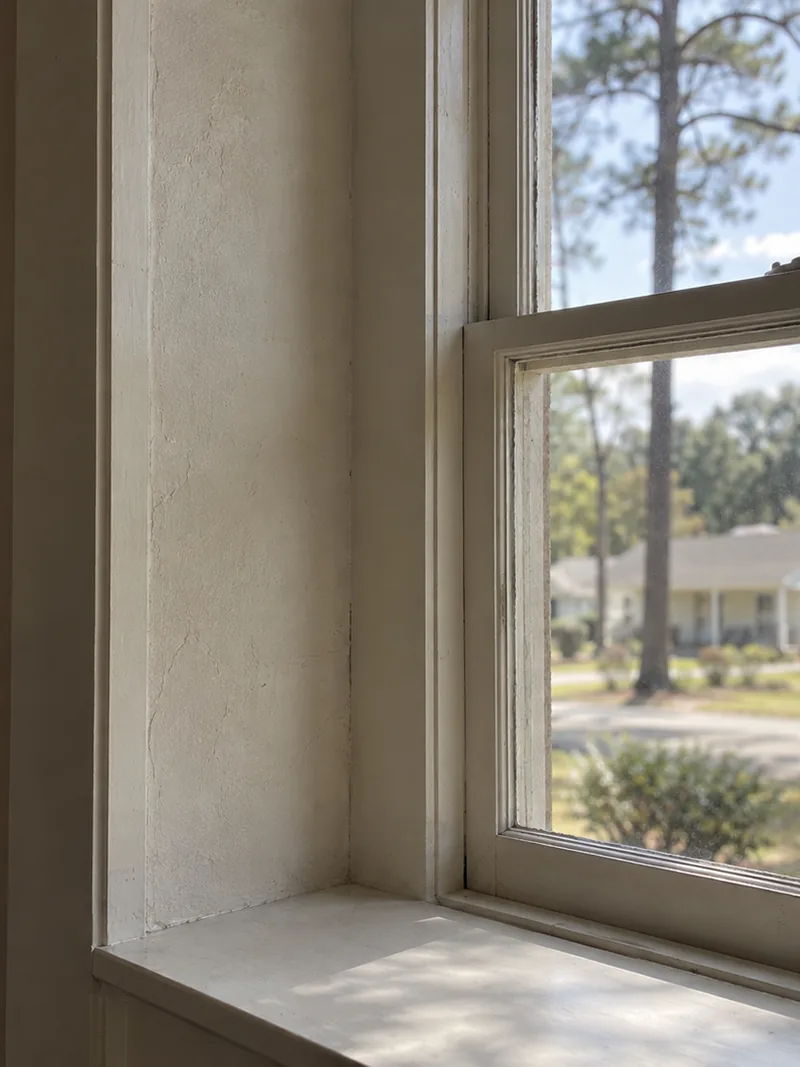
Adding custom drywall to a finished house means opening painted and textured surfaces and checking the framing and ceiling construction behind them first. Older Spring homes vary considerably in how those areas were built, so retrofit work is scoped from what we find on site.
Building Into a Textured Ceiling
A coffer or tray added to a finished room is built into the ceiling that is already there. Before any framing starts, the ceiling texture has to be removed across the full area where the feature will sit. Most older ceilings here have a popcorn ceiling, the sprayed-on finish with a coarse, lumpy surface that hides seams. That texture cannot remain under new framing, so it is scraped back to bare board first.
That means the material has to be checked before it is disturbed because older popcorn texture was sometimes mixed with asbestos. Popcorn texture or other suspect material is tested by a qualified asbestos professional when its age or condition warrants testing before disturbance, and we scrape only material the results clear as safe. Anything the results do not clear is left for the people licensed to handle it.
Water Damage Found When a Ceiling Opens
Opening the ceiling plane to build a coffer exposes the cavity above it, which has not been inspected since the house was closed up. A brown or ringed water stain from above is the kind of finding that changes the schedule.
A cavity that is still wet will stain through new board and paint within a season. We compare the exposed framing and surrounding materials against dry reference readings before closing the wall. Where Texas law requires licensed mold assessment or remediation, that work is handled by a licensed mold professional first. We return once the space is released, because the feature is not built over an unresolved moisture or mold problem.
Trusses, and the Tray Ceiling That Cannot Be Built
Most houses built here since the 1980s use roof trusses rather than stick framing, and that determines whether a tray ceiling is possible at all. A truss is a factory-built triangular assembly of lumber, and its bottom chord is the horizontal member that runs across the width of the room and supports the ceiling fastened below it.
A tray ceiling needs a recess built up into that space, which means cutting into the bottom chord. No truss member may be cut, notched or altered without approval from a registered design professional. The International Residential Code sets the same requirement.
What you can have instead is a furred-down perimeter, where we build a shallow band of framing below the existing ceiling around the edges of the room. The middle stays at its original height while the border drops, giving you the look of a tray from the floor without altering the structure. We determine which option applies during the estimate by looking into the ceiling before any work starts.
Where Recessed Drywall Features Need Extra Planning
Three conditions commonly prevent us from cutting a recess without changing the design, and depth is not what decides it. A standard interior wall gives about 3-1/2 inches of depth between its faces, which is enough for a shelf, shampoo ledge or lighting reveal in most rooms. What stops the cut is the job the wall is doing. Some walls provide fire separation, some sit behind tile in a shower, and some carry weight or brace the house. You are better served learning which wall you have while the feature is still a drawing, because once a framer has the wall open the choice has already cost you money.
Garage Separation Walls and Ceilings
The wall between your garage and the house is a required separation, with half-inch gypsum board on the garage side and five-eighths Type X on the garage ceiling where rooms sit above it. Type X is gypsum board with a core made to stay intact longer in a fire. Cutting a recess removes part of that layer. A board type does not carry a rating by itself, because the fire rating belongs to the full tested fire-rated assembly, including framing, fasteners, layers, and joints. We do not certify a wall as fire rated, restore a rating, or judge an existing assembly.
What we do instead is move the feature. In most cases, there is another wall close by that does not have the same structural or separation requirement, and moving the niche two feet over gives you the same recess in a wall that can take it.
Wet Walls and the Tile-Backer Line
A shower niche is the recess we are asked to build more than any other, and the shower is the one place ordinary drywall does not belong. Ordinary gypsum drywall is outside our scope as the tile substrate in direct-wet shower and tub-surround zones. Moisture-resistant board is made for bathrooms and laundry rooms, where the air is damp and the surface gets occasional splashes. It is not made for a surface that has water running down it, so the two products are not interchangeable. We frame the opening at the depth and height you want, and the tile trade finishes the wet face from there with an approved tile backer.
Load-Bearing and Braced Walls
A recessed niche empties the wall cavity for the full width of the opening, and some walls cannot give up that space. A load-bearing wall carries the weight of the floor or roof above down to the foundation. A braced wall line has a different job: it keeps the house square when wind pushes against it.
Either one needs an engineer to redesign it before anything is cut, and structural design is not work we do. Walls under a bearing point upstairs and walls at the ends of long open runs are the usual candidates. We will point out which walls appear to need that review rather than guess, and when one does, that is the time to bring in an engineer. In most cases, the simpler option is an adjoining wall that is free to hold the niche.
What Custom Drywall Work Costs
Shaped work is priced by the feature rather than by the wall it sits in. A square-foot rate works for flat board installed across an open plane. A curve, arch or recessed ceiling does not fit that method, because much of the work is inside the feature itself: the framing built to hold the shape, the board selected to follow it, and the finish applied across it. Each part changes independently, so each one is priced separately on the estimate.
What Moves the Price on a Feature
Framing spacing is the first part that changes. Tight curves require considerably more framing than flat walls, and every member has to be laid out to the arc, which is slower work than framing a straight run.
Board choice changes with the shape as well. Where the radius is tight enough to require two thin layers instead of one thicker sheet, both the material and the hanging work double, and a tighter curve also limits which board will bend far enough. The finish level carried across the surface is its own cost on top of that, because a shaped surface takes more passes to finish than a flat one.
What a feature costs depends on the feature itself, which is why we measure it on site instead of quoting a price by the foot.
What the Written Estimate Names
You receive an estimate that lists each feature on its own line, with the finish level written out and the framing priced separately wherever the scope includes building it. Our on-site estimates are free, the written estimate is line-itemed before you commit, and financing is available on larger projects. Itemizing it that way means you can drop one niche or simplify one arch without the rest of the job being repriced. Call us at (936) 286-6045 and we will come out and price the features you are considering.
Why Choose Us
Why Choose Spring Drywall Co. for Custom Drywall
- We carry it from studs to finish. Spring Drywall Co. takes shaped work from bare studs through to the finished surface, so the spacing behind your board is set by the crew who then has to finish it. A curve that is out of true at the framing stage cannot be corrected later with compound.
- Named standards on your estimate. We are an insured drywall contractor, and our crews work to ASTM C840 for how gypsum panels are hung and fastened and to GA-214 for finish levels. ASTM C840 is the installation standard the trade works from, and GA-214 sets the finish grades from Level 0 through Level 5. Naming the grade on the estimate is what stops "smooth" being argued about after the fact.
- Fifteen years of it, here. We have worked in Spring, Texas for 15 years, so the houses and the framing practices in this market are familiar ground rather than something to be worked out on your job.
- Proof of cover, before anything starts. We carry general liability insurance and can send our certificate of insurance before work begins.
- Containment is in the price. Plastic barriers, sealed doorways, and vacuum-assisted sanding are part of the base scope on every occupied-space job, not an add-on.
That last one matters more on this kind of work than on most, because a coffer or an archway goes into a room you are still using while we build it. Call us at (936) 286-6045 to talk through the feature you have in mind.
How a Custom Drywall Project Runs
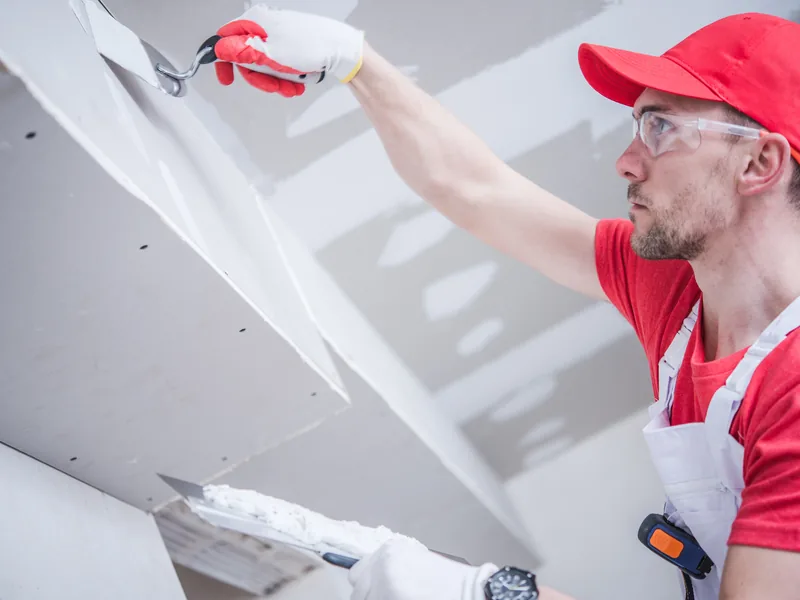
Shaped work is planned on paper before it is built, and most decisions are made with us during the site visit rather than while the crew is waiting to work. Spring Drywall Co. handles a custom job in five steps, with something for you to review or approve at each stage.
-
1
We walk the room and measure the shape
The radius that sets how tight your curve runs is measured in the room itself, not scaled off a drawing, and we note where you stand to look at the feature and where the light falls across it.
-
2
We settle the board and the finish level with you
How tight your curve is determines which board can be used to form it, and the room's lighting decides the finish level. Both are written down before anything is ordered, so neither is decided by whoever is holding the sheet on the day.
-
3
We protect the room before anything opens
Sheeting goes across the openings and a sealed doorway goes between the work and the rest of the house, in place before the first cut, because cutting and sanding drywall produces fine dust that travels on any air current.
-
4
We frame, board and hang the shape
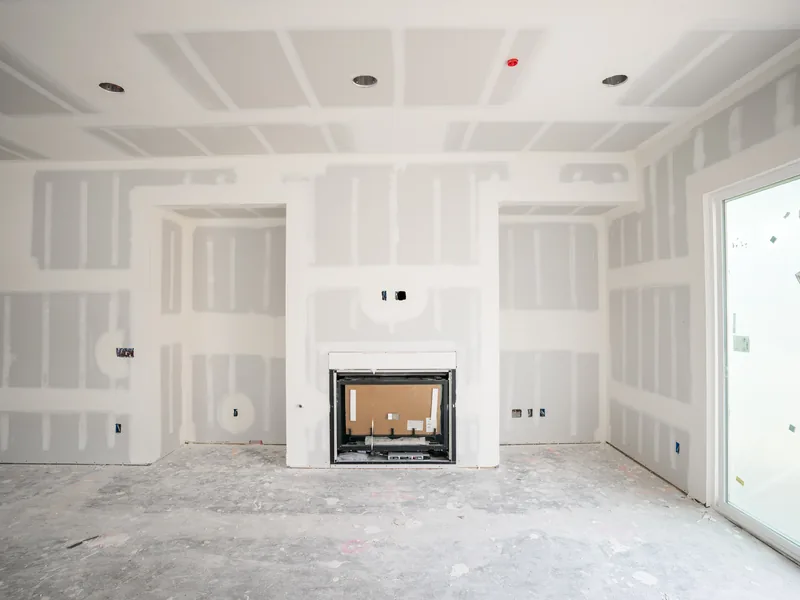
At the end of that day the shape stands in the room, bare, with no compound on it. Look at it then: a change to a curve or a corner is still inexpensive while the surface is bare, and expensive once it is coated.
-
5
We finish, prime and paint
Joints are taped, coated and sanded back to the level you agreed, then primed so the wall takes paint at the same rate everywhere. Before you sign off, look at the feature under the room's own lamps, at the hour of day you usually see it.
Call us at (936) 286-6045 or send the shape and the room through the quote form, and we will start by measuring the space.
Custom Drywall Across Spring and Nearby Communities
The same drying and moisture-control practices apply throughout our Spring-area service territory. The service area runs along the Harris County and Montgomery County boundary and extends west from there, so you get the same crew and the same method wherever your house sits in it, rather than a different arrangement from one town to the next.
Communities We Serve
Spring Drywall Co. provides custom drywall and architectural features across Spring and the surrounding communities of north Harris and Montgomery counties, and west into Waller County:
- Tomball
- Klein
- Shenandoah
- Oak Ridge North
- Porter
- Humble
- Aldine
- Westfield
- Bammel
- Champion Forest
- Willowbrook
- Jersey Village
- Cypress
- Hockley
- Waller
- Magnolia
- Pinehurst
FAQ
Custom Drywall Questions
How tight a curve can a drywall wall actually turn?
Down to about a 20-inch radius with flexible board installed in a double layer, and about 5 feet with standard quarter-inch board run lengthwise. The full set of figures is listed above because the limit changes with the board type and the direction the sheet runs.
Why does a curved wall cost more than a straight one of the same length?
Because there is more work inside the curve. The framing behind it uses far more uprights than a flat wall, and the board is usually installed in two layers instead of one. Each feature is priced on its own line rather than included in a general wall price.
Can you add a coffered or tray ceiling to a room that already has a popcorn ceiling?
Yes, and the popcorn texture comes off first. A qualified asbestos professional tests that sprayed-on finish before anything disturbs it, and we only strip what the results clear. The stripped area extends well beyond the feature itself because the surrounding ceiling field has to match the new work once it is painted.
Can I have a niche built into my shower wall?
We can frame the recess, but the direct-wet face belongs to the tile system rather than ordinary drywall. The tile trade decides which backer goes on it, and that work follows after our framing is installed and inspected.
Is flexible drywall just thinner regular drywall?
No. A flexible gypsum panel is made to bend tighter than a standard sheet of the same gauge, and the manufacturer does not permit it as a single layer on any wall or ceiling. Two 1/4 in. panels installed over each other give you a half-inch finished thickness at the radius a quarter-inch panel allows.
Do you do the framing as well, or do I need a separate contractor?
Yes. We handle the framing, hanging and finishing as one scope. You are not booking a framer and a finisher separately, and you are not standing between them if the curve does not come out.
Will the curve look smooth, or will I see flat spots?
It will look smooth when the framing behind it is spaced closely enough. A flat spot forms when the board runs straight between two supports that are too far apart, and closer framing is the published remedy. Light crossing the finished curve is what reveals whether the surface is smooth or has flat spots.
How long does a custom drywall feature take?
Most single features take a few days rather than a few weeks, and we schedule the work by stage because framing, hanging, finishing and painting each take a different amount of time. One deadline is fixed: board wetted to take a curve has to be dry within 24 hours.
Get Your Custom Drywall Project Scoped
Spring Drywall Co. starts every shaped project with a free on-site estimate at your house in Spring, Texas, where we measure the curve or opening and work out what is needed to build it. You then receive a line-item estimate that lists each feature and its finish level separately, so you can see exactly what you are paying for instead of getting one price for the whole room. Call (936) 286-6045 or use our quote form for a clear, written price on your project.