
Corner Bead Installation & Repair in Spring, TX | Spring Drywall Co.
Spring Drywall Co. handles corner bead installation & repair for homes and businesses across Spring, TX. Corner bead is the rigid strip that runs inside every outside corner of a wall, under the coating, and keeps that edge straight while protecting it from knocks caused by furniture, vacuums and shoulders. When a corner dents or the coating over it cracks, the damage may be limited to the finish or extend into the bead underneath.
We install corner bead in galvanized steel, vinyl and paper-faced metal, choosing the type based on what the corner needs to handle. The accessories we use meet ASTM C1047, the standard for gypsum bead and trim, and we fasten them to GA-216, the attachment rule for corner bead. GA-214 finish levels, a published scale that runs from taped-only through a fully skimmed Level 5, then determine how far the corner is coated out. Where a repair meets an existing wall, we match the surrounding texture so the new work blends in.
We work throughout Spring and the surrounding communities, and we are insured. Your finished corner runs straight from top to bottom and is built to stand up to the everyday knocks that damaged the old one. Call (936) 286-6045 or use our quote form for a clear, written price on your project.
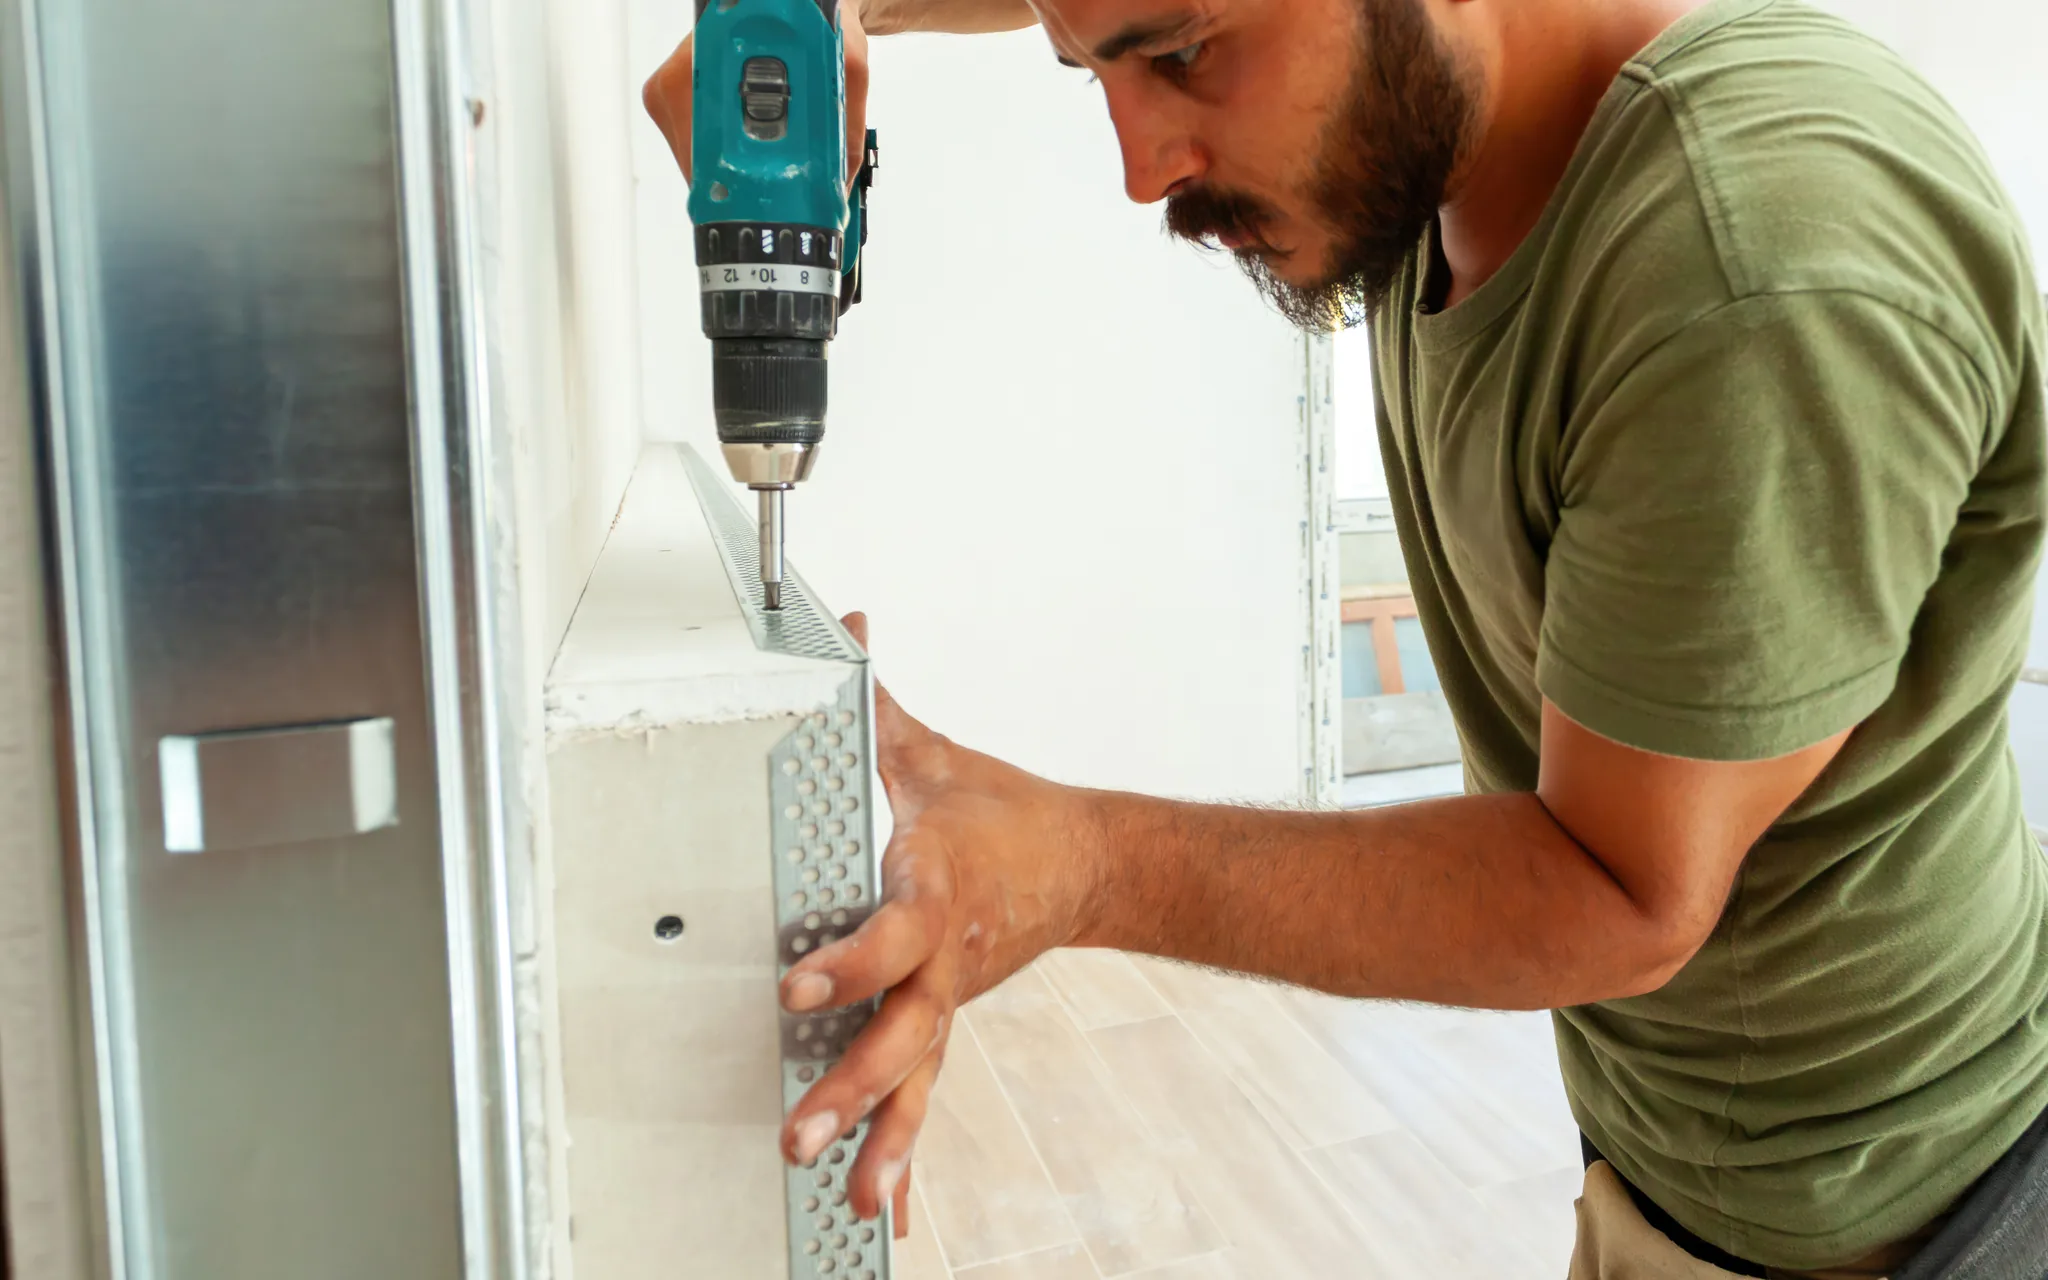
What Corner Bead Installation & Repair Covers
Each job involves the same strip in a different condition, so the work depends on what the bead on your corner is doing now. We set or replace the strip as needed, then use joint compound to bring it back into the surrounding surface. The repair includes enough of the wall to feather and blend the corner properly. Holes, cracks or other unrelated damage farther into either wall are priced separately as drywall repair. If the bead is still straight and secure, only the finish needs repair; bent, loose or rusted bead is replaced.
New Bead on New Outside Corners
An outside corner with no bead installed yet is a straightforward corner bead installation, and you will recognize it by fresh drywall with the corner still raw, such as on an addition, a moved wall or an opening cut into an existing room.
The bead sets the line you see down the corner, so before we fasten anything we trim the board edges flush with a utility knife and check the corner for square. A bead that sits proud of one face, standing out past the surrounding wall, will show through every coat applied over it. Once the corner is ready, we fasten the strip along its full length. Joint compound is applied afterward; it cannot correct a bead that was installed crooked.
Replacing Dented and Crushed Bead
This is the most common corner bead repair we handle. Furniture, a doorknob, a ladder or a vacuum hits the corner and bends the metal nose under the finish inward. You will usually spot it as a dent that keeps showing through the paint or a corner that has been filled more than once but still looks uneven down its length.
A filled dent over bent metal will move again with the next knock because the compound is sitting on a nose that is no longer straight. We cut out the damaged section instead of skimming over it, splice new bead into the sound run above and below, and coat the joint past the old work so the repair blends into the wall. Where the wall has a texture, we match it across the repaired area.
Rusted and Bleeding Bead
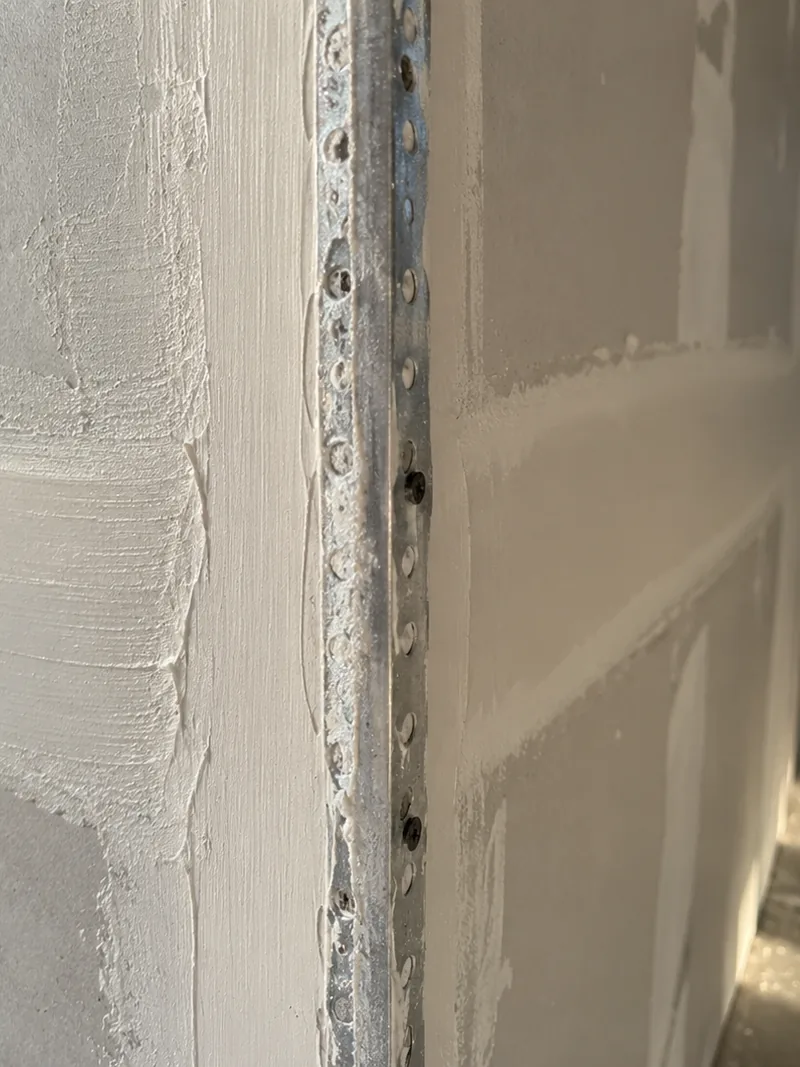
Steel bead has a thin zinc coating that protects the steel from moisture. Where water reaches the corner from a window leak, roof leak or a bathroom that never fully dries, that coating breaks down and the steel under the finish begins to corrode. The result is orange staining that comes back through fresh paint within months.
Painting over it only delays the problem because the rust is behind the surface and continues working through. The leak has to be stopped first, and because that is roofing or plumbing work rather than ours, it is worth having the source traced before we begin. Once the wall is dry, we remove the affected length of bead and replace it, often with vinyl because it does not corrode.
Arched, Curved and Off-Angle Openings
Not every corner meets at ninety degrees. Arched openings, radiused entries and splayed walls, where two planes open wider than square, are common in houses around Spring and need bead made or cut for that shape. A square bead forced around a curve stays under tension and cracks wherever it was bent. For a curved opening, the installation standard calls for one side of the bead to be snipped at intervals with tin snips so the strip can close up and follow the arc; off-angle bead is made to the wider angle instead. The opening itself is already built when we arrive, and we install the bead that matches its geometry.
Bead Types: Galvanized Steel, Vinyl and Paper-Faced
Steel, vinyl, paper-faced metal and rounded bullnose all meet ASTM C1047, the specification that sets the material requirements for corner bead. The right type for your wall depends on the room, including how much traffic the corner takes, how much moisture is present and whether the corner is square or rounded.
Galvanized Steel Bead
Steel gives you the hardest nose, the raised tip that forms the corner itself, and the straightest line of the four, so a long corner stays true from one end to the other and stands up to knocks from shoulders and chair legs without denting. The specification requires steel accessories to be made from zinc-coated steel, and that thin zinc layer protects the metal underneath once it is installed in the wall.
Cutting the strip to length exposes a raw edge, so we keep cut ends out of damp areas rather than relying on the coating to protect them. In a bathroom outside the shower or on a laundry-room corner that stays humid for hours after a wash, steel is the wrong choice, so we do not use it there.
Vinyl Bead
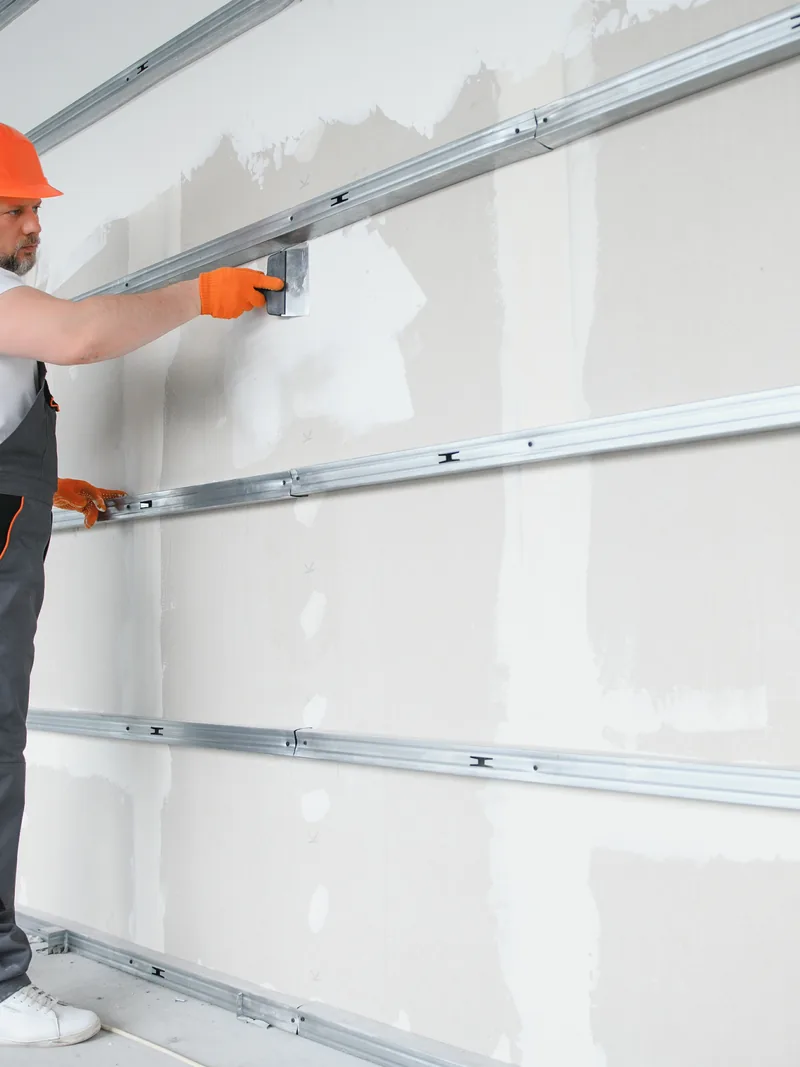
Vinyl bead is made from PVC, a rigid plastic with no steel in it, so a damp corner has no metal in the trim that can rust and stain through the paint. That makes it our first choice where a corner has already shown rust staining, as well as for bathrooms outside the shower, laundries, utility corners and garage walls where the air shifts between damp and dry through the day. The tradeoff is that the nose is softer than steel, so a hard knock can dent the plastic where steel would hold its edge. Vinyl is also installed with fasteners or a bed of joint compound rather than the crimping used for metal.
Paper-Faced Metal Bead
Paper-faced bead is a hybrid with a thin metal core laminated with paper along both flanges, the flat wings that sit against the wall on either side of the corner, and it installs differently from the other types. The installation standard sets it in joint compound instead of using fasteners, and the paper bonds across the full width of each flange rather than being pinned through it at intervals. Nothing punctures the board at the corner, so there are no fastener holes in an area where paint later cracks. The tradeoff is that the compound has to stay wet under the full width of each flange, with no dry spots left behind.
Bullnose and Specialty Profiles
Bullnose is a profile rather than a material, with the corner rounded instead of square, and it is common in local production housing. We stock it in two radii, 3/4 in. and 1-1/2 in., and the first thing we check is the radius already on your wall, because a repair made with the wrong size will sit visibly proud of the corner it joins.
Where a rounded corner meets the baseboard, it needs a transition cap, a small piece that brings the round profile back to square so the trim sits flat against it. Two-way and three-way caps handle points where corners meet, while off-angle profiles are used for corners that open wider than square.
How the Bead Is Set and Fastened
Setting the bead is the stage that determines whether an outside corner stays secure or fails later. A corner bead is only as sound as the method holding it to the wall, and the three attachment methods are matched to the type of bead being installed rather than chosen by preference.
Each method has to do the same job: keep the strip straight, tight against both wall faces and secure when pressure is put on it. GA-216, the industry standard for installing gypsum board and its accessories, sets the spacing for the two methods that use fasteners; the third holds the bead in place with compound alone. If a corner comes loose at the attachment point, it will crack again under the finish no matter how carefully that finish is applied.
Fastener Spacing and the Crimping Tool
Metal bead is secured with fasteners driven through it, and the spacing between them keeps the flanges from lifting later. Under GA-216, drywall screws or nails are spaced no more than 9 inches apart. Bead manufacturers also call for fasteners in both flanges, placed opposite each other so both sides are pulled in evenly.
A crimping tool, which punches the metal into the board instead of driving a separate fastener through it, sets the bead at 6 inches or closer. Either method is acceptable; the spacing is what matters. Fasteners go through the flat wings, never through the raised nose, because a screw driven into the nose leaves a dimple in the corner line that compound will not hide.
Bedding Paper-Faced Bead in Compound
On paper-faced bead, the joint compound is what holds it in place, so the bed underneath is part of the attachment rather than just another coat. Under GA-216, we apply compound to both wall faces first, then press the bead into it while the compound is still wet so the paper flanges are fully bedded instead of being laid onto a dry surface.
A taping knife pulls the excess compound out from under each flange so the bead sits flat against the wall instead of riding on a lump. If the bed is too thin or has started to dry, the paper bonds only in patches, and the corner can look right at first but open into a hairline crack months later. Nothing is pressed or loaded against the corner until the compound has set.

Clean Flanges and a Straight Run
The bead has to sit clean, tight and straight before it is fixed in place, because compound cannot straighten a crooked bead afterward. We sight down its full length first. If the strip is fastened to a bowed stud, the vertical framing behind the board, it will follow that bow and leave a visible wave in the corner. Where a stud runs out of line, thin shims behind the flange bring the bead back to straight.
Inside Corners and Where Bead Does Not Go
Not every corner in a room needs bead, and knowing the difference keeps you from paying for the wrong work. Corner bead belongs on outside corners, the ones that project into the room. An inside corner, where two walls meet in an angle you could stand in, is finished with paper tape creased down the middle and bedded in joint compound.
That folded tape reinforces the joint while staying flat enough to disappear under the finish. A rigid bead on a standard inside corner would create a ridge that sits proud of both walls instead of leaving a clean line. Inside corners that open wider than a square angle are the exception, and some of those use a purpose-made trim. If a quote includes bead on a standard inside corner, it is specifying the wrong material for the job.
Finishing and Feathering Over the Bead
Finishing is the stage you see when the work is complete. The trim sits proud of both wall faces by design, so until it is coated out you will see a ridge running from floor to ceiling, and even a perfectly straight corner can still look wrong. The coating has to blend that trim into two flat walls that meet in a clean, crisp line, and that takes several careful coats. The finish level for your corner is set before the work starts, so you know how smooth the finished surface will be.
Filling the Nose and Building the Coats
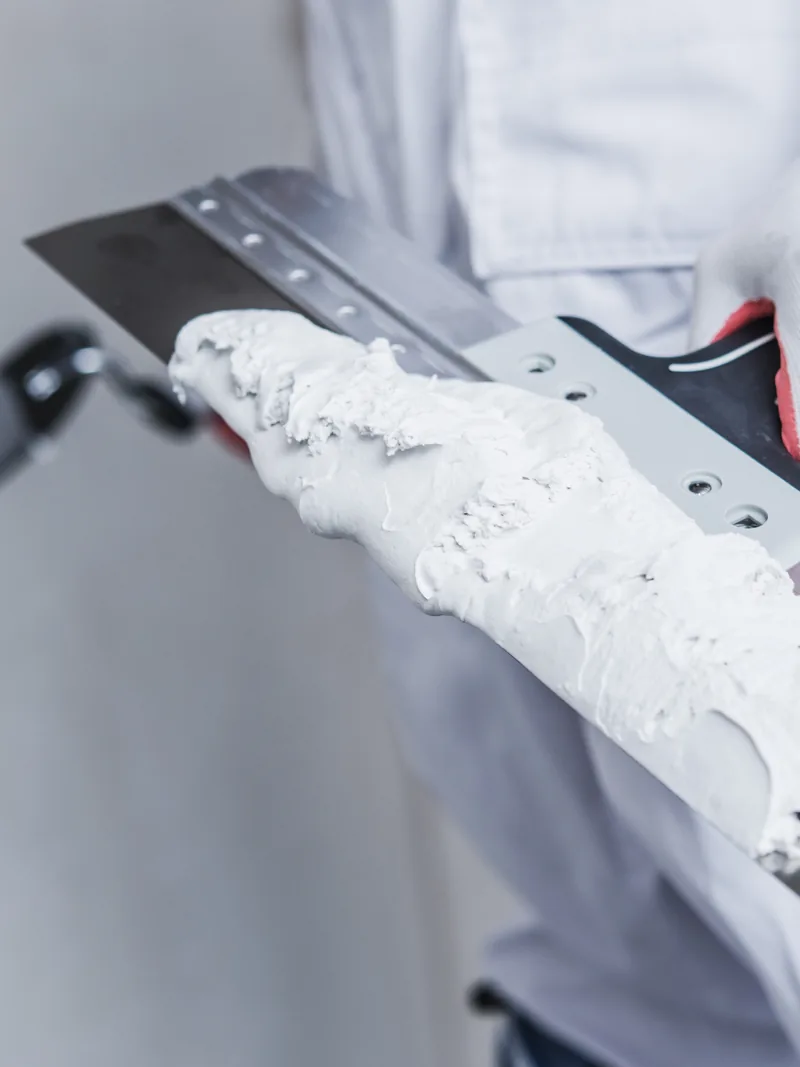
The first pass fills the space between the raised tip of the corner, which the trade calls the nose, and the outer edge of the metal or plastic wings that sit flat against each wall. Joint compound is mostly water, and as that water leaves during drying, a coat applied too thick shrinks back and leaves a fine crack along the nose.
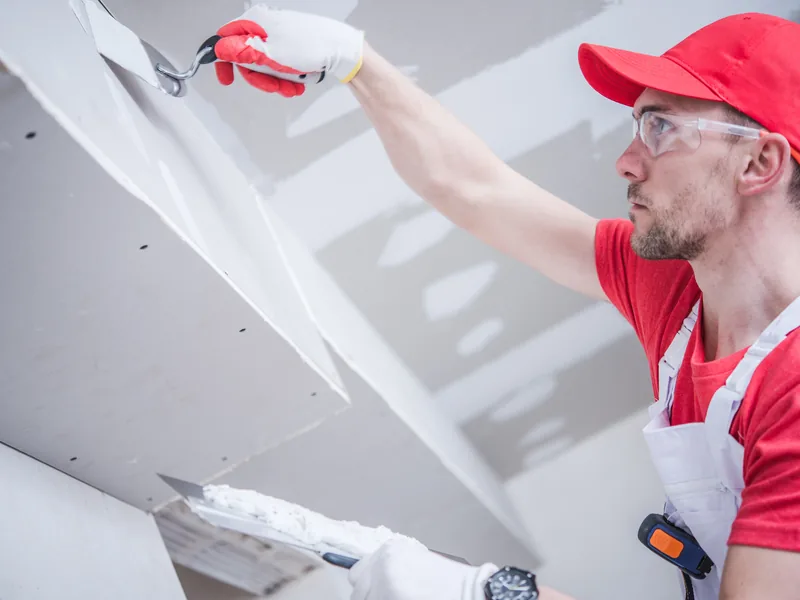
We build the depth over two or three passes with a wide taping knife, making each coat wider than the one before rather than thicker. Where the fill is deep, we use setting-type compound, which hardens by chemical reaction instead of drying and holds its shape at depth. Each coat is left to harden before the next one goes on.
Feathering Wide Into Both Wall Faces
Feathering means thinning the compound down to nothing at its outer edge so that no one can find where the repair ends. The fill coat runs 5 to 6 in. onto each wall, and the finish coat extends about 8 in. from the nose, spreading the small amount of added thickness over enough distance that the change is no longer visible.
If the compound stops at the edge of the flat wings, it leaves a hard line that feels like a shelf and shows under paint as a shadow. Before sanding, we run a hand flat across each transition because a fingertip will pick up a step that light can miss. Both walls are finished the same way, including the side that was never damaged.
Sanding, Lighting and the Finish Level
A corner is checked under light that runs along the wall instead of shining straight onto it. Overhead fixtures light both faces evenly and hide small defects, while a lamp held close to the wall and aimed along it shows any ridge left in the compound by casting a long shadow.
We check the corner under that light and sand it with a sponge, which follows the slight curve of the feathered edge and smooths the transition without cutting through the paper facing underneath. Sanding stops once the corner meets the specified finish level. Plastic barriers, sealed doorways, and vacuum-assisted sanding are part of the base scope on every occupied-space job, not an add-on. We then match the texture to the surrounding wall. The corner is left paint-ready: priming and painting are a separate scope of work, and we do not apply any coating to the corner ourselves.
Why Choose Us
Why Choose Spring Drywall Co. for Corner Bead Installation & Repair
Every corner bead installation & repair job we handle is backed by the same standards and working practices:
- We are an insured drywall contractor, and our crews work to ASTM C840 for how gypsum panels are hung and fastened and to GA-214 for finish levels.
- Estimates name the GA-214 finish level as its own line item, so a Level 5 skim is a priced choice rather than a vague allowance.
- Our on-site estimates are free, the written estimate is line-itemed before you commit, and financing is available on larger projects.
- Fifteen years of corner work in occupied houses, with families living around us while we work.
Call us at (936) 286-6045 to have us look at your corners.
What Corner Bead Work Costs in Spring
Corner bead is priced by what has to be removed and rebuilt, not by the running foot. Replacing a damaged strip costs more than coating over bead that is still sound because the old piece has to be cut out and the surrounding wall face rebuilt before the new run is installed. We check several conditions on site before pricing the work:
- the length of the run, and how many corners are involved
- whether the old bead comes out or new bead goes onto a bare corner
- the profile, whether square, bullnose or off-angle
- how far the texture has to be blended back into the surrounding wall
- access, and whether the room stays in use while we work
We do not publish a corner-bead price range because the cost depends on the condition of your corners and how much material has to be removed and rebuilt. The more bead and old finish that has to come out, the higher the price. For a written price on your own corners, call us at (936) 286-6045.
How a Corner Bead Job Runs
From your first call through the final coat, a corner bead job with Spring Drywall Co. follows four stages, and you will know what we are doing to your wall before we open it.
-
1
a free visit, and a written estimate with the work itemized
-
2
floors, furniture and doorways covered before anything is cut
-
3
the damaged length out, new bead in, first coat on
-
4
coats built over more than one visit, then sanded and cleaned up
You will know what each stage involves before the work begins, and we leave the corner paint-ready when we are done. Call us at (936) 286-6045 to book a look at your corner.
Why Corner Cracks Sometimes Come Back
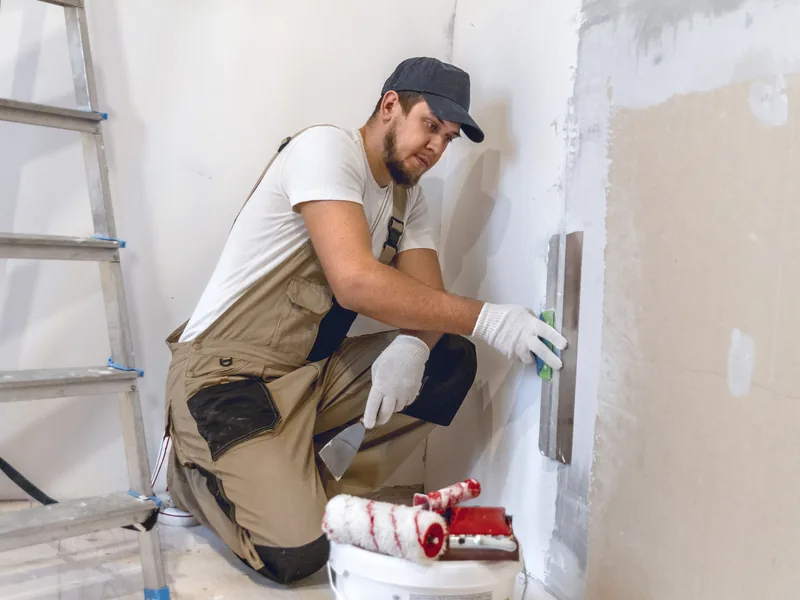
A corner bead is rigid, but the house it is attached to moves. Your framing shifts slightly as the building settles and as humidity changes through the year, and that movement shows up at the stiffest line in the wall, which on an outside corner is the bead. If you have filled a corner once and watched it crack open again, the wall is usually reporting that movement rather than poor workmanship. Three things follow from that:
- movement can reopen a corner that was repaired correctly
- a long uninterrupted run of wall sometimes needs somewhere deliberate to move, which GA-216 puts past 30 linear feet
- filling the crack without dealing with the movement puts the stress straight back where it was
Where a corner has opened more than once, we look for the source of the movement before closing it back up. Adding a relief point gives that movement somewhere else to go instead of forcing it back through the corner.
Corner Bead Service Across Spring and the Surrounding Towns
Bullnose corners are common in Spring-area production housing, so we routinely match the radius already used on your walls.
Spring Drywall Co. provides corner bead installation and repair across Spring and the surrounding communities of north Harris and Montgomery counties, and west into Waller County:
- Tomball
- Klein
- Shenandoah
- Oak Ridge North
- Porter
- Humble
- Aldine
- Westfield
- Bammel
- Champion Forest
- Willowbrook
- Jersey Village
- Cypress
- Hockley
- Waller
- Magnolia
- Pinehurst
FAQ
Corner Bead Questions From Spring Homeowners
What is corner bead, and does every outside corner have one?
Every finished outside corner in your house has corner bead, but you do not see it because it sits under the finish. It was installed before the wall was painted, so damage to the bead itself is not something a painter can repair.
Can a dented corner be filled, or does the bead have to come out?
It depends on whether the metal underneath has moved. Press the edge with your thumb: bent metal flexes, while sound bead stays firm.
Metal or vinyl corner bead - which should I have?
Steel gives the sharpest line; vinyl belongs anywhere damp, because it carries no steel and cannot bleed rust. We make that choice room by room.
Why does the paint keep cracking in the same line along my corner?
That is movement in the wall rather than a paint problem. Once an uninterrupted wall runs past 30 linear feet, the standards call for a relief joint; without one, that movement is pushed into the corner instead.
Why does my repaired corner show as a pale stripe after the first coat?
Fresh compound and aged paint absorb differently, so a properly finished corner can still show as a pale band until it is painted. That is a difference in the two surfaces, not a problem with the corner.
My corners are rounded, not square. Can you match them?
Yes, and the curve has to match the bullnose already used in your rooms. Bullnose comes in two radii, and a transition cap brings the rounded corner back to square where it meets the baseboard.
How long does a corner bead repair take?
The hands-on work is brief, but the drying time means a repair usually takes more than one visit. Each coat has to dry fully before the next one is applied.
Get a Price for Your Corner Bead Work
Spring Drywall Co. prices corner work from the condition of the corners themselves, whether you have one damaged edge in a hallway or every outside corner in the house to repair. We come to your property, go over the corners with you and explain what the work involves, and that on-site estimate costs you nothing. Reach us on (936) 286-6045, or send the details through our quote form.